




 buying guides
 cooling
Your house is hot, the clock is ticking, and the fastest way to waste money is buying the wrong central cooling system and discovering it only after it's installed.
Most shoppers feel the squeeze in two directions: deciding between AC-only and a cooling plus heating option, and trying to buy confidently without getting trapped by mismatched parts, electrical constraints, or ductwork surprises. The real tradeoff isn't just speed versus price, it's buying quickly and affordably versus buying correctly: the right system type, the right size, the right efficiency and features, and the right match to what you already have indoors.
Before you purchase, you need decisions that hold up: choose central AC or a heat pump option, size it with a load-based path instead of rules of thumb, set an efficiency target that balances upfront cost against operating savings, confirm indoor and outdoor component matching (including furnace or air handler fit), and plan installation details and lead time.
A capable online HVAC seller typically supports that plan with fast-track fulfillment that can ship the next business day after an order is paid in full, standard parcel shipping that's typically 3-7 business days with expedited options available, plus buyer tools like a rebate center and dedicated customer reviews/testimonials pages.
You'll finish with a defensible short list and a purchase plan that avoids mismatches, comfort problems, and wasted spend.
The first decision is the equipment category itself: whether you only need cooling or you want a system that can also deliver heat. That choice sets the boundaries for everything that follows, from efficiency targets to indoor equipment compatibility.
Central AC vs. Heat Pump
The "right" cooling system choice depends on how you plan to heat, not just how you cool. For many homes, the real decision is cooling-only (central AC) versus cooling plus heating flexibility (a heat pump), and the professional way to pick is simple: match the equipment to your climate and to the economics of your heating fuel.
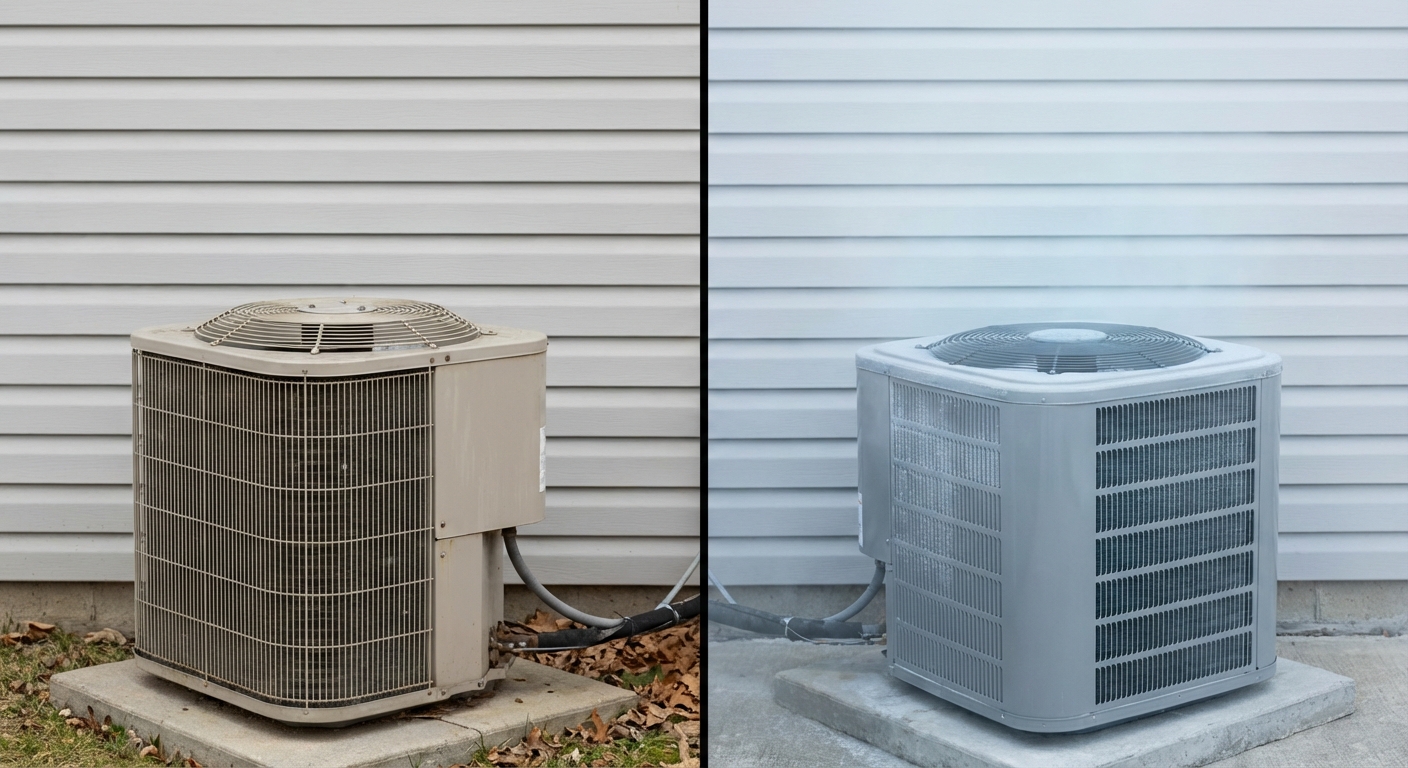
A central air conditioner only cools. A heat pump cools the same way, but it adds one key part: a reversing valve that changes refrigerant flow direction so the system can run in heating mode.
Use coefficient of performance (COP), meaning heat delivered divided by electricity consumed at a given outdoor temperature, to judge when a heat pump is "good heat" versus expensive heat. COP falls as outdoor temperature drops because there's less usable heat outdoors and the system works harder to move it inside. Cold-climate units can be around COP 3.0 to 4.0 at 47°F, but often drop to roughly 1.75 to 2.5 at 5°F, which is why heat pumps dominate shoulder-season heating and become more situational in deep cold.
Choose central AC when you already have reliable, economical heat you intend to keep, like a gas furnace, and you mainly need cooling. Choose a heat pump when you want efficient electric heat in mild weather and you want to reduce fossil-fuel runtime. Dual fuel bridges the gap: a heat pump paired with a gas furnace switches at a balance point based on heat pump COP and relative fuel costs. Changeover can be temperature-based or economic, and many setups push the switchover higher to avoid heavy defrost cycles or excessive backup-heat operation.
If you want to compare categories side-by-side, HVAC help articles on system types carries central AC, heat pumps, and gas furnaces in the same catalog.
Ductless mini splits are a practical fallback when ducts are impractical, but the same COP and changeover logic still applies.
- Confirm what heat source you're keeping long-term (gas furnace, electric resistance, or none).
- Compare your winter temps to heat pump COP reality at those temperatures.
- Decide whether a temperature-based or economic changeover best matches your fuel prices and comfort expectations.
Once the system type is settled, performance comes down to whether the equipment capacity is matched to the house. A heat pump or AC can be "high efficiency" on paper and still feel wrong if it's sized incorrectly.
Sizing Your System
"2 vs 3 vs 4 tons" is not preference, it's engineering. Tonnage is a measurement of cooling capacity (1 ton = 12,000 BTU/h), and correct sizing drives comfort, humidity control, operating cost, and equipment longevity. Get it wrong and you pay twice: first in the purchase, then in uneven rooms, higher runtime costs, and premature wear.
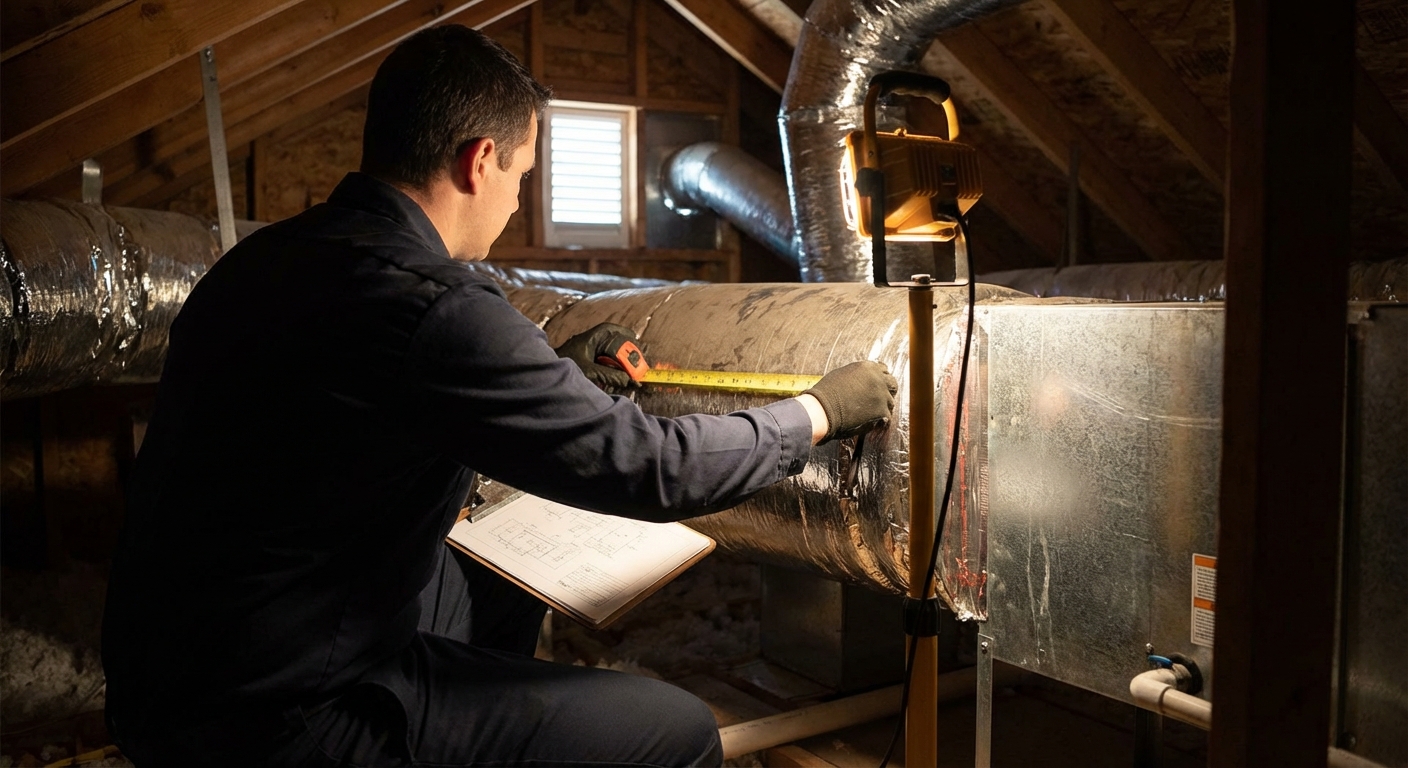
Rule-of-thumb "square feet per ton" sizing is discouraged; oversizing risks short cycling and weaker humidity control.
The professional starting point is a Manual J load calculation, because it prevents guesswork by quantifying what the house actually needs. Manual J uses local climate data and detailed building characteristics (insulation, windows, infiltration, internal gains) to calculate heating/cooling loads. The output is a set of cooling and heating load numbers that guide equipment size, rather than a generic tonnage pulled from floor area.
Capacity and airflow have to match in the real house, not on a spec sheet (for example, a 2.5-ton heat pump system still needs to be matched to the home's load). A common target cooling airflow is ~400 CFM per ton (often 350-450 CFM/ton depending on climate).
That airflow only shows up at the registers if the duct system can move it. Static pressure (ESP) reflects duct resistance and affects delivered airflow. High ESP means the blower is working against restrictive ducts, so even a correctly sized condenser can underperform because the air handler cannot deliver the required CFM.
- Require a Manual J load calculation in writing before accepting a 2, 3, or 4-ton recommendation.
- Confirm the selected tonnage aligns with an airflow target in the typical range for your climate.
- Verify the duct system and blower can actually deliver that airflow without excessive static pressure.
- "Can I see the Manual J report used to pick this tonnage?"
- "What CFM are you designing for, and where does it fall in the 350-450 CFM/ton range?"
- "What external static pressure will the blower see at that airflow?"
After sizing, the comparison shifts from "how big" to "how it will run": efficiency ratings, refrigerant family, sound, and humidity control. Those factors determine operating cost and day-to-day comfort once the system is properly matched to the load.
Efficiency, Refrigerant, and Comfort Features
Buying on "SEER only" misses what you actually live with: operating cost, sound levels, and humidity control. Two units can look similar on a label and still feel completely different in the house because capacity modulation, blower control, and dehumidification logic change run time and comfort.
Modern equipment is rated in SEER2, EER2, and HSPF2 under the 2023 DOE test procedure, which tests at 0.5 inches water column external static pressure (ESP) to better reflect real duct resistance. Higher SEER2 means lower cooling-season electricity use, all else equal. Higher HSPF2 means lower heating-season electric use for heat pumps. EER2 is the quick "steady-state" check: a capacity-oriented cooling metric that helps compare how hard a unit works at a fixed condition.
Use national minimum standards as guardrails, not goals. Heat pumps must meet 14.3 SEER2 and 7.5 HSPF2 nationally. Split-system central air conditioners are the exception, because their minimums are regional rather than national: 13.4 SEER2 in the North and 14.3 SEER2 in the Southeast and Southwest, with the Southwest adding an EER2 requirement. That distinction matters when you buy online across state lines, since a unit that is legal to install in one region cannot be installed in another. Packaged units have different minimums (for example, 13.4 SEER2, 10.6 EER2, and 6.7 HSPF2), so compare like-for-like equipment types.
Expect to see more R-32 systems. R-32 is an ASHRAE A2L refrigerant (mildly flammable, low toxicity) with GWP roughly one third of R-410A (ASHRAE A1). At purchase time, the practical implication is straightforward: buy the system as an R-32 designed package, because many R-32 outdoor units require a compatible indoor coil.
Two-stage and variable-speed operation modulate capacity instead of cycling full-on/full-off, which holds tighter temperatures and usually sounds calmer. Pair that with a variable-speed blower for more stable airflow and better dehumidification potential. For noise, compare published sound ratings and plan placement so the outdoor unit is not blasting a bedroom wall. In humid climates, prioritize dehumidification performance right alongside efficiency.
- Meet the floor: choose equipment at or above the national minimums, then treat higher ratings as a payback decision.
- Prioritize modulation: pick two-stage or variable-speed if comfort consistency and sound matter.
- Buy for humidity: in muggy regions, put dehumidification and blower control ahead of chasing the highest SEER2 number.
Those ratings and comfort claims assume the system is installed as a matched set, not pieced together from whatever happens to fit. The next step is confirming the exact indoor/outdoor combination you're buying will deliver the performance printed on the label (for example, a 14.3 SEER2 central AC condenser).
Choosing the Right Configuration
The efficiency and capacity numbers only hold when the outdoor unit and the indoor side are paired the way the manufacturer intended. A premium condenser or heat pump can still deliver uneven comfort and higher operating cost if it is attached to the wrong coil, air handler, or furnace.
Most central installs fall into three configurations. Condenser plus coil on an existing furnace is the common change-out: new AC or heat pump outside, new evaporator coil on top of a gas furnace you keep. All-electric split pairs a heat pump with a matched air handler (blower plus electric heat strips if needed). Dual fuel pairs a heat pump for mild weather with a gas furnace for colder periods, sharing the same indoor coil and ductwork (as an alternative layout, some homes use packaged air conditioner units instead of a split system).
An AHRI-matched system is a verified indoor and outdoor combination listed together under an AHRI certificate with rated performance for that exact match. If you replace only the outdoor unit and keep an indoor coil or air handler that is not on an AHRI certificate with it, the published efficiency and capacity ratings no longer apply to your installed system.
The money trap is predictable: mismatched equipment can reduce delivered capacity, complicate charge and metering setup, and create friction on split system air conditioner warranty options and manufacturer warranty claims. Many rebates also require an AHRI-listed match, so a cheap condenser swap can wipe out incentive dollars.
Dual fuel adds a hard requirement: the indoor blower and ducts must move the airflow the heat pump needs in cooling and heat pump mode, not just what the furnace needs for heating. If the indoor side cannot deliver required airflow, comfort and efficiency fall apart.
Replace one vs. replace all: keep the indoor equipment only if it is relatively new, uses the same refrigerant family as the new outdoor unit (refrigerant transitions are where mismatches spike), and has an AHRI-listed match available. Before you buy, request proof of the AHRI-listed match and written confirmation the indoor side can deliver the required airflow for your selected tonnage.
Even a perfectly matched central system depends on the house being able to move air effectively through ducts. When distribution is the limiting factor, a different approach can solve comfort problems without forcing a central layout to do a job it can't do well.
When Central AC Isn't the Best Fit
Ductless mini splits are the clean solution when your house simply cannot support good central performance: missing ducts, undersized runs, or layouts where one thermostat can't represent the whole building. They let you fix comfort at the room level instead of rebuilding distribution.
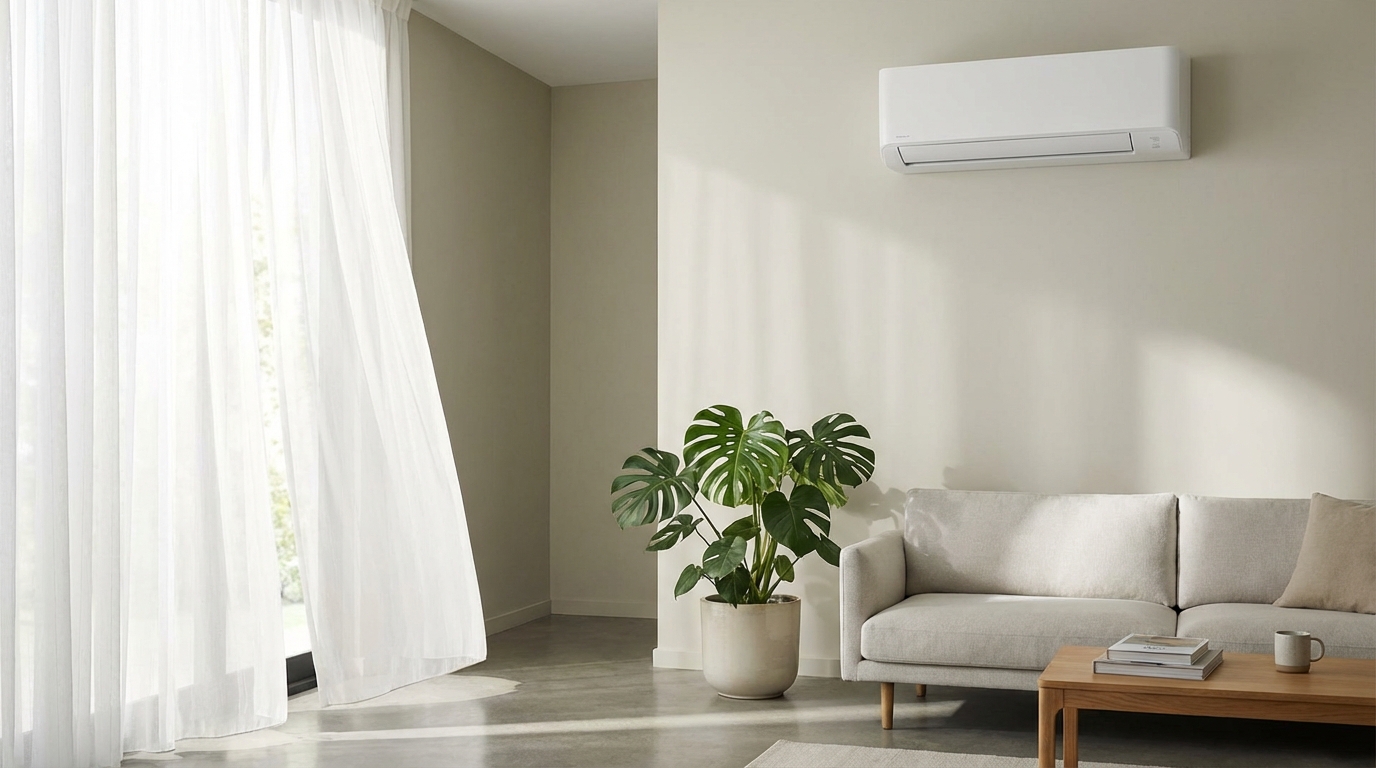
They shine in homes with no ductwork (or where a duct retrofit is more invasive than the equipment), room additions, finished garages, and bonus rooms that stay 5 to 10 degrees off the rest of the house. They're also a practical answer in older homes where opening walls and chases for new supply and return paths isn't realistic. Most shoppers anchor expectations by "class" size, like a 12,000 BTU unit for a single problem room, then confirm capacity with a load calculation elsewhere.
Single-zone mini splits are generally the efficiency winner for one space and typically deliver better modulation (turn-down) than multi-zone systems. Multi-zone gives you multi-room coverage with fewer outdoor units, but you accept some efficiency and modulation tradeoffs to get it.
Ceiling cassette heads commonly need about 10 to 12 inches above the finished ceiling and a real condensate plan, either a gravity drain with proper pitch or a pump. The location also has to meet the manufacturer's clearance diagram, and the cleanest installs keep refrigerant line routing short and direct.
DIY-style systems like MRCOOL typically mean pre-charged line sets (often 25 ft) that reduce specialized-tool requirements, not "no constraints." Electrical work, line-length limits, and warranty conditions still push many installs toward a pro.
Rule of thumb: pick single-zone when one room is the problem; choose multi-zone only when you value fewer outdoor units enough to accept the efficiency and turn-down hit. Default to pro install if electrical, ceiling drainage, or line routing isn't straightforward.
Whether you land on central equipment or ductless, the buying process is still about controlling avoidable risks: sizing, compatibility, and installation constraints. The checklist below consolidates the decisions that most often make the difference between a system that performs and one that disappoints.
Buyer Checklist and Next Steps
Buyers who verify load-based sizing, set a clear efficiency and features target, and confirm component matching avoid the most common outcome: a brand-new system that still feels uncomfortable. Miss one constraint and the whole result degrades.
- Confirm a load-based size recommendation (Manual J).
- Check electrical capacity and disconnect space at a high level.
- Verify duct fit, transitions, and cabinet clearances.
- Choose an efficiency/features target that matches your budget and comfort priorities (SEER2/HSPF2), and confirm the unit meets the minimum for your region, since split-system AC standards are regional.
- Validate an AHRI-listed match when mixing split components.
- Lock the install plan: installer, timeline, and what materials are included (including electronic air cleaner add-ons if you're upgrading indoor air quality).
Submit a quote request on the website; if the form fails, email admin@Budgetheating.com or call 813-885-7999. BudgetHeating.com accepts returns/exchanges within 30 days for unused items in the same condition; return requests after 30 days are not accepted (policy effective immediately as of Nov 14). The federal 25C credit, which covered qualifying heat pump installations at up to 2,000 dollars per year, ended for property placed in service after Dec 31, 2025. State, local, and utility rebates are now the incentive path to check before you buy.
The goal is the same one set at the start: buy quickly only where it's safe to move fast, and slow down on the decisions that are expensive to correct-system type, load-based sizing, efficiency and comfort features, AHRI-backed matching, and a clear installation plan.
Wrapping Up
Buying a central air conditioner is less about grabbing the first "right-sized" unit and more about making a few high-impact decisions that protect comfort and your budget. Start by choosing the correct equipment category, central AC if you are keeping dependable heat, or a heat pump if you want heating flexibility and strong shoulder-season efficiency. From there, insist on load-based sizing with a Manual J calculation, then confirm airflow and duct limitations so the system can actually deliver its rated performance.
Once capacity is right, efficiency and comfort features like SEER2 and HSPF2 ratings, modulation, sound, and humidity control help refine the best fit. Just as important, verify indoor and outdoor compatibility with an AHRI-matched combination, especially with newer refrigerants like R-32, and consider ductless options when ductwork is the true bottleneck.
Now, take the next step by turning the checklist into action: confirm your load calculation, validate a matched system, and lock in an installation plan before you place the order.
 Heating
 Learning Center
 Money Saving Tips
 Product and Brands Insights
 State by State
 HVAC Systems