




 hvac systems
 learning center
 money saving tips
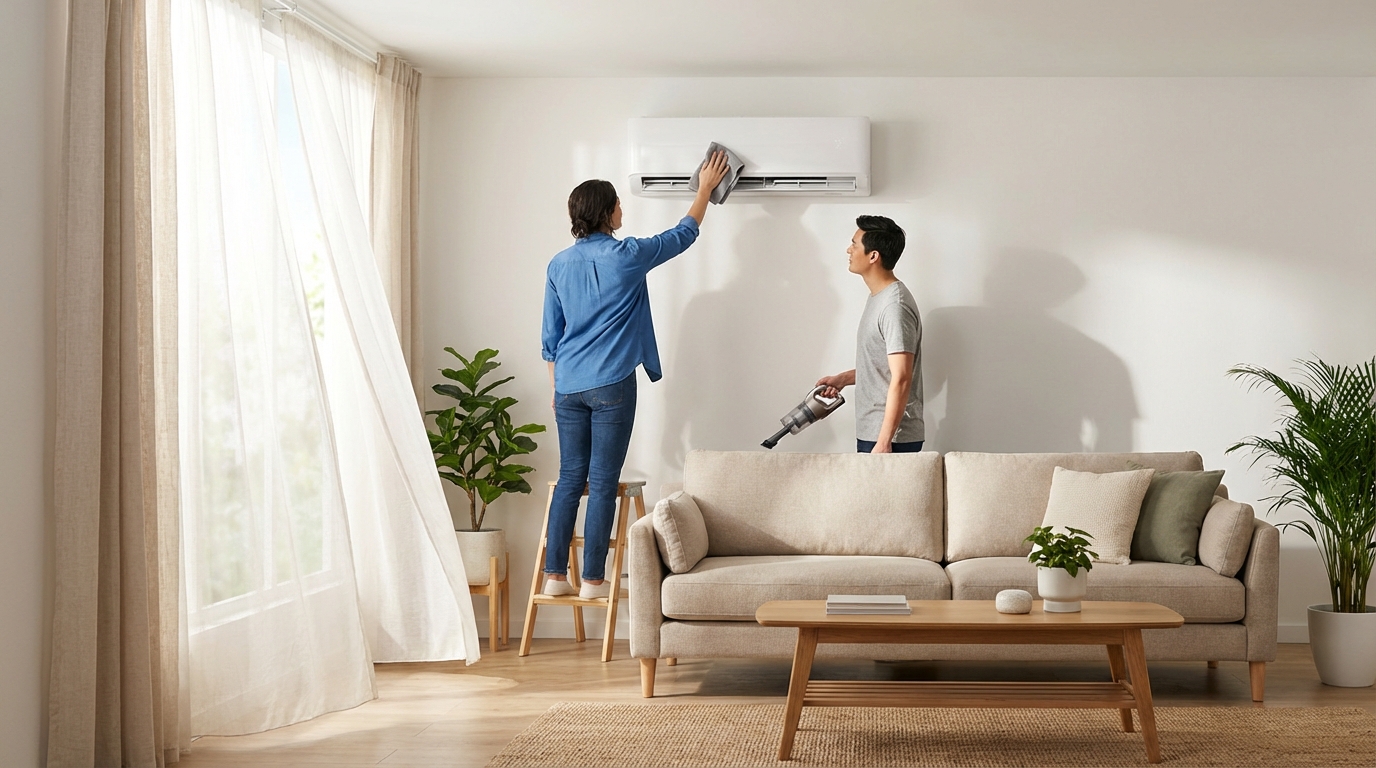
It still runs, but it's louder, costs more to operate, and can't keep up on the hottest or coldest days. That's the danger zone: the system feels "fine" until a single expensive failure turns a minor annoyance into an unexpected replacement bill.
You're stuck with a real tradeoff. Spend a little time and money on upkeep now, or roll the dice until a major repair forces the decision for you, usually at the worst time of year.
Most manufacturer and industry guidance puts typical mini split service life around 10 to 20 years, with many sources clustering at 10 to 15 or 15 to 20; in exceptional conditions, some systems run roughly 10 up to 30 years. The difference is rarely brand luck. A ductless mini split, a heating and cooling system with an outdoor unit connected to one or more indoor heads without ductwork, lives or dies by airflow and cleanliness, installation quality, and periodic professional maintenance.
This applies to ductless mini split wall heads, ceiling cassette mini split setups, multi zone mini split layouts, and mini split heat pump or air conditioner operation. The high-dollar failure modes are consistent: compressor failure, fan motor issues, control board failures, and refrigerant leaks, and neglect plus poor installation accelerates all of them. You'll walk away with practical actions that cut wear and keep those failures from becoming your next invoice.
Start With the Right System and a Clean Install
Correct sizing plus a clean install prevents the wear patterns that kill mini splits early. The catch is that a system can still "work" when it's oversized or installed sloppily, and that hidden strain shows up later as compressor stress, moisture problems, and premature leaks.
A 12,000 BTU mini split is commonly rated to cover about 400 to 600 sq ft. Treat that range as a starting point, not a decision: climate, insulation quality, window area and orientation, ceiling height, and room-specific loads (kitchens, sunrooms, server closets) routinely push the real requirement up or down. Use a BTU calculator or a Manual J-style load approach rather than rules of thumb alone, because the load is what determines run time, and run time determines wear.
Oversizing creates short run times and uneven dehumidification, so the room feels clammy even when the temperature looks right. That stop-start behavior is short cycling, and it drives longevity problems by repeatedly hammering the compressor and controls instead of letting the system settle into stable operation.
- Mounting and airflow: Manufacturer guidance often looks like MRCOOL's: about 6 inches above and about 6 inches on each side, mounted on a strong, firm location that supports weight and airflow.
- Piping protection: Confirm the line set (the insulated refrigerant tubing pair) is routed without kinks, crushing, or abrasion points.
- Drainage: The condensate line must run downhill and terminate where it cannot back up. A blocked drain can accumulate water around the coil, and restricted airflow can let that water freeze and cascade into bigger failures.
- Electrical: Verify the correct dedicated circuit, disconnect, and properly secured covers and panels.
Length and vertical rise matter because exceeding maximum line-set length reduces efficiency, often cited at roughly a 5% loss per additional 10 feet. Charge matters too: many manufacturers require adding refrigerant when installed line-set length exceeds the factory charge, commonly about 0.5 oz per additional foot.
Choose multi-zone when you have genuinely different room loads or need independent control in multiple rooms without multiple outdoor units. Choose a ceiling cassette when wall space, sightlines, or throw and air distribution are the real constraints, because placement drives comfort as much as capacity.
- Calculate the room load (Manual J-style or a reputable BTU calculator) and confirm the 12,000 BTU pick fits the actual conditions, not just the square footage.
- Confirm indoor clearances and a solid mounting surface before the bracket goes on the wall.
- Trace the line-set route for protection and measure total length and rise against the manual.
- Test the condensate drain path for continuous downhill flow and a termination that cannot back up.
- Verify the dedicated electrical provision matches the nameplate and the installer leaves service access.
A clean install sets the ceiling for how well the system can perform. Day-to-day airflow is what determines whether it stays near that ceiling or slowly chokes itself into higher stress.
Keep Airflow Strong
Airflow maintenance adds years. It is the easiest longevity lever you control, and restriction quietly drives temperatures and pressures in the wrong direction, wearing out moving parts and forcing the system to work harder.
What makes this non-obvious: mini splits usually keep heating and cooling while airflow declines. You still feel "some" air, so the warning signs get ignored until the unit starts icing, smelling musty, getting louder, or falling behind on capacity.
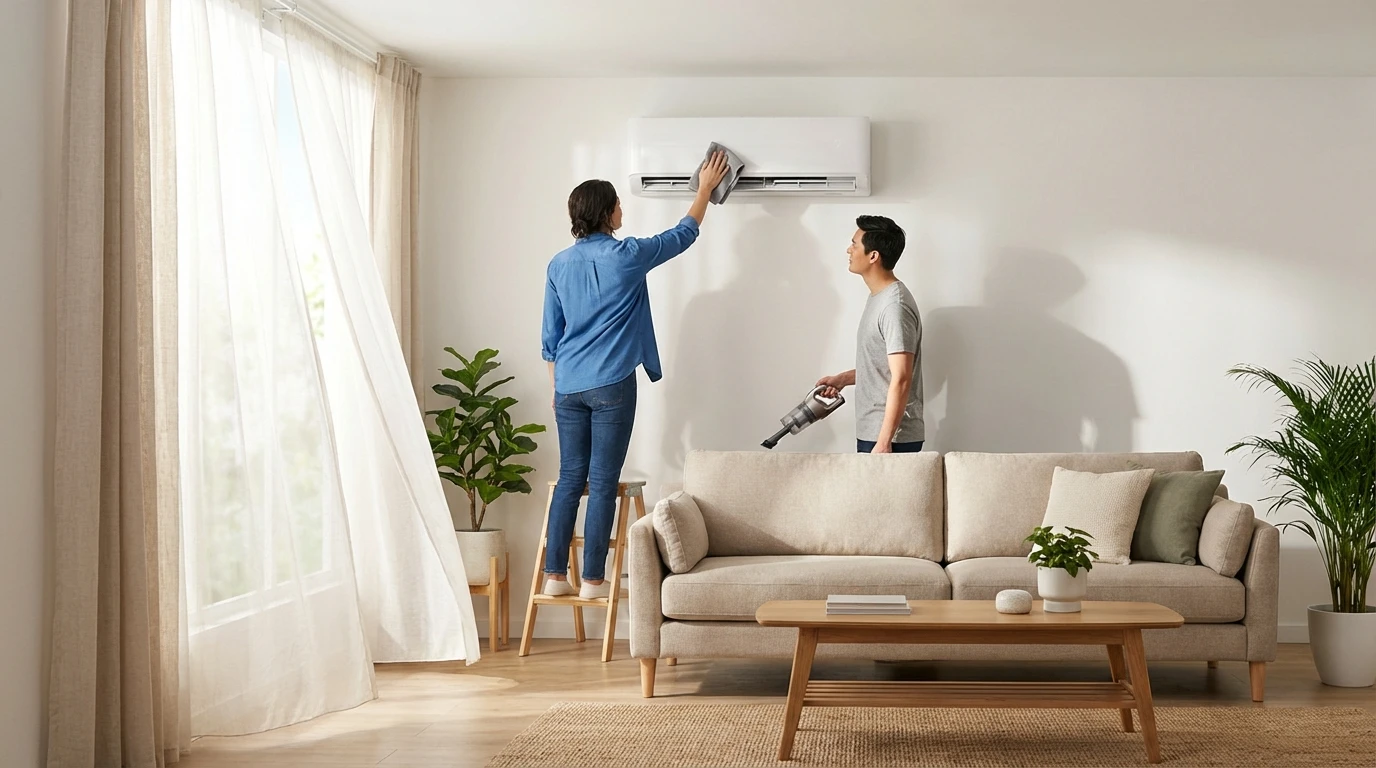
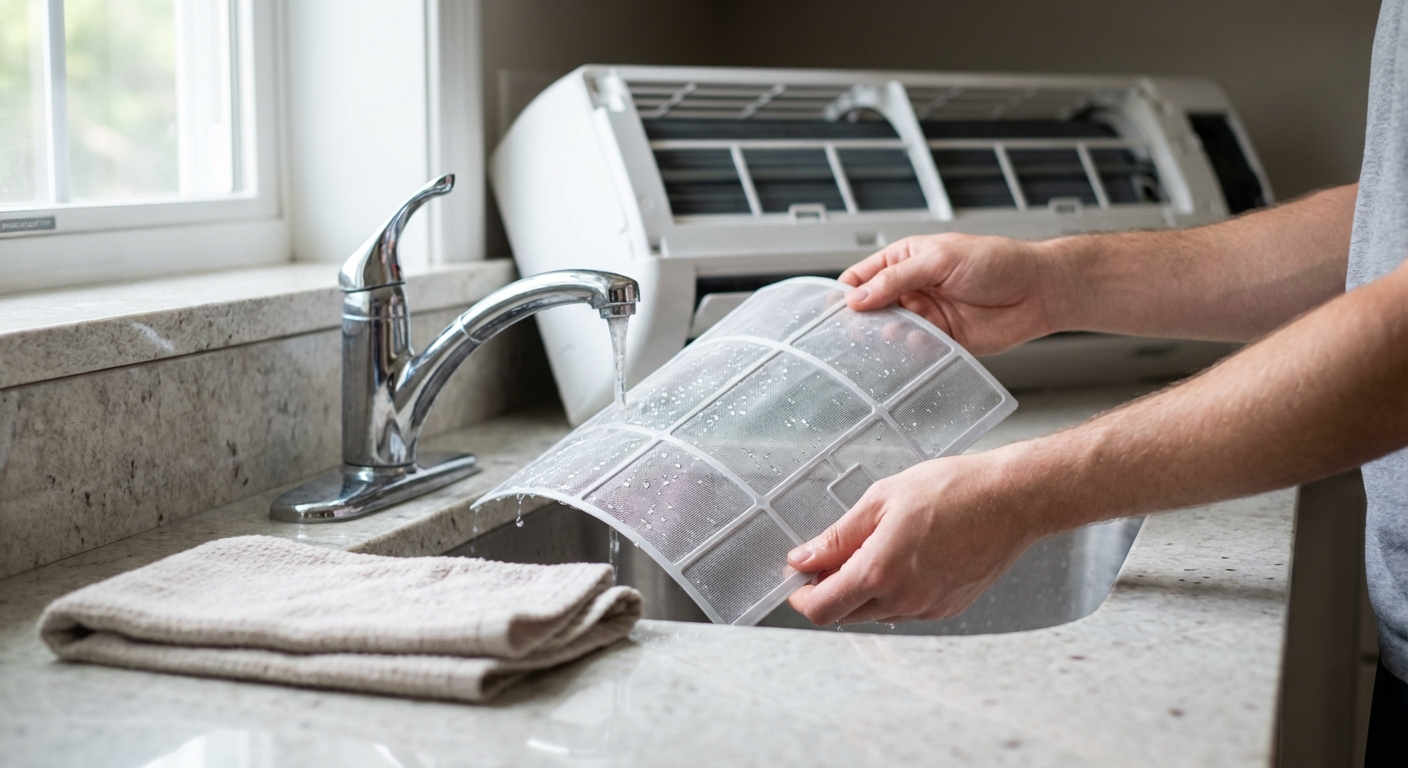
Many mini-split indoor units use reusable, washable mesh filters. "Clean" means you can see light through the mesh and airflow is no longer muted by a gray film of lint, dust, or pet hair.
Use a real cadence: clean filters every 2 to 4 weeks. Hit every 2 weeks during heavy run time, high pollen, remodeling, or if you have pets; monthly holds in moderate conditions.
Stick to water for washing and avoid chemical cleaners that can damage the filter media.
Beyond filters, keep the intake grille and discharge louvers visibly dust-free. If you see sticky buildup on the indoor coil area, notice persistent odors, or hear a "whooshing" imbalance that suggests a dirty blower wheel, stop trying to DIY deeper internals and schedule a professional deep cleaning.
Outdoor units need breathing room. Manufacturer manuals commonly call for roughly 1 to 2 feet of clearance on all sides and about 5 feet above, with the reminder that model-specific requirements vary (check your Mitsubishi mini split or LG mini split system manual). Keep vegetation, leaves, dryer lint, and snow from packing the coil face, and do not lean boards or tools against the fins.
Reduced airflow can drive evaporator coil temperature too low, leading to frost or ice. That same restriction pushes the system into abnormal pressures and temperatures, stressing compressor performance and increasing power draw.
- Weak airflow from the indoor head
- Ice on the indoor coil or refrigerant lines
- Musty or "dirty sock" odor on startup
- Rattling or uneven fan noise
- Long run times and worse comfort
- Check filters every 2 weeks; clean when film is visible.
- Wipe intake and louvers monthly to prevent dust migration.
- Walk the outdoor unit monthly; restore clear space and remove debris.
- Call for deep cleaning when odors, noise, or visible internal buildup shows up.
Airflow work handles what you can see and touch. The next layer is what you can't safely verify without instruments: refrigerant performance, electrical condition, and drainage integrity.
Schedule Pro Maintenance
Basic airflow upkeep handles what you can reach. Professional maintenance protects the compressor by verifying refrigerant health, electrical integrity, and safe drainage: three failure paths homeowners cannot accurately measure or validate with the right instruments and safety controls.
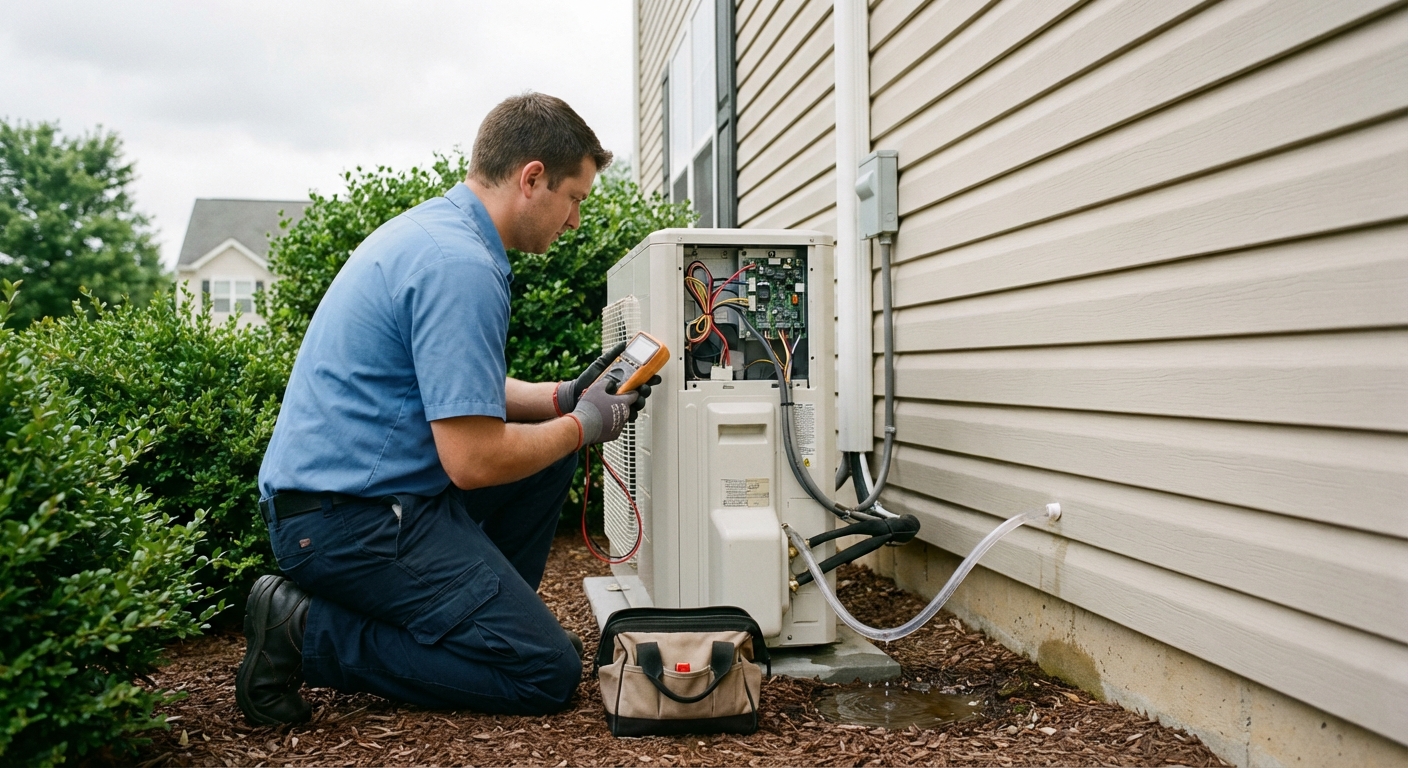
Mini splits also fail quietly. A system can still cool while running out of spec from a slow leak, a marginal electrical connection, or a partially restricted condensate drain, then tip into a no-cool event or hard shutdown when the load spikes.
Expect a pro visit to cover more than a quick rinse and a temperature check. A complete tune-up typically includes:
- Cleanliness: deep cleaning of the indoor evaporator coil and blower assembly; inspection and cleaning of the blower wheel and fan.
- Refrigerant health: verify refrigerant charge correctly and perform leak checks.
- Electrical and mechanical: inspect electrical components and general mechanical condition for safe, efficient operation.
- Drainage safety: clean the condensate pan and drain line, and confirm proper drainage to prevent clogs and overflow.
- Controls: confirm sensors, controls, and calibration are operating correctly.
Refrigerant leaks reduce efficiency, and severe undercharge leads to conditions that can end in compressor failure. "Topping off" without finding and correcting the leak is bad practice because it masks the underlying fault and keeps the system operating stressed and inefficient.
Many newer systems use R-32, classified as an A2L refrigerant (mildly flammable) under ASHRAE Standard 34. That classification is exactly why proper installation context and service handling matter: the work needs to follow manufacturer limits, code requirements, and safety guidance, not improvisation.
Ask for documentation that the coil and blower were cleaned, the drain was cleared and verified, electrical checks were performed, and refrigerant charge was verified with leak evaluation. Keep the invoice and any service notes; manufacturers commonly expect documented maintenance, and refrigerant work should be performed by technicians with EPA Section 608 certification when the service involves interrupting refrigerant flow.
Once the system is clean and verified, longevity becomes largely an operating decision: steady modulation versus constant recovery runs. The same inverter technology that saves energy also rewards stable, disciplined use.
Operate It Like a Pro
Your mini split lasts longer when it runs steadily. Set it up to minimize starts and stops, avoid extreme temperature swings, and cut unnecessary load so the system can cruise instead of constantly recovering.
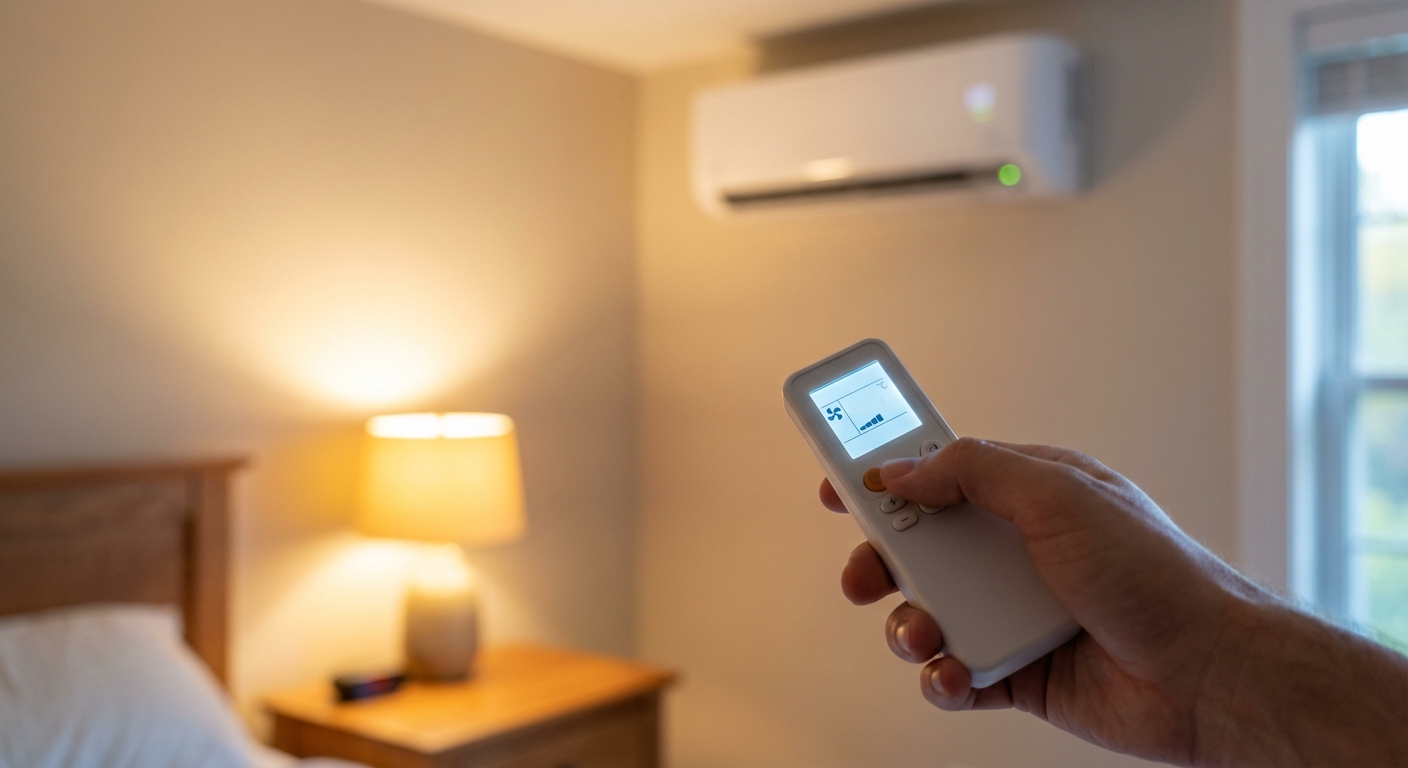
A lot of owners treat a mini split like a window unit: crank it, get comfortable, then kill it. That fights the design. An inverter-driven compressor continuously modulates speed and output instead of banging on and off, which reduces the frequent startup and shutdown losses that fixed-speed cycling creates and avoids the extra compressor wear that comes with frequent on/off operation.
- Hold a stable setpoint instead of big day/night setbacks; small adjustments beat recovery runs.
- Use Eco/Sleep and simple schedules for modest trims, not aggressive swings that force long catch-up cycles.
- Keep the envelope closed (doors and windows) so you are not paying to condition outdoors.
- Run a ceiling fan to mix air and even out room temperature so the system can run lower and longer.
- Stop power-cycling at the breaker; use the remote or controller and let the system manage itself.
In heating, the outdoor coil frosts up, so the system periodically enters a defrost cycle to melt it. Expect temporary changes like the indoor fan slowing or stopping and, on some systems, a "DF" display.
Defrost cycles commonly run about 5 to 20+ minutes, and frequency swings with weather: it can be as often as every 15 to 20 minutes in harsh, humid conditions or closer to every 60 to 90 minutes in milder stretches. Efficient heating is typical down to about 5°F (-15°C); below that, plan on supplemental or backup heat depending on your model and your home's load.
Even with ideal settings, equipment still telegraphs trouble if you know what to watch for. The goal is to catch the small, intermittent issues-especially icing and electrical symptoms-before they force a shutdown under peak load.
Catch Problems Early
Catching small symptoms early prevents the compressor-ending failures that shorten system life. The catch is that many warning signs are intermittent, only on humid days, only in heat mode, or only after a long run, so they get dismissed until the unit is forced to run under stress.
- Display: Error codes on the indoor unit display or the remote/controller, often alphanumeric (letters plus numbers) or an LED blink pattern.
- Ice/water: Frost or icing on the indoor coil or refrigerant lines, or indoor dripping/leaks. Restricted airflow over the evaporator coil can freeze the coil; low refrigerant (often from a leak) drops coil pressure and temperature and can cause rapid icing.
- Smell/noise: Burning or electrical odor; new buzzing or rattling.
- Performance: Weak airflow, short cycling, or cooling/heating that fades mid-run.
- Confirm the filter is clean.
- Clear leaves and debris around the outdoor unit.
- Verify supply and return airflow are not blocked.
- Reset power once (off, then back on).
Refrigerant and electrical testing belong with a qualified technician.
- Repeated error codes
- Persistent icing or any suspected refrigerant issue
- Burning smell, breaker trips, or water damage risk
- Abnormal noise that persists after the reset
Write down the model and serial number, photograph the rating plate, record the exact error code or blink pattern, and note the outdoor temperature and whether the system was in heat or cool. That shortens diagnosis time and reduces repeat visits.
Summary + Next Steps
Mini split longevity is a repeatable outcome when you combine install fundamentals, airflow habits, pro service, and smart operation. Those are the same levers that keep a system from sliding into the "still runs, but louder and weaker" zone that precedes expensive failures.
Right-sizing and install quality stop short cycling and protect the refrigerant circuit. Filter and airflow upkeep prevents icing and high-stress runtime. Annual pro maintenance verifies refrigerant, electrical, and drain health. Run stable setpoints that match inverter operation, and treat defrost in heat mode as normal behavior.
- Ongoing: Clean washable filters every 2 to 4 weeks (every 2 weeks during heavy use, pets, pollen, or remodeling).
- Pre-season: Inspect and clean the condensate drain and pan.
- Annually: Have electrical components inspected and tested.
Protect your warranty: register within about 60 to 90 days, save maintenance documentation, and avoid improper installation, since both are common exclusions. If you are planning an upgrade, note that the federal Energy Efficient Home Improvement Credit (25C), which provided 30% of eligible costs capped at $2,000 per year for qualified heat pump installations, ended for property placed in service after December 31, 2025. State, utility, and local programs are the remaining path. Use Budget Heating & Air Conditioning, Inc.'s rebate center to map incentives before you replace equipment.
Wrapping Up
A mini split that lasts is rarely about luck, it is about reducing stress on the system year after year. The biggest longevity gains come from getting the fundamentals right up front: proper sizing, solid mounting and clearances, protected line sets, reliable drainage, and correct electrical work that prevents short cycling and hidden strain.
From there, everyday airflow habits do the heavy lifting. Clean the filters on a real schedule, keep indoor intakes and outdoor coils clear, and bring in a technician for periodic deep cleaning plus refrigerant, electrical, and drain verification. Pair that maintenance with steady, inverter-friendly operation, and pay attention to early warning signs like icing, odors, unusual noise, or error codes before they turn into compressor-level failures.
Take a few minutes this week to check your filters, clear the outdoor unit, and note any small changes in comfort or sound so you can address them early.
 Cooling
 Heating
 Product and Brands Insights
 Buying Guides
 State by State