




 buying guides
 cooling
 learning center
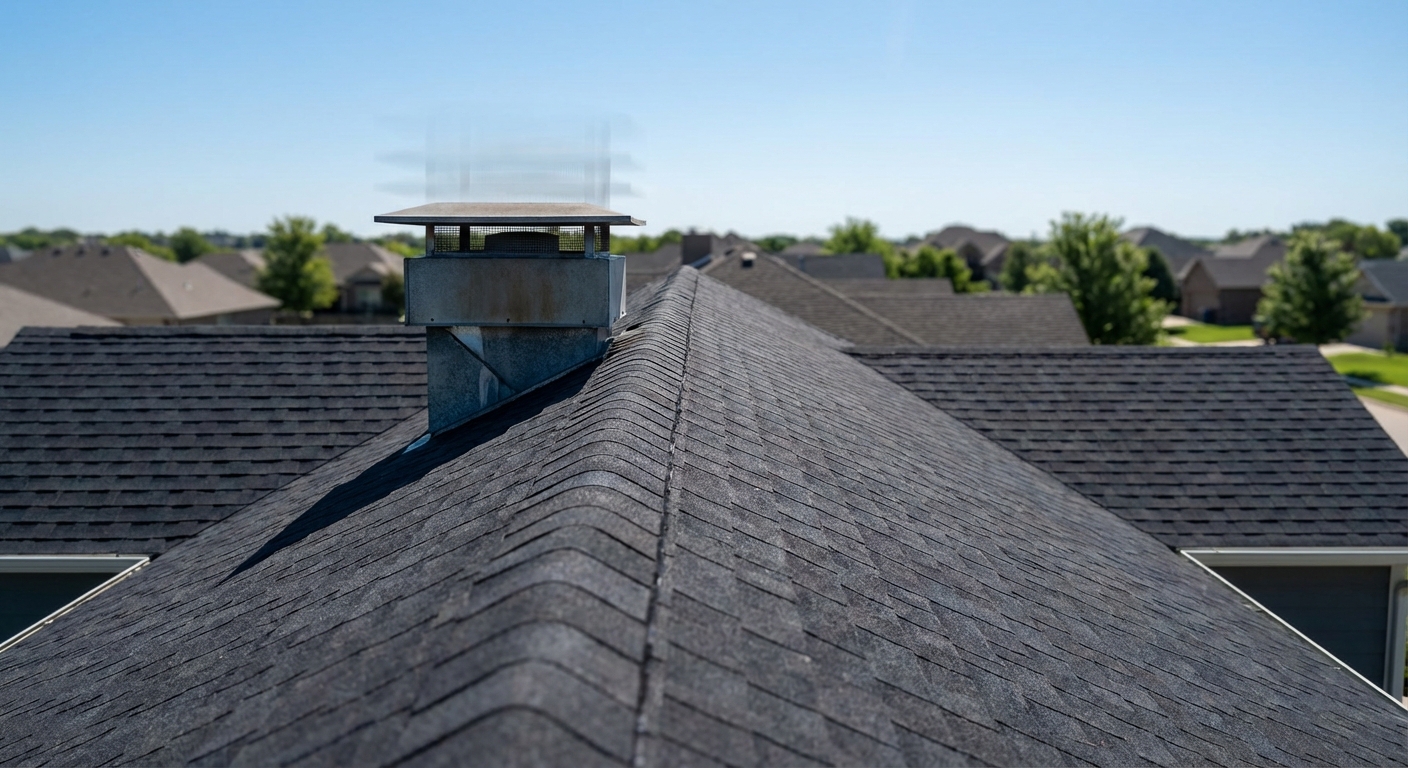
If your attic feels like a furnace, your garage or workshop stays humid and stale, and odors hang around for hours, the root problem is usually trapped heat and moisture at the top of the building, not "bad insulation" by itself. The giveaway is your HVAC running longer in hot weather while the space still feels heavy.
Roof exhaust fans are a practical ventilation tool for pulling hot, humid, and contaminated air out of upper zones like attics and out of certain utility and work spaces such as garages, workshops, and light-commercial areas. The tension is real: you want comfort and cleaner air, but you do not want to pay for noise, wiring, roof penetrations, or a system that moves air in the wrong direction and delivers little change.
They also have to match the rest of the ventilation plan, since common roof and attic options include ridge vents, box vents, slant-back vents, powered roof fans, and solar-powered vents, and they are often used in combination. In cooling-dominated climates, attic ventilation's primary purpose is venting solar-heated attic air to reduce attic temperatures; moving that hot air out also helps protect roofing materials from damaging heat. This guide will help you decide when a roof exhaust fan is the right tool, how to size and select it, what to watch during installation, what energy and HVAC impacts are realistic, and how it fits into an overall HVAC and ventilation strategy.
How Roof Exhaust Fans Work
A roof exhaust fan only performs as well as the pressure and air path it can create, which means it succeeds or fails based on adequate intake and a clear exhaust route. The common failure mode is predictable: add a powerful fan to a tight attic with limited intake, and the fan either starves for air or pulls from the nearest opening and short-circuits the flow, leaving the attic air you wanted to purge largely untouched.
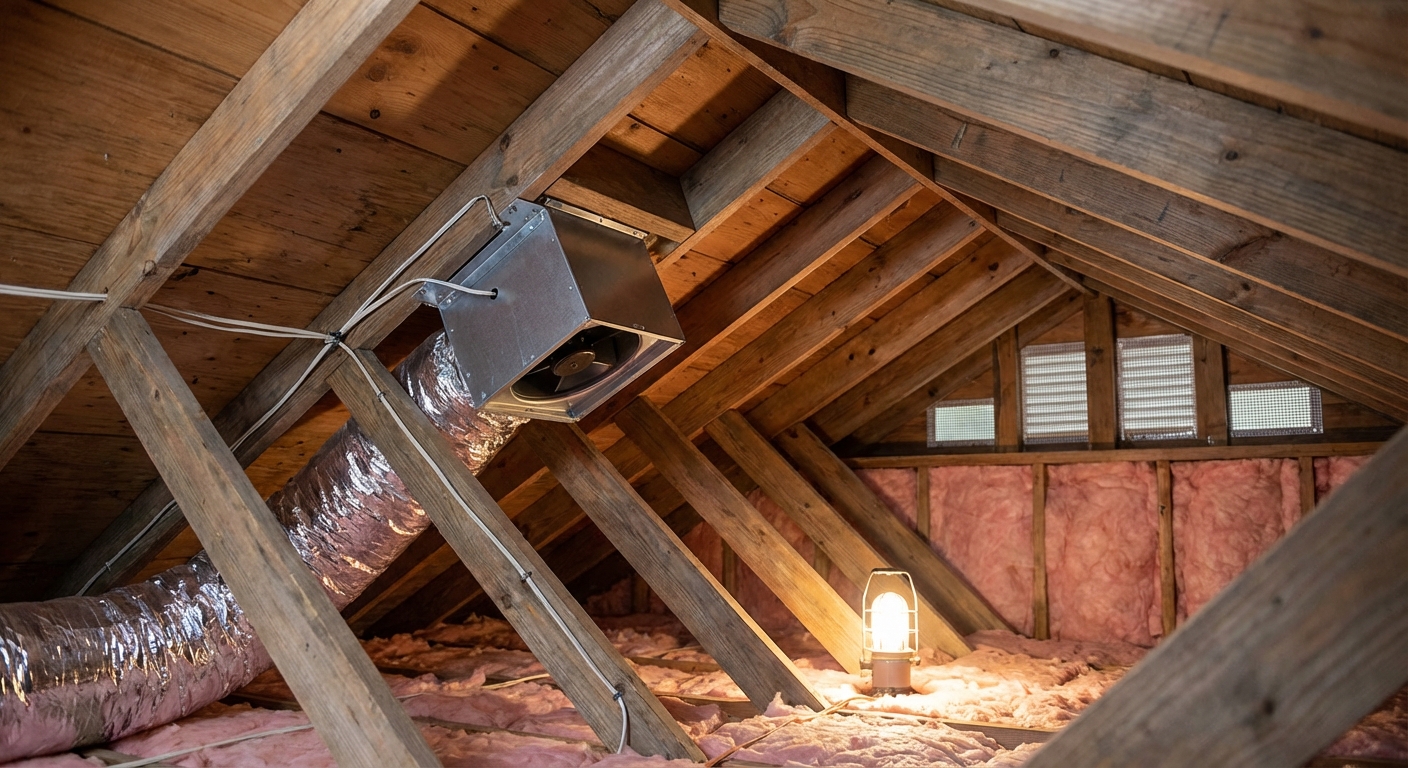
Air moves because pressure differences move it, and upper-level exhaust works because warm air is buoyant and rises. Building-science language calls this the stack effect: airflow into and out of a building driven by indoor-outdoor temperature (density) differences, where pressure differentials increase with building height and larger temperature differences. A roof-mounted exhaust point takes advantage of that natural tendency by giving the warmest, lightest air an easy exit.
The fan cannot exhaust what the building cannot replace, so intake area is the hard ceiling on airflow. That is why net free ventilation area (NFA), the effective open area after screens and louvers, is the number that matters when "vent size on paper" looks generous but the real opening is not. Code anchors this reality: the IRC baseline attic ventilation minimum is 1/150 NFA, with an exception allowing 1/300 when intake and exhaust balance conditions are met, which directly constrains fan capacity and vent layout.
A powered roof exhaust earns its keep when passive venting is underperforming in a stuffy, heat-loaded attic during cooling season, when attic humidity persists because warm, moist air is not leaving, or in workshops and garages where odors or contaminants linger. It is ventilation, not source control, so treat it as dilution after you have contained what you can; NREL guidance is explicit that local exhaust of concentrated sources comes first, then whole-building ventilation to address what remains.
If soffit intake and high exhaust pathways are already continuous and correctly balanced, passive attic ventilation is often sufficient, because it ventilates the attic space without a fan fighting for makeup air. HRV and ERV systems are for whole-house, occupied-space ventilation, not attic ventilation, so they solve indoor air exchange and pressure management problems, not hot-roof or damp-attic airflow problems (and they differ from economizer outdoor-air ventilation strategies used with HVAC systems).
- Verify low intake exists (typically soffit) and is not blocked by insulation.
- Confirm a continuous path across the attic to high exhaust, not a nearby "easy" leak.
- Match fan expectations to NFA and the IRC 1/150 (or qualified 1/300) constraint.
Key Benefits
Once the airflow path is right, the question becomes what a roof exhaust fan can realistically improve in your specific space. Roof exhaust ventilation earns its keep by cutting attic heat load and moisture stress, not by chasing a dramatic utility-bill drop.
In hot climates, the point is straightforward: purge solar-heated attic air so less heat drives into the house and the roof system runs cooler (which can complement practical air conditioning performance tips).
The nuance is that the payoff depends on what the attic is doing in your home. If insulation and air sealing already limit attic-to-house heat flow, ventilation gains stay modest. If the attic routinely becomes a major heat reservoir, lowering attic temperature reduces heat transfer into living space and improves comfort on the top floor.
Moisture problems are usually the faster way to justify ventilation than energy math. A cooler, drier attic reduces the hours when condensation can form and wood stays damp—and it helps to understand humidifiers vs. dehumidifiers for managing indoor comfort when humidity is the real driver. As practical risk guidance, sheathing moisture content around 20% to 28% is considered risky, and above 28% signals more severe risk.
Ventilation is not source capture. Local exhaust removes contaminants at the source, while dilution ventilation reduces the odors and pollutants that remain after source control.
If your ducts or air handler live in the attic, attic temperature directly affects duct heat gain and equipment thermal stress. Better attic conditions reduce ceiling heat gain and can reduce duct heat gain, but results hinge on duct insulation and leakage, not just ventilation.
Measured hot-climate testing found forced attic ventilation reduced ceiling heat gain by about 1.1 Btu/hr·ft² and reduced heat gain to attic duct systems by about 94 W. Separate research also shows that with well-sealed ducts, vented versus unvented attics can use similar cooling energy, while leakage changes the outcome.
Pick the goal first: heat relief, moisture protection, or pollutant control. Then set expectations accordingly, with source control first for pollutants and ventilation to manage what remains—and consider how to conduct a home energy audit to quantify attic heat gain, air leakage, and likely comfort payback.
Sizing and Selecting a Roof Exhaust Fan
The benefits above depend on getting the airflow rate and intake area aligned, because sizing errors are the #1 reason roof exhaust fans disappoint. The fan can only move what the attic needs and what the building can supply. Chasing bigger CFM creates new problems fast, including starved intake (low actual airflow), louder operation, wasted watts, and pressure issues that can pull air from places you do not want.
Use air changes per hour (ACH) as your sizing anchor, because it ties airflow to the attic's actual volume. ACH is a ventilation rate expressing how many times the air volume of a space is replaced in one hour, and HVI recommends powered attic ventilators provide a minimum of 10 ACH as a sizing basis. High-level conversion is straightforward: CFM = (attic volume in cubic feet × ACH) ÷ 60. Example: a 1,200 sq ft attic with 4 ft average height is 4,800 cu ft; 10 ACH targets about 800 CFM.
That CFM target is meaningless if intake is undersized. Make-up air is replacement air that enters a building or attic to balance exhaust airflow and prevent excessive negative pressure, and your soffit or other intake capacity (and NFA) is the hard limit. HVI sets the floor here: provide at least 1 sq ft of net free intake area per 300 CFM of certified fan capacity, so the 800 CFM example needs about 2.67 sq ft (roughly 385 sq in) of soffit intake. Use soffit vents as the intake for a powered attic ventilator rather than gable vents, which can pull rain and snow into the attic. Keep IRC 1/150 vs 1/300 venting constraints in view, because the code ratio can cap how much net free area you can realistically provide.
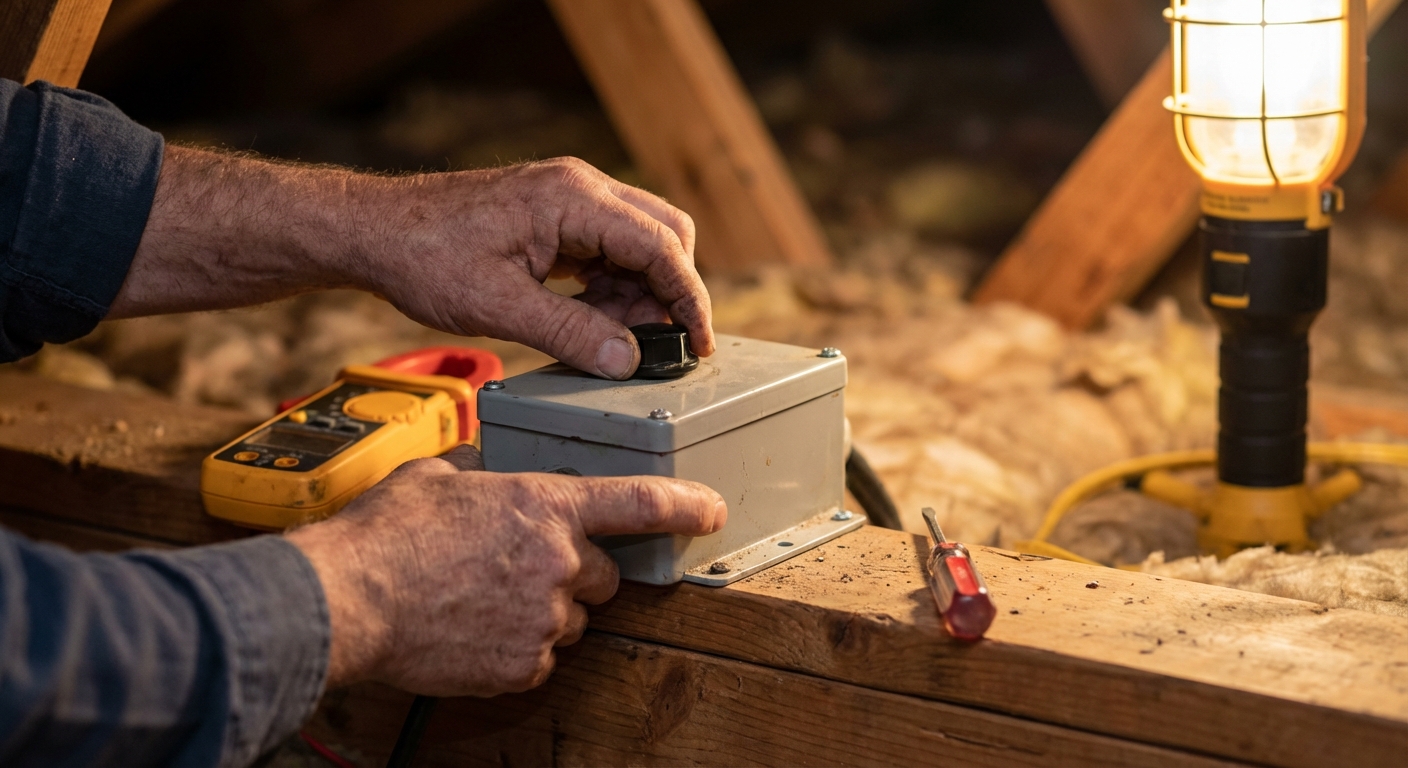
Pick controls based on what actually drives your attic load: a thermostat targets heat spikes, a humidistat targets moisture, a timer forces predictable run windows, and smart controls optimize around setpoints and scheduling. Motor choice is the efficiency lever: an ECM motor is an electronically commutated motor that can be significantly more efficient and quieter than a traditional PSC motor, and ECM motors can use up to about 85% less electricity than PSC motors while being described as substantially quieter. That matters most when the fan runs for long stretches in hot seasons.
Do not ignore pressure effects in homes with combustion equipment. Backdrafting is reverse flow of combustion flue gases into the building due to pressure imbalances, posing safety hazards, and aggressive exhaust with weak make-up air is a classic trigger, especially with atmospherically vented appliances. If you have a natural-draft water heater, older furnace, or any persistent flue odor, involve a qualified HVAC or combustion-safety pro before increasing exhaust capacity.
The selection sequence is simple and reliable: set an ACH-based CFM target, confirm intake and NFA can support it, then choose the controls and motor type that match your attic's pattern of heat, humidity, and runtime.
Installation Best Practices
Even a correctly selected fan can fail in the field if placement and roof/electrical details undermine the airflow path or the building envelope. A perfectly sized roof exhaust fan still fails for two reasons: the airflow path gets short-circuited by bad placement, or the roof and electrical work are executed poorly and you end up with leaks or unsafe power. The friction is real. Rafters land where they land, flashing details get rushed, and protection devices get buried where nobody can reach them.
Place the fan to support a clean low-to-high path: air enters low and leaves high, without the fan pulling from the nearest opening. For a passive system, split the total vent area roughly half low (intake) and half high (exhaust). With a powered fan doing the exhausting, weight the net free area toward intake instead: HVI recommends about 60 percent at the under-eave intake vents and 40 percent at the roof or high gable. Use the common checkpoint of 1 ft² net free ventilation area (NFA) per 300 ft² of attic floor area, then sanity-check the split so the fan is not starving for intake.
Before any cut, verify rafter spacing and look for obstructions. Lay out the opening, cut cleanly, and treat watertightness as the only pass-fail metric. Flashing failures are rarely due to defective materials and are instead usually caused by installation shortcuts, so integrate the flashing correctly with the roofing system and underlayment, follow the manufacturer fastening pattern rather than improvising fastener locations, and use sealant where manufacturers specify it at penetrations and transitions to achieve watertightness.
Match the power approach to the unit design: hardwired where required, or a receptacle where the fan is listed for cord-and-plug. Use strain relief, weather-rated components, and an NEC-compliant disconnect where required by the manufacturer. NEC updates also broaden GFCI requirements to increase protection of installations, and GFCI protective devices must be readily accessible; protection can be provided by either a GFCI breaker or a GFCI receptacle depending on the design.
- Run the fan and confirm correct rotation, stable operation, and no abnormal vibration.
- Verify damper movement (if present) and confirm it opens under airflow and closes when off.
- Inspect for obvious short-circuiting: the fan should not be pulling from a nearby vent instead of sweeping the attic.
- Confirm intake is not blocked and the low/high vent area split supports the airflow path. If the home has any atmospherically vented combustion appliance (natural-draft water heater, older furnace, fireplace), have a qualified technician perform a worst-case depressurization and draft test with the fan running, and verify no spillage of flue gases. Do not skip this step, and make sure working CO alarms are in place. If the home has any atmospherically vented combustion appliance (natural-draft water heater, older furnace, fireplace), have a qualified technician perform a worst-case depressurization and draft test with the fan running, and verify no spillage of flue gases. Do not skip this step, and make sure working CO alarms are in place.
If you cannot guarantee fall protection, a watertight flashing integration, or code-correct electrical protection, hire a licensed roofer and electrician. For roof-rated accessories or product support, Budget Heating can point you to the correct installation materials for common HVAC equipment.
How Roof Exhaust Fans Fit with Heat Pumps, Dual Fuel
Where roof exhaust fans get controversial is when attic ventilation interacts with the home's pressure boundary and duct system. A roof exhaust fan either reduces HVAC burden or steals conditioned air, and the difference comes down to pressure boundaries. Ductwork in unconditioned spaces loses energy through air leakage and conduction, and a hot attic increases conductive and infiltration heat gains to the duct system. If your air handler and supply runs are in the attic, attic conditions are no longer "outside the mechanical system"; they are part of the load.
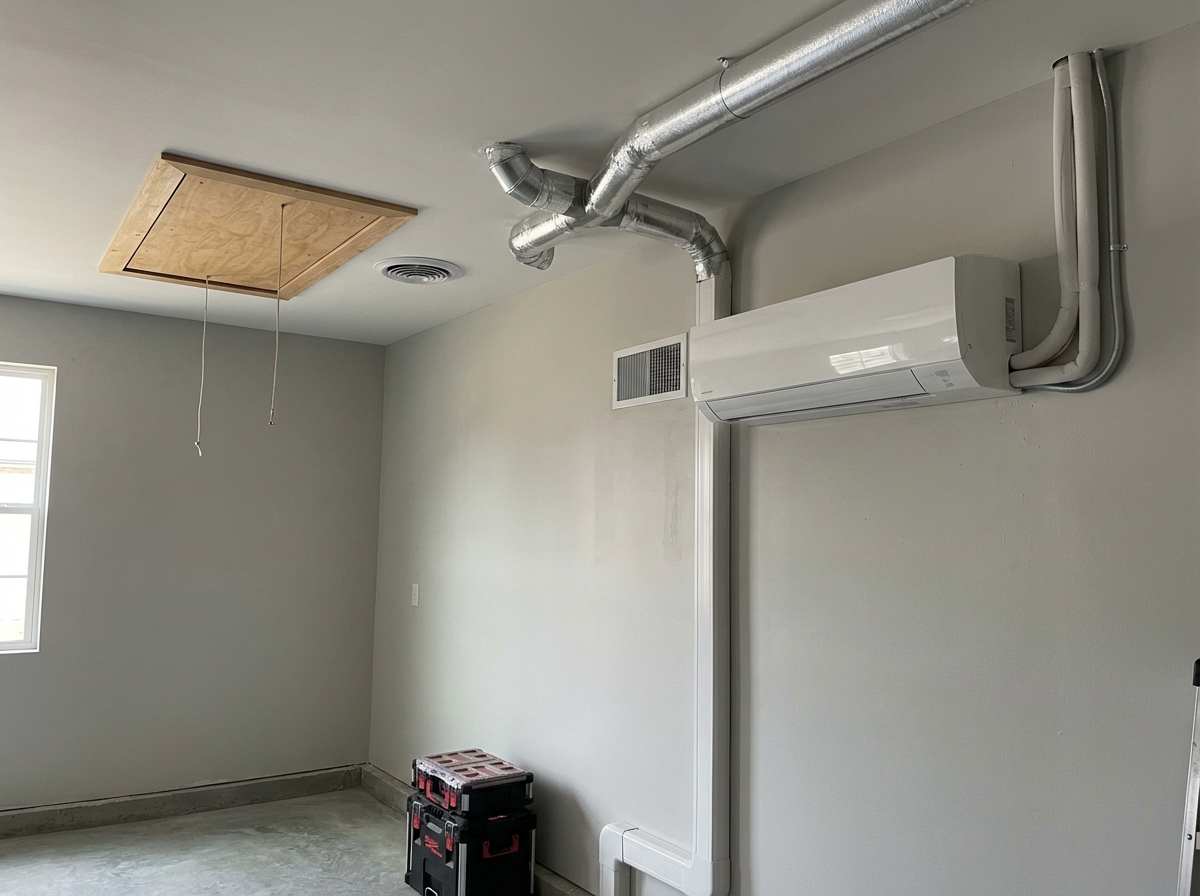
In cooling season, lowering attic temperature helps most when the distribution is overhead: ducted heat pumps, dual-fuel systems with an attic air handler, or any central system feeding ceiling registers. This is the scenario where powered exhaust can outperform passive ventilation that is undersized, blocked, or poorly balanced.
It also helps in attached garages and workshops that share walls or ceiling cavities with conditioned space: exhausting accumulated heat and odors reduces the driving force for migration through cracks, without claiming whole-house indoor air quality compliance.
Powered attic ventilation can create negative-pressure pathways that pull conditioned air through ceiling penetrations when air sealing is poor. The operational fix is straightforward: verify the pressure boundary with air sealing plus blower-door and duct-leakage testing, and make sure the fan has adequate, intentional intake paths instead of scavenging from the house.
If your goal is occupant indoor air quality, stop trying to solve it with attic exhaust. ASHRAE 62.2 is the primary residential ventilation standard commonly used to size whole-house ventilation for occupied-space indoor air quality; design to it with dedicated mechanical ventilation, and use an HRV or ERV where the loads justify it.
Conclusion
The right roof exhaust fan plan is a system decision, not a gadget purchase: match the fan to a real intake plus exhaust pathway, match the roof cut-in to a watertight install, and match the goal (attic heat and moisture control vs whole-house IAQ). Performance rises or falls on the airflow path, the benefits are real but bounded (use the measured ceiling and duct heat-gain reduction example above as the yardstick), and sizing stays honest when you target 10 ACH and confirm adequate intake. Poor sealing or wiring turns "upgrade" into leaks, nuisance trips, or lost conditioned air, and pairing can help ducted systems in hot attics but hurt when ceiling air sealing is weak.
That is the practical way to address the real-world symptoms from the start-an attic that bakes, and garages or workshops that stay damp or smelly-without paying for a fan that is loud, leaky, or simply moves air in the wrong direction. Run the operating cost like this: kWh = (watts × hours/day × days) ÷ 1000; cost = kWh × $/kWh. Typical installed costs (labor + materials) keep expectations grounded: passive vent improvements ~$75-$100, electric attic fans ~$100-$450, solar attic fans ~$300-$1,000. Stay anchored to code baselines commonly expressed as 1/150 NFA minimum, with an exception that can allow 1/300 under certain balancing conditions.
Next steps: confirm your current intake and exhaust balance, decide whether you need passive venting, powered attic exhaust, or a whole-house ventilation strategy, then price it with the cost formula and sanity-check it against the installed ranges. If you want help comparing equipment options or getting quotes, read customer experiences and reviews.
Wrapping Up
Roof exhaust fans can be an effective way to clear hot, humid, and stale air from attics, garages, and workshops, but only when the airflow path is right. The article's core theme is that performance depends on pressure and make-up air: adequate low intake, a clear low-to-high route, and enough net free ventilation area to support the fan without short-circuiting or starving for air.
When selected and installed well, powered exhaust can reduce attic heat load, lower moisture risk, and ease stress on attic ductwork, with realistic expectations about energy savings. The best results come from sizing by ACH, choosing controls and motor type that match your conditions, and treating installation details like flashing, wiring, and pressure impacts as non-negotiable, especially in homes with combustion appliances.
As a next step, check your existing intake and exhaust balance, then decide whether passive vent improvements or a properly sized roof exhaust fan is the right fit for your space.
 Heating
 Money Saving Tips
 Product and Brands Insights
 State by State
 HVAC Systems