




 cooling
 learning center
You can swap thermostats, clean filters, and stare at the indoor air handler all day, then still end up with the same uneven rooms, high bills, and a backyard unit that sounds like a shop vacuum. Replacement quotes make it worse because the parts you can see inside feel like the obvious place to start, but they rarely set the ceiling on performance.
The real tradeoff is outside: quiet vs cost, efficiency vs upfront price, repair vs replace, and the persistent myth that bigger automatically means better. Hot afternoons and rapid load swings expose it fast, because the outdoor side is where the system either keeps up or falls behind.
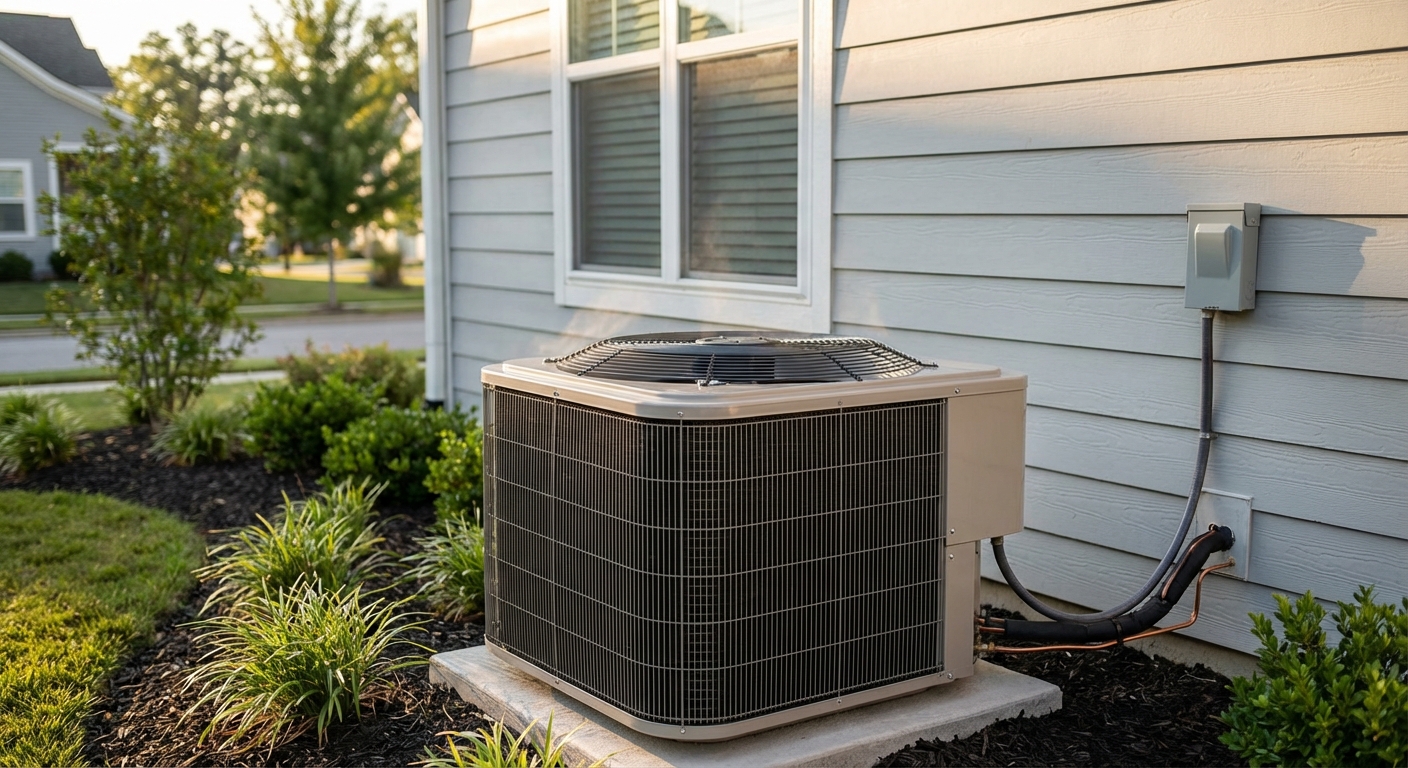
The condenser unit (outdoor unit) is the lever that most changes comfort, cost, reliability, and noise because it contains the compressor, outdoor coil, and fan that move heat between the refrigerant and outdoor air. In cooling mode, the outdoor unit rejects heat to the outdoor air via the outdoor coil and fan, so its design is the primary driver of how effectively your system sheds indoor heat and how hard it has to work to do it. Typical central AC condensing units running full capacity are often about 70 to 80 dB(A) at 1 meter, while newer designs can be under about 60 dB outdoors depending on staging or inverter design.
You will be able to treat condenser specs and design choices as the decision center when evaluating upgrades or troubleshooting straight AC, split heat pumps, and ductless mini splits.
To do that confidently, it helps to start with the refrigeration cycle itself, because every sizing, efficiency, and noise discussion traces back to where the heat goes.
How an AC Condenser Works
If you can explain where the heat goes, you can explain why the system struggles.
The condenser is the home's heat-rejection engine because the refrigeration cycle is fundamentally about moving heat, not "making cold air." That one idea explains most comfort complaints that show up as weak cooling, long run times, or a unit that seems to run but never catches up.
- Compress: The compressor squeezes refrigerant vapor into a high-pressure, high-temperature vapor so it can dump heat effectively.
- Condense (reject heat): In the condenser coil, that hot refrigerant pushes heat into the surrounding air and condenses from vapor to liquid.
- Expand (meter): The metering device drops pressure, setting the refrigerant up to absorb heat again.
- Evaporate (absorb heat): In the evaporator coil, the low-pressure refrigerant absorbs heat from the air and evaporates back to vapor.
In cooling mode, the outdoor coil is the condenser and the indoor coil is the evaporator (often a horizontal slab cased coil). If the outdoor side can't reject heat, the whole loop bogs down.
Heat pumps complicate the "which coil does what" question because the reversing valve redirects refrigerant flow. In heating mode, the indoor coil becomes the condenser and the outdoor coil becomes the evaporator.
The homeowner-visible implication: the outdoor coil can frost up in winter because it's absorbing heat from cold outdoor air, and the system periodically runs a defrost cycle to clear that frost.
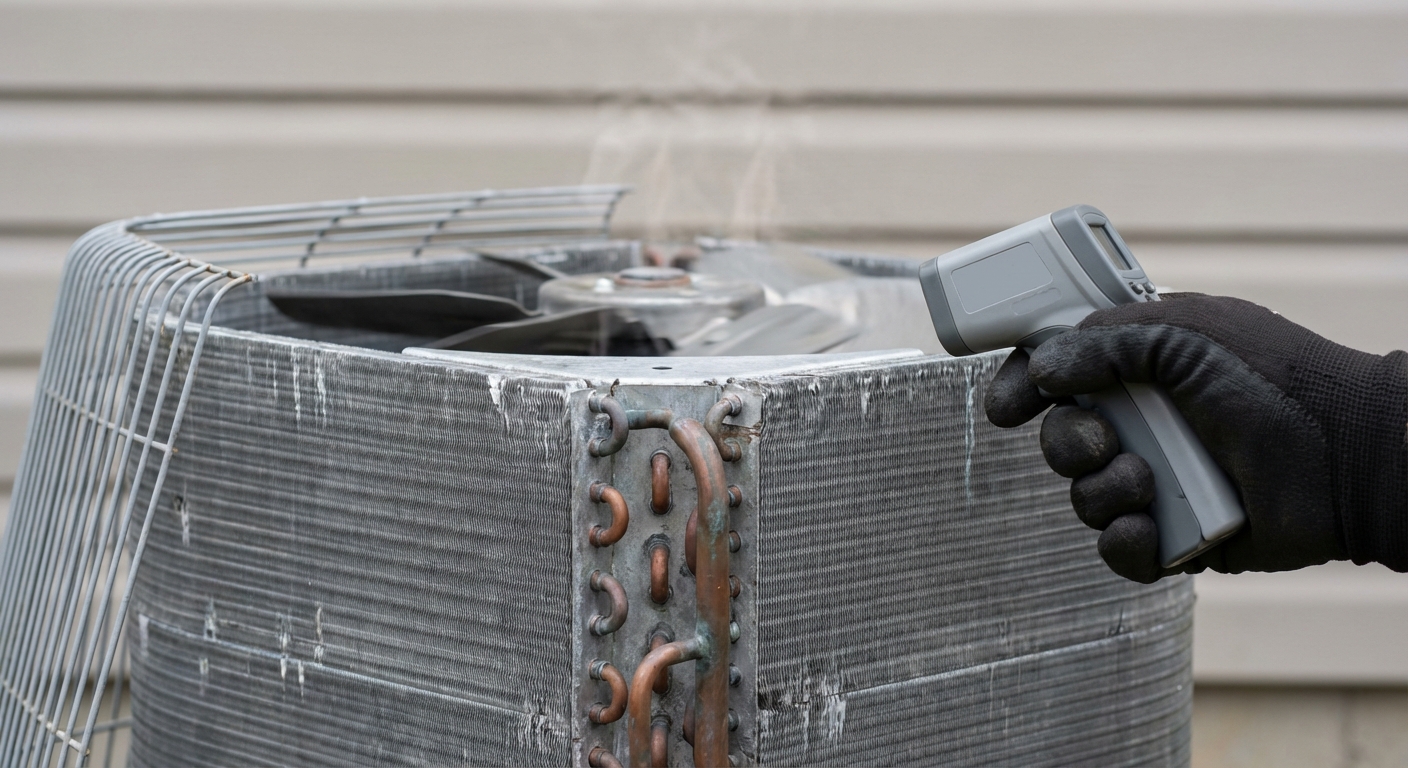
The outdoor unit is a tight package of three parts: a compressor, an outdoor coil, and a fan. Common variations are straightforward: scroll, rotary, or inverter-driven compressors; copper-tube/aluminum-fin coils versus all-aluminum microchannel coils; and PSC versus ECM fan motors.
PSC (permanent split capacitor) motors are a simple, durable, cost-effective standard in fractional-horsepower residential applications, which is why they still show up in a lot of outdoor fans.
Use this contractor-ready mental model: cooling equals heat pushed outside; heating equals heat pulled from outside.
Once you track heat movement, the next questions become practical ones: how long the system can run at a stable output, and how efficiently it can do that under real conditions.
Efficiency, SEER2, and Real Comfort
If the house feels clammy or swingy, the issue is often runtime, controlled largely by the condenser's staging and sizing.
SEER2 (cooling) and HSPF2 (heating) are updated efficiency ratings based on revised DOE test procedures, and they're determined for matched indoor-outdoor combinations, not "the outdoor unit" by itself. That detail decides whether two condensers that look similar on paper will actually deliver the same operating cost and comfort once paired with your coil or air handler. The updated procedures also incorporate the AHRI 1600-2024 context via DOE appendix M2, which is why modern ratings are more sensitive to real-world system setup than the older labels homeowners remember.
Higher SEER2 or HSPF2 does not mean the condenser is "more powerful." It means the system is more efficient, especially at part load. Part-load efficiency shows up as longer, steadier runtimes that keep temperature and moisture more stable instead of blasting on and off.
Oversizing reduces runtime. Shorter runtimes increase short-cycling, and short-cycling hurts humidity control even when the thermostat setpoint is satisfied. The result is the classic complaint: the house hits 74°F, but it still feels sticky and uneven because the system isn't running long enough to wring out moisture and stabilize room-to-room swings.
Single-stage condensers behave like a light switch: full output, then off. Variable-capacity (inverter-driven) systems throttle down and keep running, which is exactly what good comfort requires most days when the load is moderate. This staging difference also changes the "feel" of operation: fewer hard starts and more low-speed running, so the system is less abrupt during normal cycling.
Those controls cost money. Example wholesale listings from Budget Heating show a basic 2-ton heat pump system around $3,193 "Our price" (with a sale shown near $2,580), while a 2-ton Bosch ~15.2 SEER2 inverter system is listed around $3,875 and a 3-ton Bosch ~14.5 SEER2 inverter system around $3,580. Those numbers are price anchors, not guarantees, but they explain why inverter comfort typically comes with a higher upfront ticket.
- Prioritize correct load sizing before chasing the highest SEER2/HSPF2 number.
- Choose a staging strategy that matches your comfort goal: variable capacity for steadier runtimes; single-stage for simplicity.
- Compare SEER2/HSPF2 only on matched indoor-outdoor system ratings, not condenser-only claims.
Efficiency and comfort are system outcomes, but they are also constrained by what the system is built to run on. Refrigerant choice forces specific condenser design and installation requirements.
Refrigerant Choice and What It Means for Condenser Design
Refrigerant isn't just what's in the lines, it dictates what the condenser is allowed to be. The outdoor unit, metering strategy, oil selection, leak testing, and commissioning targets are engineered around a specific refrigerant's operating behavior, so the service procedures have to match the nameplate.
R-32 is ASHRAE/ISO safety class A2L (low toxicity, mildly flammable); R-410A is A1 (nonflammable). Choosing an A2L refrigerant changes the equipment and installation risk profile, which is why manufacturers tie A2L systems to specific handling and installation requirements.
A2L refrigerants are mildly flammable and require specific conditions to ignite, and some codes or authorities restrict flammable or mildly flammable refrigerants in certain applications. Service also expects A2L-compatible tools and updated practices, which is a contractor readiness question, not a homeowner DIY project.
R-32 and R-410A are not interchangeable. In practice, moving from an R-410A system to R-32 commonly means replacing the outdoor unit and the indoor coil or air handler to stay within manufacturer requirements.
People often hear that R-32 is described as operating in similar or comparable pressure ranges to R-410A, then assume it is "close enough." The catch is that R-32 tends to run higher compressor discharge temperatures, which drives refrigerant-specific design choices and commissioning expectations.
- Confirm the refrigerant on the equipment nameplates (R-32 vs R-410A) and keep it consistent across the matched system.
- Verify the quoted equipment list is a manufacturer-approved match (outdoor unit plus indoor coil/air handler).
- Ask whether the installing company is equipped to service A2L refrigerants with A2L-compatible tools and procedures.
- Document what gets reused versus replaced so warranty and commissioning requirements stay intact.
Refrigerant compatibility sets the rules. Pairing determines whether the rated efficiency and capacity you were sold show up in real operation.
Pairing the Right Condenser
Most "high-efficiency" disappointments are pairing mistakes, not bad equipment. A condenser can be the right size and still underperform if it is mismatched to the indoor coil, blower, and controls, because split-system performance and reliability are system outcomes, not single-box outcomes.
Ask for an AHRI match, because the published SEER2 and HSPF2 are certified on a tested combination of the outdoor unit and the indoor coil or air handler, and sometimes the furnace. That certified rating belongs to the matched set of model numbers, not to the condenser by itself. The friction is that "it fits" physically does not mean it is an AHRI-rated combination, and the gap shows up as lower delivered capacity, higher run time, and avoidable callback risk. The buying takeaway is simple: if the seller cannot produce the AHRI reference for your exact outdoor unit and indoor coil or air handler pairing, you are not buying the rated system.
Dual fuel works when winter swings are real and fuel economics vary, for example when a heat pump is cheaper to run in mild weather but gas wins in deeper cold. The system switches based on outdoor temperature compared to an economic balance point or a lockout setting, coordinated by a dual-fuel thermostat and an outdoor sensor/control board. A 96 AFUE furnace is a situational fit in tight homes, where venting constraints and cold-climate heating preference justify the setup.
Metering has to match the outdoor unit. A thermostatic expansion valve (TXV) modulates refrigerant flow as conditions change; installing the wrong metering device (TXV vs fixed orifice) reduces capacity and efficiency and adds compressor stress that shows up as reliability problems.
- Request the AHRI reference number for the exact outdoor model plus indoor coil or air handler (and furnace, if used).
- Confirm nominal capacity pairing and required blower airflow range for that match.
- Verify control compatibility (staging, heat pump features, dual-fuel switchover inputs) at a high level.
- Specify the metering device the match requires (TXV or fixed) and ensure the coil ships configured for it.
The same pairing discipline applies to ductless systems, but the comfort story changes because modulation and zoning put more of the workload on the outdoor unit (and the right air handler options still matter for compatibility).
Condensers in Ductless Mini Splits
Mini split comfort and quiet often come from the condenser's ability to modulate, not from the indoor head alone.
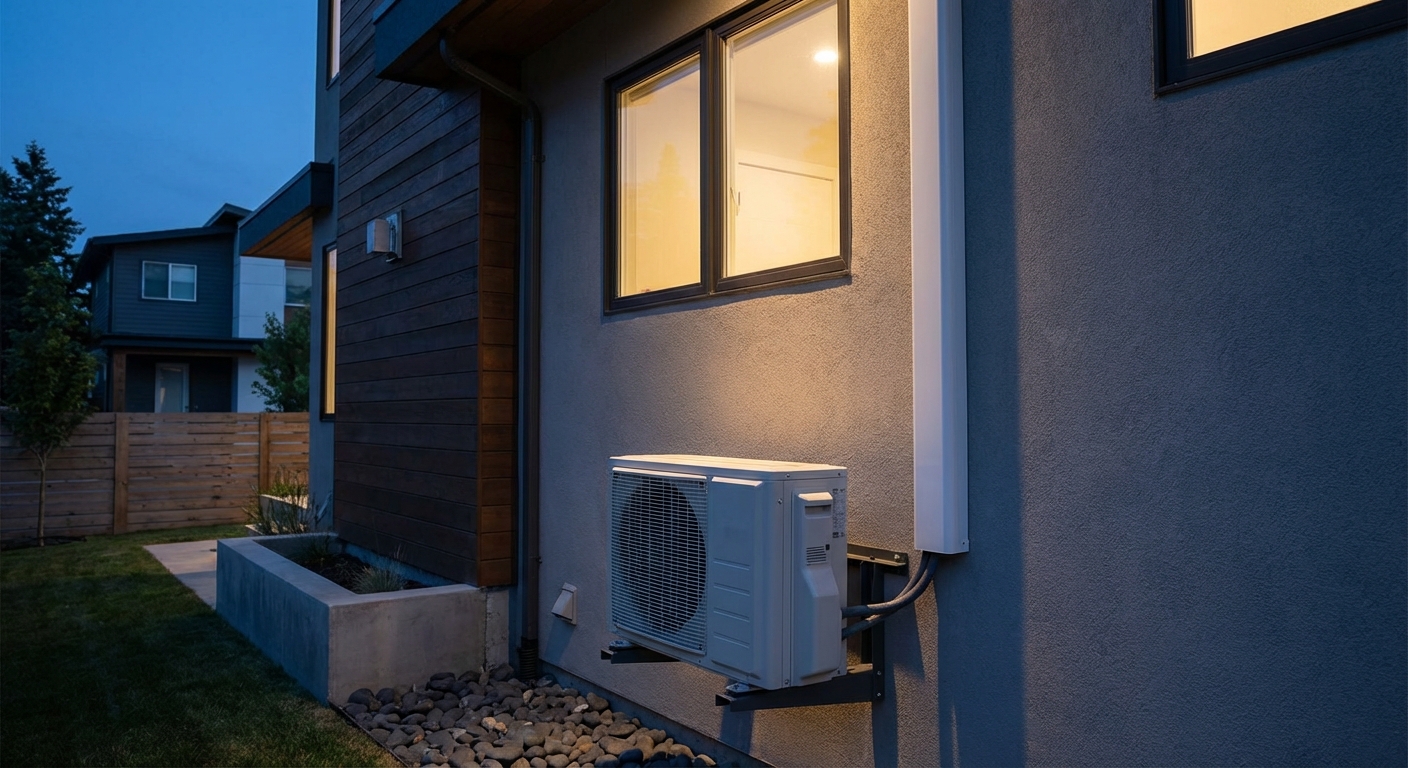
An inverter-driven compressor modulates capacity from low to high to match the actual load, so the outdoor unit spends more time running steadily instead of banging through hard start stop cycles. The payoff is practical: tighter temperature stability, more consistent moisture removal during long part-load runs, and better part-load efficiency than single-stage behavior.
The friction point is zoning. A single-zone setup is simple: one outdoor unit tracks one indoor head's demand, whether you are shopping a 12000 BTU mini split or a ceiling cassette mini split. A multi zone mini split is different: the condenser is balancing multiple indoor heads calling at different times and at different capacities, so comfort depends on whether the outdoor unit's minimum and maximum output range matches your real zoning pattern.
Mini split outdoor units commonly run roughly 45 to 65 dB(A), with many models landing in the mid-40s to around 50 dB(A) at typical conditions. Indoor heads are commonly far quieter, often about 19 to 38 dB(A) depending on mode and design.
Placement decides whether those numbers matter to you. Distance to bedrooms, airflow clearance around the coil, and mounting choice all change perceived noise. Wall brackets can transmit vibration into framing; a stand and anti-vibration supports reduce structure-borne noise.
MRCOOL DIY-style systems simplify one constraint: they use pre-charged line sets that are commonly 25 ft, can be extended with couplers, and are generally intended for one-time installation because the seal is not guaranteed if reinstalled. "DIY-ready" still does not make sizing, electrical, condensate routing, and warranty compliance mistake-proof, so confirm the allowed total line length, extension limits, and support path before you buy.
- Confirm capacity range (minimum and maximum output) matches your load, not just the nameplate BTUs.
- Choose a zoning strategy (single-zone vs multi zone) that fits how rooms are actually used.
- Verify sound specs for both outdoor and indoor units in dB(A), not marketing labels.
- Plan placement for bedroom distance, solid mounting, and proper airflow clearance.
- Validate lineset constraints (included length, extension option, one-time install limits) and the support and warranty requirements.
All of that design and pairing work still depends on basics like airflow and clearance. Neglect there can erase the comfort, noise, and operating-cost gains you were targeting in the first place, especially when weighing mini splits against portable AC options.
Maintenance, Buying Tips, and a Quick Summary
Most condenser failures and performance drops start with airflow.
Give the unit room to breathe: many manufacturer guidelines call for about 5 ft of open space above the condenser and a few feet on all sides, and they warn against placing it under large, confined decks. Restricted airflow raises head pressure, which forces the compressor to work harder and run hotter.
Clean the coil with guardrails. Alkaline coil cleaners strip heavy organic deposits, grease, and biological growth from copper-tube coils, but they can corrode all-aluminum microchannel coils, which typically require a pH-neutral cleaner the manufacturer approves. Identify your coil type first. Alkaline products work but only when you follow the label directions and use products intended for condenser coils. Carrier specifically calls for a non-corrosive foaming cleaner for evaporator and condenser coils as part of routine maintenance. Skip aggressive methods that bend fins or damage the coil, and treat persistent performance changes as a service call. Day-to-day, remove debris, trim vegetation, listen for new vibration or rattle, and keep the unit level.
Buy with discipline: correct sizing, an appropriate efficiency target (SEER2/HSPF2), a confirmed indoor-outdoor AHRI match, and reputable support and resources. That is how you reduce the uneven rooms, high bills, and excessive outdoor-unit noise that prompted the upgrade conversation in the first place.
Ready to tighten up pairing, refrigerant compatibility (including A2L), inverter-driven modulation and noise, and installation clearances in one order? Review what’s involved in installing a central air conditioner, then source the matched equipment and the right accessories from a single supplier like Budget Heating.
Wrapping Up
Air conditioner condensers do far more than sit outside and make noise, they are the system's heat-rejection engine, and they largely determine comfort, operating cost, reliability, and sound levels. Once you understand the refrigeration cycle and where the heat goes, common problems like long runtimes, uneven rooms, and sticky indoor air make a lot more sense.
The big lesson is that performance is a matched-system outcome: SEER2 and HSPF2 depend on certified indoor-outdoor pairings, correct load sizing beats oversizing, and staging or inverter modulation often delivers steadier temperatures and better humidity control. Add in refrigerant realities like R-32 versus R-410A, plus proper metering and airflow clearance, and it is clear why "just swapping the outdoor unit" can backfire.
Use the condenser as your decision center, verify the AHRI match and refrigerant compatibility, then move forward with a setup that is sized, paired, and installed to deliver the comfort you are actually paying for.
 Heating
 Money Saving Tips
 Product and Brands Insights
 Buying Guides
 State by State
 HVAC Systems