




 buying guides
 heating
 money saving tips
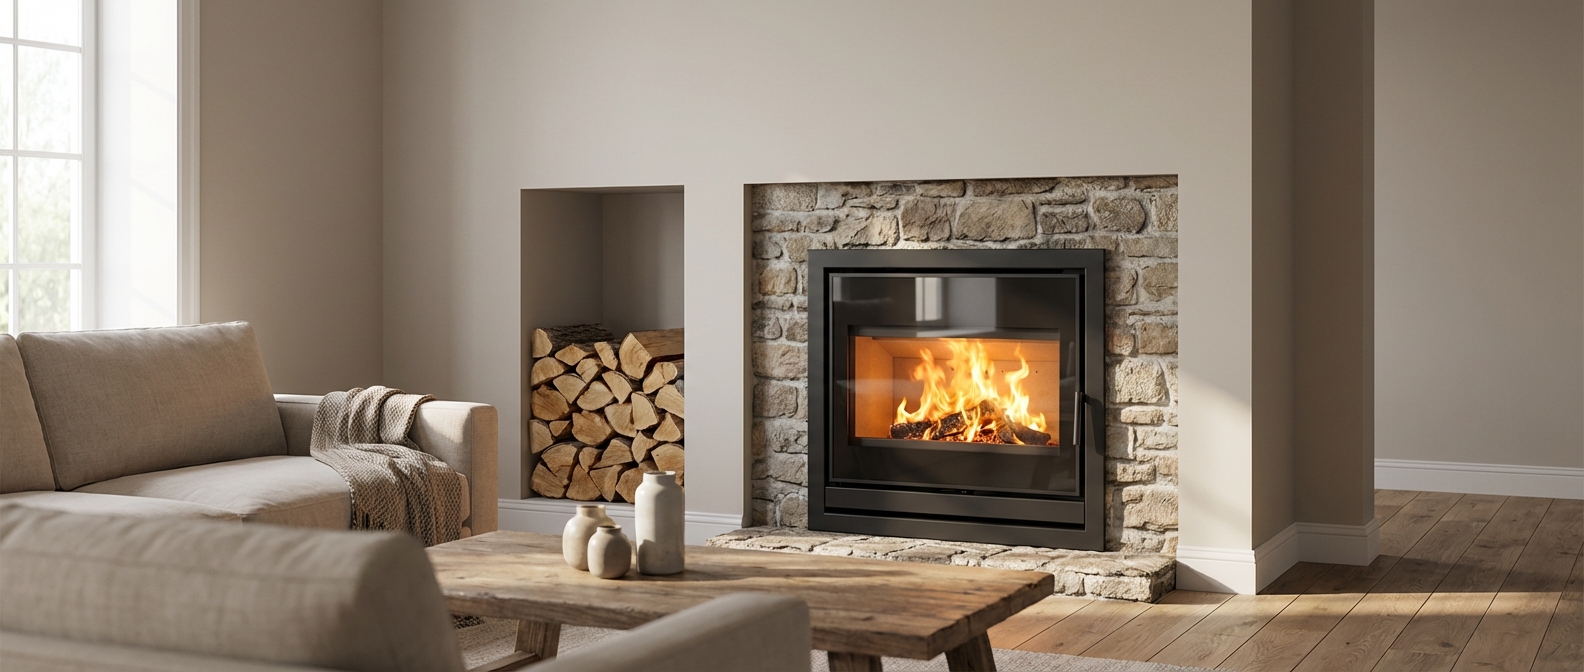
You want fireplace convenience with real heat, but 2026 shopping punishes guesswork. Product listings mix marketing language, incomplete spec sheets, and incentive fine print, so two inserts that look similar online can land in completely different buckets for compliance, rebates and tax-credit resources, and total cost.
A wood-burning fireplace insert is built to slide into an existing fireplace opening and typically uses the existing fireplace and chimney system. That makes it a retrofit heater, not a freestanding wood stove that stands on the hearth with its own venting plan.
In 2026, buying starts with certification and paperwork. Residential wood heaters must meet the 2015 New Source Performance Standard (NSPS) emissions standards and other requirements to be EPA-certified, and the EPA maintains an EPA-certified wood heater database consumers use to verify a model is actually listed as compliant with the 2015 NSPS. If it is not in that database, treat every efficiency claim and incentive promise as unproven. Then get realistic: sizing limits, installation complexity, and total installed cost still drive outcomes.
By the end, you will verify certification first, then size the unit, judge the specs, plan the install, and document incentives without overbuying.
Sizing a Wood Insert in 2026
The right insert size is the one you can run cleanly at the heat level your home actually needs. Sizing is matching intermittent, user-driven heat to real demand, not chasing the biggest BTU number on a box. Go too big and you end up choking the fire down to stay comfortable. Go too small and you spend cold snaps feeding it nonstop.
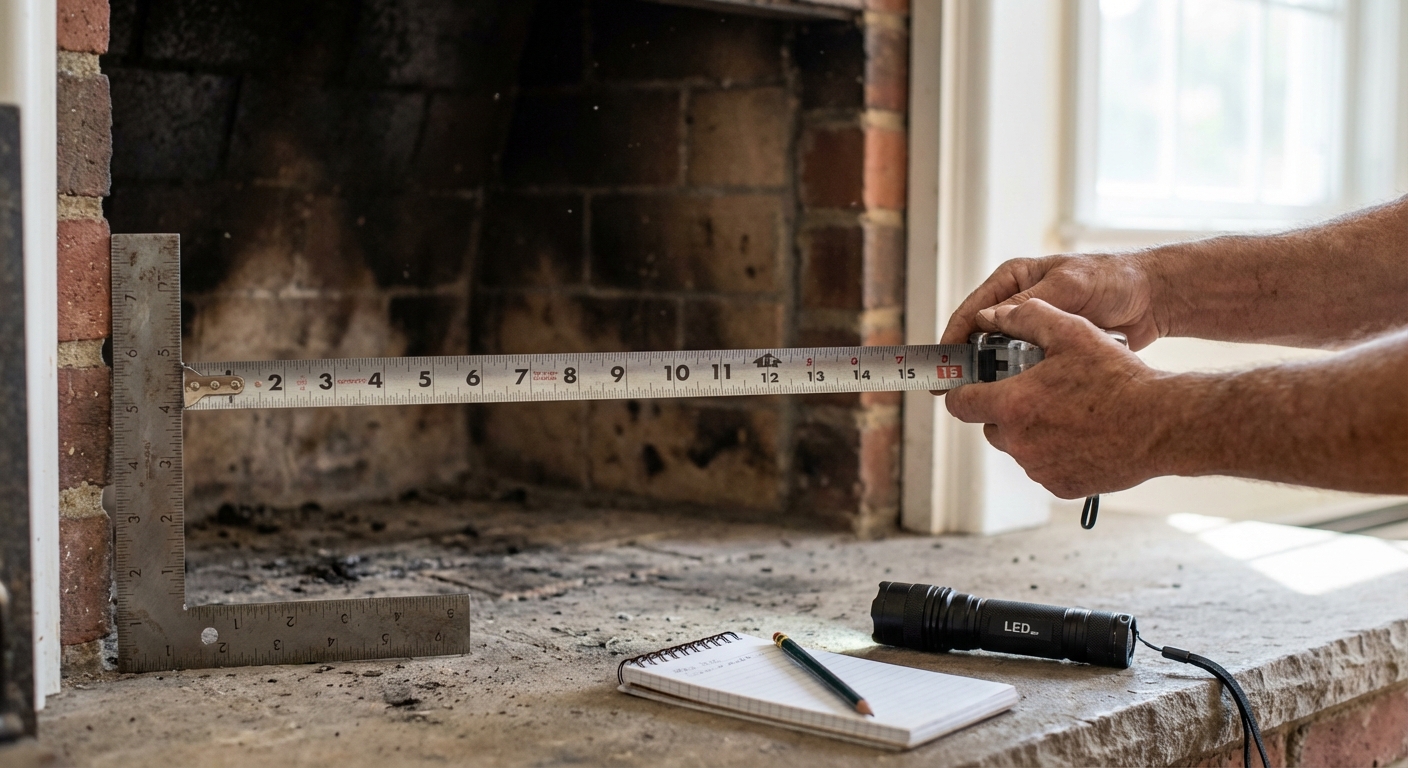
Start with the space you actually expect the insert to heat, not the home's total square footage. Then adjust for the big three that change demand fast: climate, insulation and air-sealing quality, and layout. A tight, well-sealed house in a mild winter climate needs less steady output than a leaky house in a cold zone, even at the same square footage. Layout decides how far your heat has to travel: open plans and tall ceilings spread warmth out, which feels comfortable nearby but dilutes heat at the edges. The mistake is assuming heat moves like forced air; it does not, so the same insert can feel "perfect" in a closed layout and "weak" in an open one.
Once demand is grounded, supply comes down to firebox size and the burn cycle you want. A larger firebox buys longer, steadier burns and better overnight capability, but it only works if you can routinely burn a real load of wood at a clean burn rate. Oversizing forces low, smoldering burns, which creates comfort swings, dirtier glass, and higher creosote risk. Undersizing does the opposite: it runs flat out, still cannot keep up when temperatures drop, and open layouts expose the shortfall immediately.
EPA test protocols are designed primarily to measure emissions, so EPA-reported BTU values often reflect specific burn conditions used during testing, not peak heat output. Manufacturer marketing BTU claims can be based on different protocols or optimal conditions, so they can legitimately differ from EPA report-derived BTUs. Treat BTUs as a rough cross-check, not the sizing driver.
A Manual J heat load gives you a defensible target, but a wood insert delivers that heat in cycles you control with loading, airflow, and wood quality. Rule-of-thumb sizing is still useful as a quick guardrail; just remember wood heat is not fixed-output like a furnace.
- Estimate demand using heated square footage served, climate, insulation and air-sealing, and whether the layout is open or compartmentalized.
- Pick a realistic output style based on how you'll actually run it: frequent smaller loads, or longer burns with overnight goals.
- Sanity-check comfort for your worst case: cold snaps and distant rooms. If those matter, size toward the higher band for your demand, not the flashiest BTU claim.
Efficiency, EPA Emissions, and Must-Have Features
Sizing sets the range of inserts worth considering; specs decide which of those will actually perform the way you expect. The "best" insert in 2026 is the one whose tested efficiency basis, certified cleanliness, and day-to-day usability match how you actually burn. The catch is that spec sheets can look comparable while measuring different things, and clean operation depends as much on controllability as it does on lab numbers.
Start with efficiency, but only after you confirm the reporting basis. HHV (Higher Heating Value) and LHV (Lower Heating Value) are reference heating values used to report wood appliance efficiency; LHV-based reporting is common in some formats, while shoppers often need HHV efficiency documented later. Modern EPA-approved wood stoves typically exceed 70% efficiency, so the differentiator is which basis the number uses and how it was tested.
Then compare emissions rate (g/hr), the standardized grams-per-hour metric reported under EPA test conditions. Lower g/hr supports cleaner operation because it reflects more complete combustion. Example: the Pacific Energy Summit is non-catalytic, rated at 80.5% efficiency, with certified emissions of 3.9 grams per hour.
Treat burn time as a spec you sanity-check, not a promise. Test reporting commonly spans multiple burn rates (max, medium, minimum), and tests use a defined fuel moisture-content range, so real burn time swings with firebox size, air-control range, and combustion system.
Non-catalytic inserts reward simple startup and straightforward operation, but they rely heavily on maintaining a hot, active secondary burn. A catalytic combustor enables secondary combustion at lower temperatures, tightening low-burn control and often stretching usable burn time, but it adds a part you must operate correctly and maintain. Hybrids blend both approaches, usually widening the clean-control window while keeping the owner on the hook for catalyst care. Pick the system whose routine you will follow every load.
A blower is not optional in many installs: it pushes heat out of deeper fireplace cavities and turns firebox heat into room heat. Prioritize effective airwash for clean glass, a bypass/damper that is easy to use during startup and reloading, ash management that fits your cleaning cadence, and controls you can run consistently.
Venting details still matter at the shopping stage because many inserts effectively assume a liner approach for draft, efficiency, and safety. NFPA 211 requires liners be installed in accordance with the manufacturer's installation instructions, and manufacturers commonly require compliance with their instructions.
If you are mixing heating sources, a heat pump can cover shoulder seasons, leaving the insert for colder stretches.
- HHV efficiency: listed explicitly, not implied from LHV.
- Emissions rate (g/hr): compare model-to-model; lower is cleaner.
- Combustion type: non-cat vs catalytic vs hybrid, and the maintenance you will actually do.
- Usability features: blower included or supported, effective airwash, usable bypass/damper, practical ash handling.
- Liner compliance: install path that follows the manual and NFPA 211 expectations.
Installation & Venting
The feature list only pays off if the insert can be installed to draft properly in your specific fireplace and chimney. A well-installed wood insert drafts cleanly and heats predictably. A marginal install smokes, underperforms, and creates safety headaches. Most "insert problems" trace back to installation and venting: fit, draft, and clearance details decide how the appliance behaves day to day.
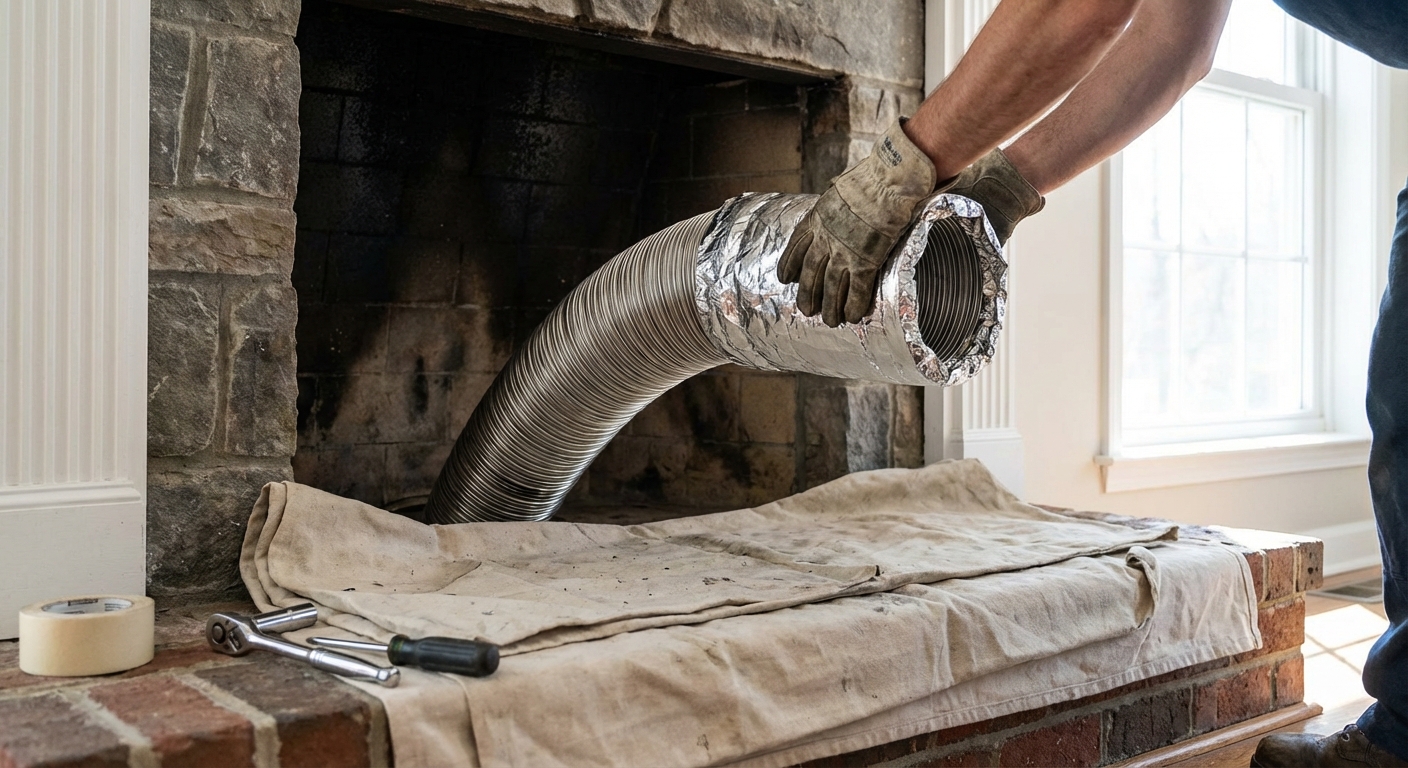
Start with a tape measure and the manual. Confirm the insert physically fits your fireplace opening height, width, and depth, then confirm you can still install the surround without blocking required air pathways or service access. Depth is the common surprise: a unit that fits the face can still collide with a tapered firebox or damper area.
Clearances are the next reality check. Hearth and mantel clearances must be achievable in your exact fireplace, not "close enough." Hearth extension examples commonly cited for smaller or zero-clearance fireplace scenarios are about 16 inches in front and about 8 inches to the sides, but you verify the appliance manual because listed requirements vary by model. If the hearth extension or mantel clearance cannot be met as written, the correct decision is to modify the site or choose a different insert.
A chimney inspection and sweep is a precondition, not a final step. You need a clean, known flue before you can make smart liner and draft decisions.
A correctly sized venting pathway is what prevents smoke spillage and stabilizes draft. A stainless steel chimney liner, meaning a metal liner installed inside the existing flue to create a correctly sized, code-compliant vent path, is sized to match the appliance exhaust opening per manufacturer instructions.
Most insert kits are commonly offered with 6-inch diameter liners, and 316L stainless steel is commonly specified on liners marketed for durability. Draft friction usually shows up as negative pressure and house stack effect: tight homes, exhaust fans, and competing appliances can pull the insert into a lazy draft and push smoke into the room. Correct sizing and a continuous liner reduce those failure modes and cut creosote accumulation risk by keeping flow and temperatures more consistent.
Permitting and inspection varies by jurisdiction, but the manual and the product listing drive the requirements. Installations are typically governed by manufacturer instructions and commonly referenced standards such as NFPA 211 and listings such as UL 1482 or UL 737.
Plan the blower power before the insert arrives: outlet location, cord routing, and how you will access the junction or service points after the surround is on. Then plan the first burn: curing paint off-gasses, so open windows and run the blower (per manufacturer instructions) until odors clear.
DIY stops being "savings" when the work crosses into roof or chimney access, clearance corrections, or permit complexity. Professional installation is the safer default in those cases.
- Measure opening height/width/depth and verify surround and service access.
- Confirm hearth extension and mantel clearances in the manual (do not rely on generic rules).
- Inspect and sweep the chimney before committing to an install plan.
- Specify a liner plan: diameter, alloy (commonly 316L), and full-length path.
- Plan blower power and first-burn ventilation.
- Align permits and inspection expectations with the manual and listing.
Costs in 2026
Installation choices and site conditions are what turn an insert from a product into a working heating system-and that is where the budget tends to move. The insert price is the easiest number to Google and the least useful number to budget. Installed cost swings harder based on chimney venting condition, whether you need electrical for a blower, and how much site work shows up once the installer is looking at your firebox and flue.
For 2026, typical retail/MSRP for many EPA-certified wood inserts commonly lands around $2,000 to $3,200, with many listings around $2,000 to $3,500 depending on model and size. The quote jumps when it needs more than the insert: a stainless liner kit and insulation, a tight block-off plate, a new outlet or dedicated circuit for the blower, chimney repairs (crown, tiles, masonry, cap), and delivery or handling for a 300 to 500 lb unit.
Professional installation buys certainty: code-compliant venting, documentation for insurance, and one party owning the outcome. DIY saves labor but concentrates risk in the liner, sealing, and safety details that determine draft and clearances.
Seasoned firewood is typically modeled at about 22,000,000 BTU (22 million) per cord.
Delivered heat is a fraction of that because you only keep what the appliance converts and what your burn habits preserve; wetter wood burns up BTUs boiling off moisture.
Inserts win as zone heat: you push real heat where you live, stay warm through outages, and benefit most when cordwood is cheap and local. Heat pumps and furnaces win on set-and-forget whole-home distribution; as context, a cold-climate heat pump can deliver around HSPF 10 in field (ACEEE), and gas heat pumps are cited around 135% AFUE.
Ask for an itemized quote that breaks out: insert, liner and insulation, block-off plate, electrical work, chimney repairs, and delivery. For operating cost, write down three assumptions and stick to them: your $/cord, your wood condition (seasoned, stored), and the efficiency you will actually run.
Rebates and Incentives in 2026 (The Federal Credit Has Expired)
The most important incentive fact for a 2026 buyer is that the federal one is gone. The 25C Energy Efficient Home Improvement Credit, commonly called the Biomass Tax Credit, was terminated by the budget reconciliation law signed July 4, 2025. It had been scheduled to run through 2032. It now ends for property placed in service after December 31, 2025.
What that means in practice: if your insert is purchased and installed in 2026, there is no 30% federal credit and no $2,000 federal cap to claim. Any retailer, installer, or product page still advertising a 30% federal credit on a 2026 install is working from outdated information. Verify current rules on IRS.gov before you rely on any incentive claim.
If your insert was purchased and placed in service on or before December 31, 2025, you may still be able to claim the credit on the return covering that tax year. A retailer listing is not a substitute for the manufacturer certificate. Talk to a tax professional about your specific situation.
For that 2025 claim, the packet still matters: manufacturer tax-credit certificate (exact model number plus HHV value and method), itemized invoice/receipt, proof of payment, and the installation contract if applicable. Manufacturer certification is commonly required for residential energy credits (Form 5695 context), so you need the manufacturer document, not a screenshot of a product page.
For a 2026 purchase, incentives now live at the state and utility level, and those programs change often. Check your state energy office and your electric or gas utility directly rather than trusting a roundup page. Treat every program's purchase, installation, and application deadlines as hard dates, because many require the install to be complete before you apply and some close mid-year when funding runs out. Pull the manufacturer HHV certificate anyway: state and utility programs frequently use the same efficiency documentation the federal credit used to require.
- Confirm the install date. Federal credit eligibility ended December 31, 2025.
- For a 2025 install, match the model number across the box, invoice, and manufacturer certificate, and save a PDF showing the HHV value.
- For a 2026 install, check your state energy office and utility for active rebates before you buy.
- Calendar every state or utility deadline before you schedule installation.
Summary + Next Steps
The right insert is the one you can run cleanly, install correctly, and document for incentives.
That tracks the same sequence that makes 2026 shopping predictable instead of frustrating: verify certification and paperwork, size to demand, then treat the install plan and incentive file as part of the decision. Start by sizing to your heat demand and realistic delivered output, not the biggest BTU number. Then compare HHV efficiency against EPA emissions (g/hr) and pay only for features you will use, especially the blower and controls. Lock in the install plan before you buy: verify fireplace fit and clearances, map the liner approach, and line up permits and any electrical work. Finally, check incentives before you buy rather than after. The federal biomass credit expired at the end of 2025, so 2026 savings come from state and utility programs, and those have their own deadlines and paperwork.
- Match size to heat load and expected output.
- Compare HHV efficiency and emissions (g/hr).
- Choose blower and controls you will actually run.
- Verify fit and required clearances at the fireplace.
- Plan the liner and schedule permits and electrical.
- Confirm active state or utility rebates, then save the certificate, invoice, and install paperwork.
After installation, follow the first-fire curing guidance (paint off-gassing is normal) and complete warranty steps promptly; manufacturers commonly require proof of purchase and warranty registration within stated timelines.
If you are ready to order, Budget Heating offers financing through Affirm (per the Budget Heating Affirm page: no late fees, no service fees, no prepayment fees) and in-store pickup at select locations during checkout where available. Use Budget Heating for pickup planning, order support, and post-purchase help.
Wrapping Up
Buying a wood-burning insert in 2026 comes down to replacing guesswork with verification. Start by confirming the exact model is EPA-certified in the official database, then size for the space you actually want to heat, factoring in climate, insulation, and layout instead of chasing marketing BTU claims.
From there, the best choice is the insert you can run cleanly and comfortably: compare HHV efficiency on the correct basis, check EPA emissions in g/hr, and pick a combustion type and features you will truly use, especially a blower and practical controls. Just as important, plan the installation before you buy, measuring fit and clearances, committing to a code compliant liner approach, and budgeting for the real installed cost. Finally, verify incentives before you buy. The federal biomass tax credit ended December 31, 2025, so a 2026 install depends on state and utility programs. Save the manufacturer certificate and keep your paperwork organized for whatever program you do qualify for.
With certification, sizing, installation planning, and documentation handled in the right order, you can shop confidently, choose a system that performs well, and move on to getting your measurements and model numbers ready for quotes.
 Cooling
 Learning Center
 Product and Brands Insights
 State by State
 HVAC Systems