




 hvac systems
 learning center
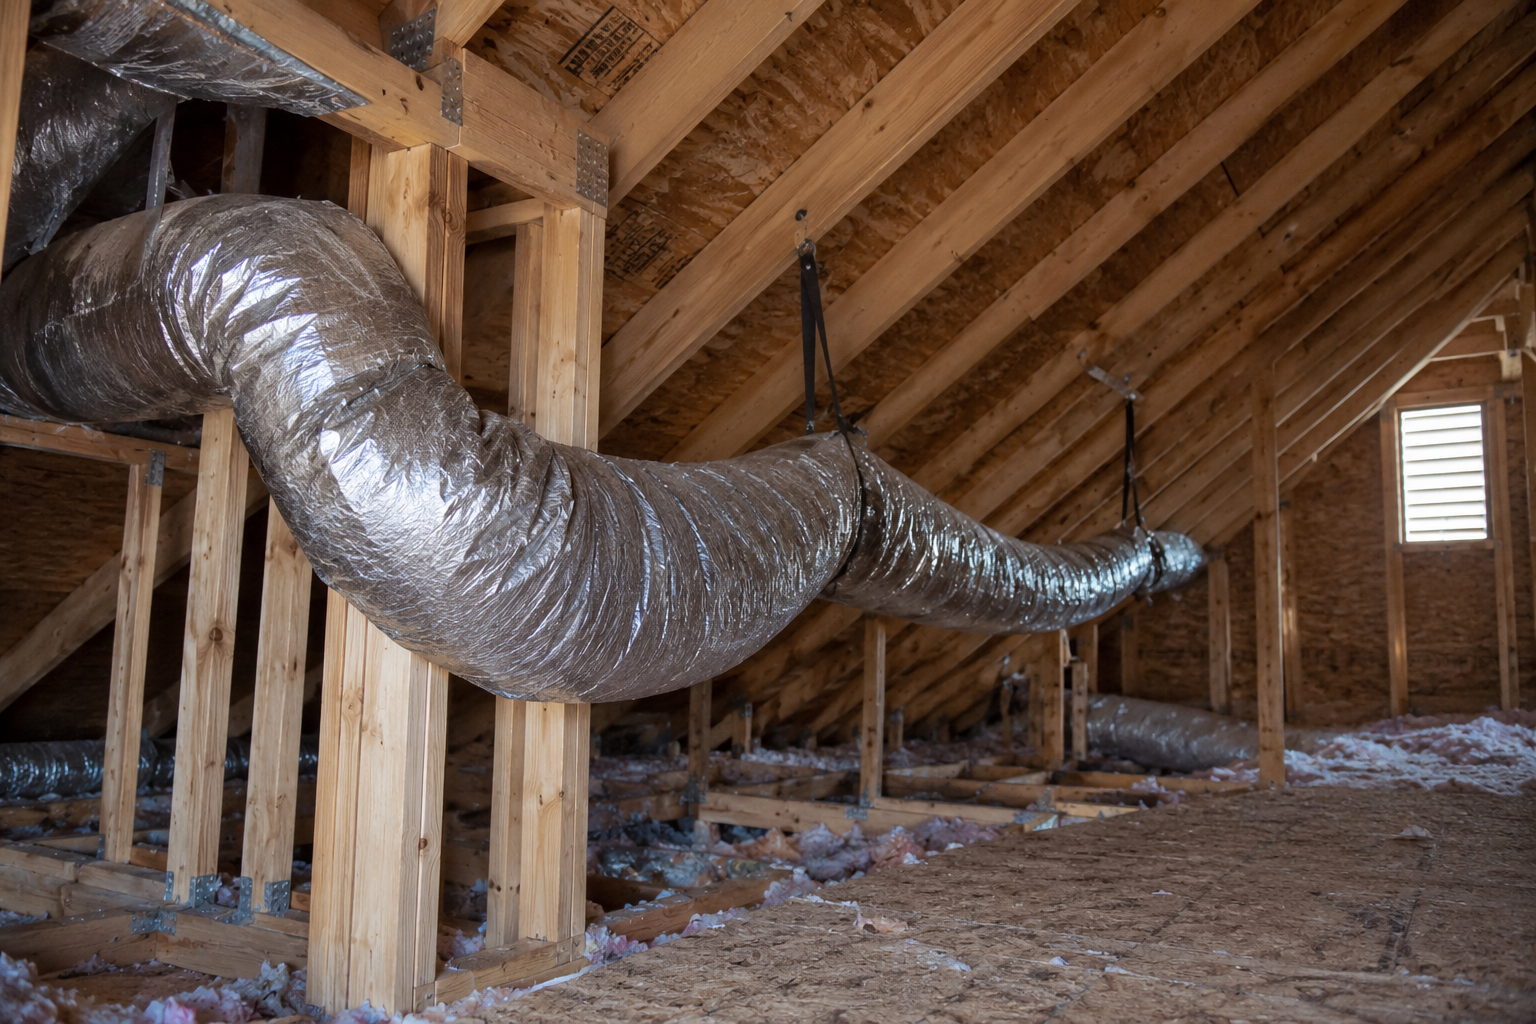
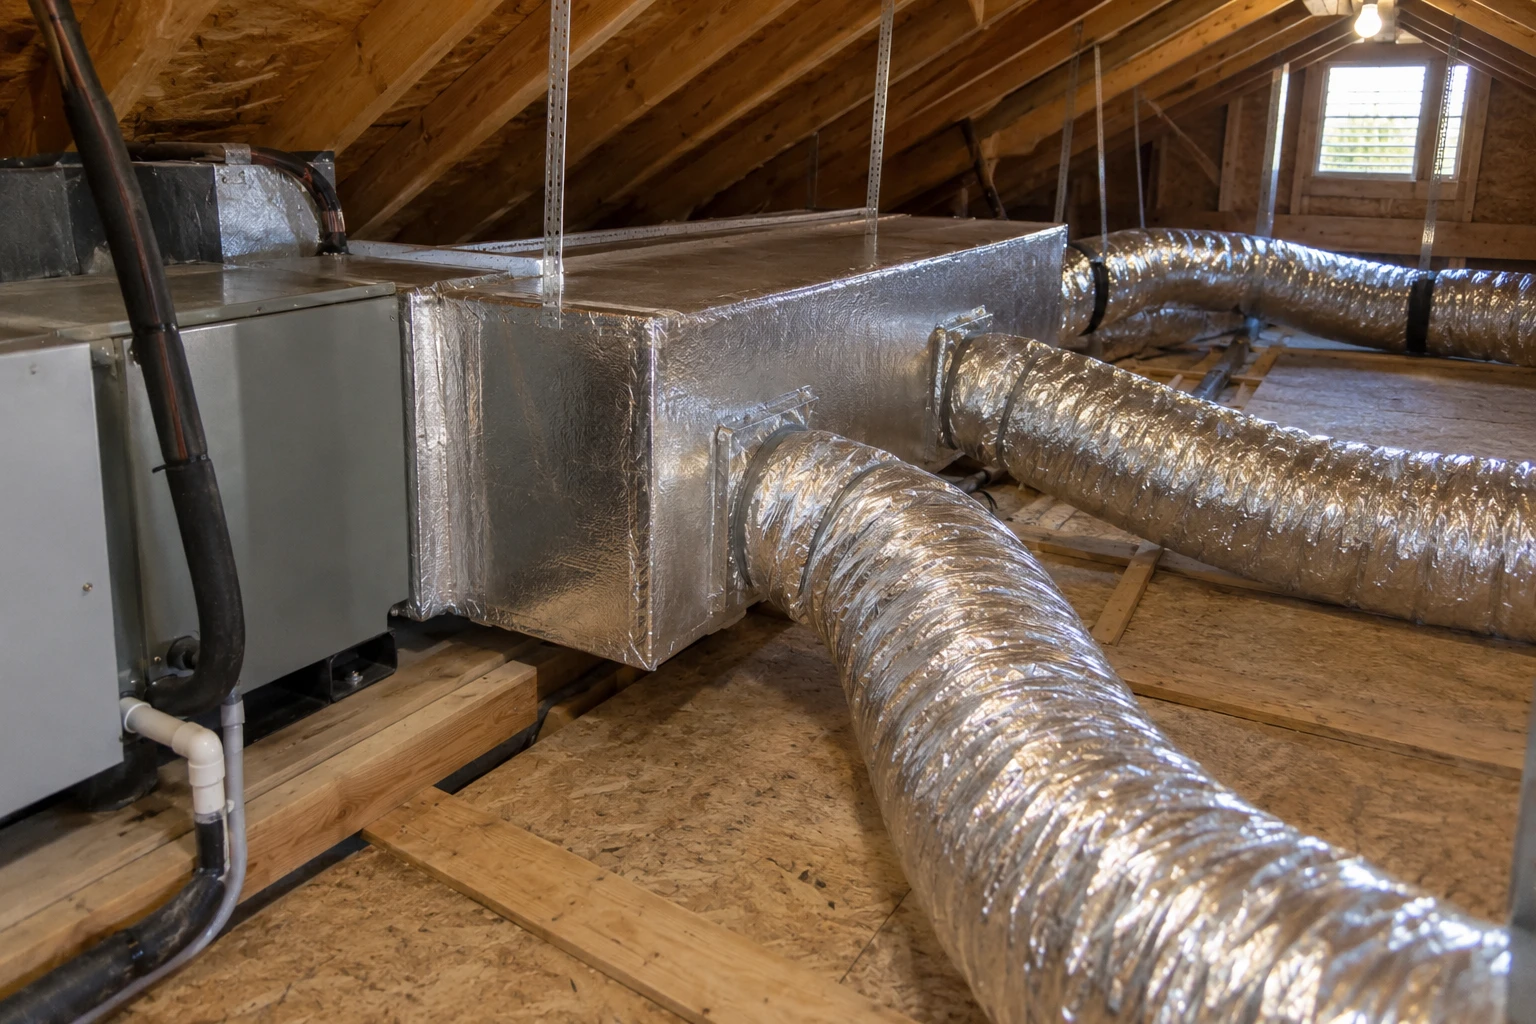
At a framing corner, a sharp turn can fold the inner liner; at a hanger, pressure can compress insulation without narrowing the air passage. Excess slack and unsupported sags add airflow resistance, while crushed insulation or a broken outer jacket weakens the duct's thermal envelope. A connection can do both. Contractors can correct these conditions in the installed run, though poor airflow can also originate elsewhere in the system.
1. Forcing the Duct Around a Tight Bend
A turn becomes a problem when the flexible inner liner folds or flattens instead of retaining its round opening. The reduced passage and abrupt change in direction increase pressure drop. Look particularly where a run turns immediately off a collar or wraps around a framing corner: a tidy-looking outer jacket can conceal a deformed core.
Reroute the duct with clearance for a gradual bend and support the new path so the turn holds its shape. DOE Building America's flex-duct guidance recommends a centerline bend radius at least equal to the duct diameter; follow the applicable product instructions and local code as well. After relieving a kink, inspect the liner. If it remains collapsed or its core has been penetrated, replace the damaged section rather than hiding it beneath the jacket.
2. Leaving Excess Length in the Run
A run can have no single dramatic kink yet still carry too much duct. Loops, snaking, and a liner left bunched along its length add friction and repeated direction changes. DOE Building America advises against coiled or looped flex duct and calls for a fully extended run.
Lay out a reasonably direct route before cutting. Trim unnecessary length according to the duct maker's instructions, leaving enough material to make secure, accessible connections without pulling the liner taut or damaging it. Do not leave a loop to throttle an over-supplied branch; airflow adjustment belongs at a suitable balancing device, not in an accidental length of compressed duct. Flexible insulated duct is a material category, not a substitute for planning the installed route.
3. Letting an Unsupported Run Sag
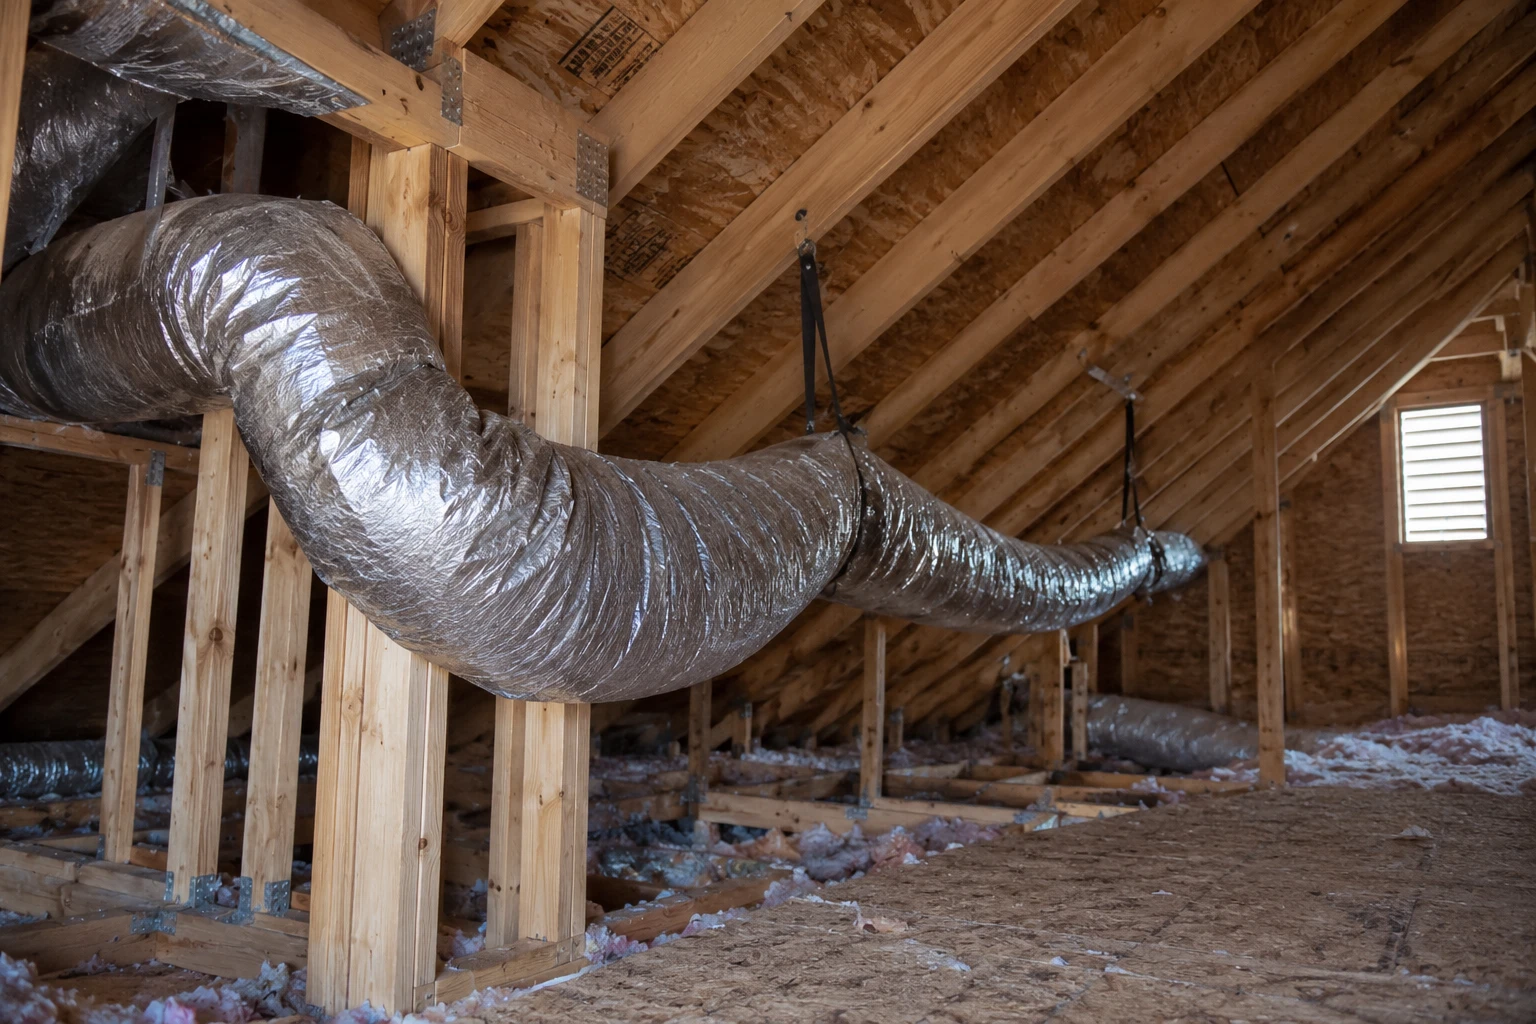
A sag is a dip between supports, rather than the abrupt fold of a kink. A deep or repeated dip leaves the air path uneven and may deform the liner over a longer stretch. Adding a hanger only at the lowest point will not help if adjacent spans still droop or the new hanger pulls the duct into another bend.
Position supports along a smooth route and carry the duct without constricting its interior dimensions. As general guidance, DOE Building America describes supports no more than 4 feet apart and sag no greater than ½ inch per foot between supports. Apply the duct manufacturer's instructions and governing code to the actual installation; support near changes of direction matters as well as spacing on straight runs. Check the finished run from end to end instead of judging one hanger in isolation.
4. Pinching the Air Path at Straps or Obstacles
Unlike a sag between hangers, a pinch is a localized narrowing at a hanger, framing member, or other obstacle. A strap cinched around the duct can flatten the inner liner precisely where it is meant to carry the run, increasing resistance even when the duct looks well supported elsewhere.
Use a broad strap or saddle that bears the duct's weight without squeezing its core; the Air Diffusion Council describes at least 1½ inches of contact width in its general support guidance. If framing or equipment is pressing into the run, provide clearance by rerouting or protecting and supporting it appropriately. Once the pressure is removed, inspect the liner rather than assuming the outer jacket's return to shape means the air passage has recovered.
5. Crushing the Insulation at a Support or Penetration
Compressed duct insulation is a different defect from a crushed liner: the air opening can remain round while a hanger or tight framing passage squeezes the insulation around it. That spot has less thermal resistance. If the resulting outer surface falls below the surrounding air's dew point, condensation can form, a particular concern where cool supply duct runs through humid, unconditioned space.
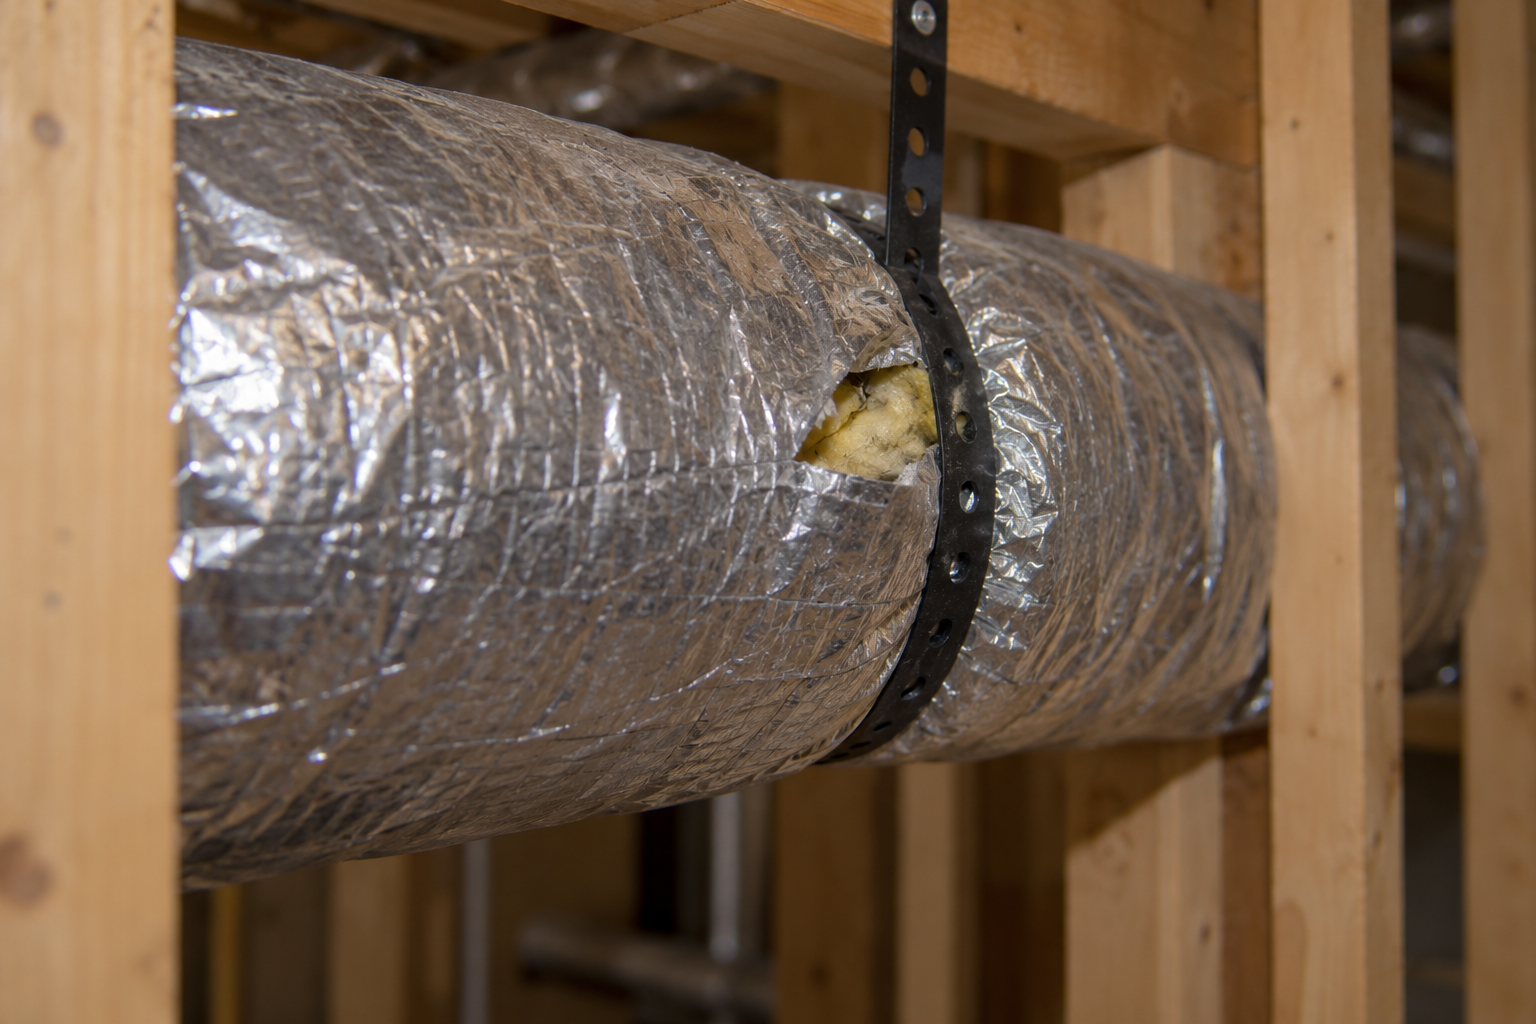
Relieve the contact pressure by providing clearance or changing the support, then restore the insulation's intended thickness. Inspect the outer jacket separately: a tear or open seam needs a repair compatible with the duct so the vapor barrier remains continuous. Merely smoothing the jacket over flattened insulation does not restore its thickness; wrapping a torn jacket while leaving the duct pinched does not remove the cause.
6. Making a Splice Without Restoring the Liner and Jacket
A splice has three separate jobs. The inner liner must be attached and sealed to the collar or coupling without bunching into the air passage; the insulation must cover the joint; and the outer jacket must close over it as a continuous vapor barrier. A loose liner can leak air, while a gap in insulation or an open jacket seam compromises the thermal envelope even if the passage remains clear.
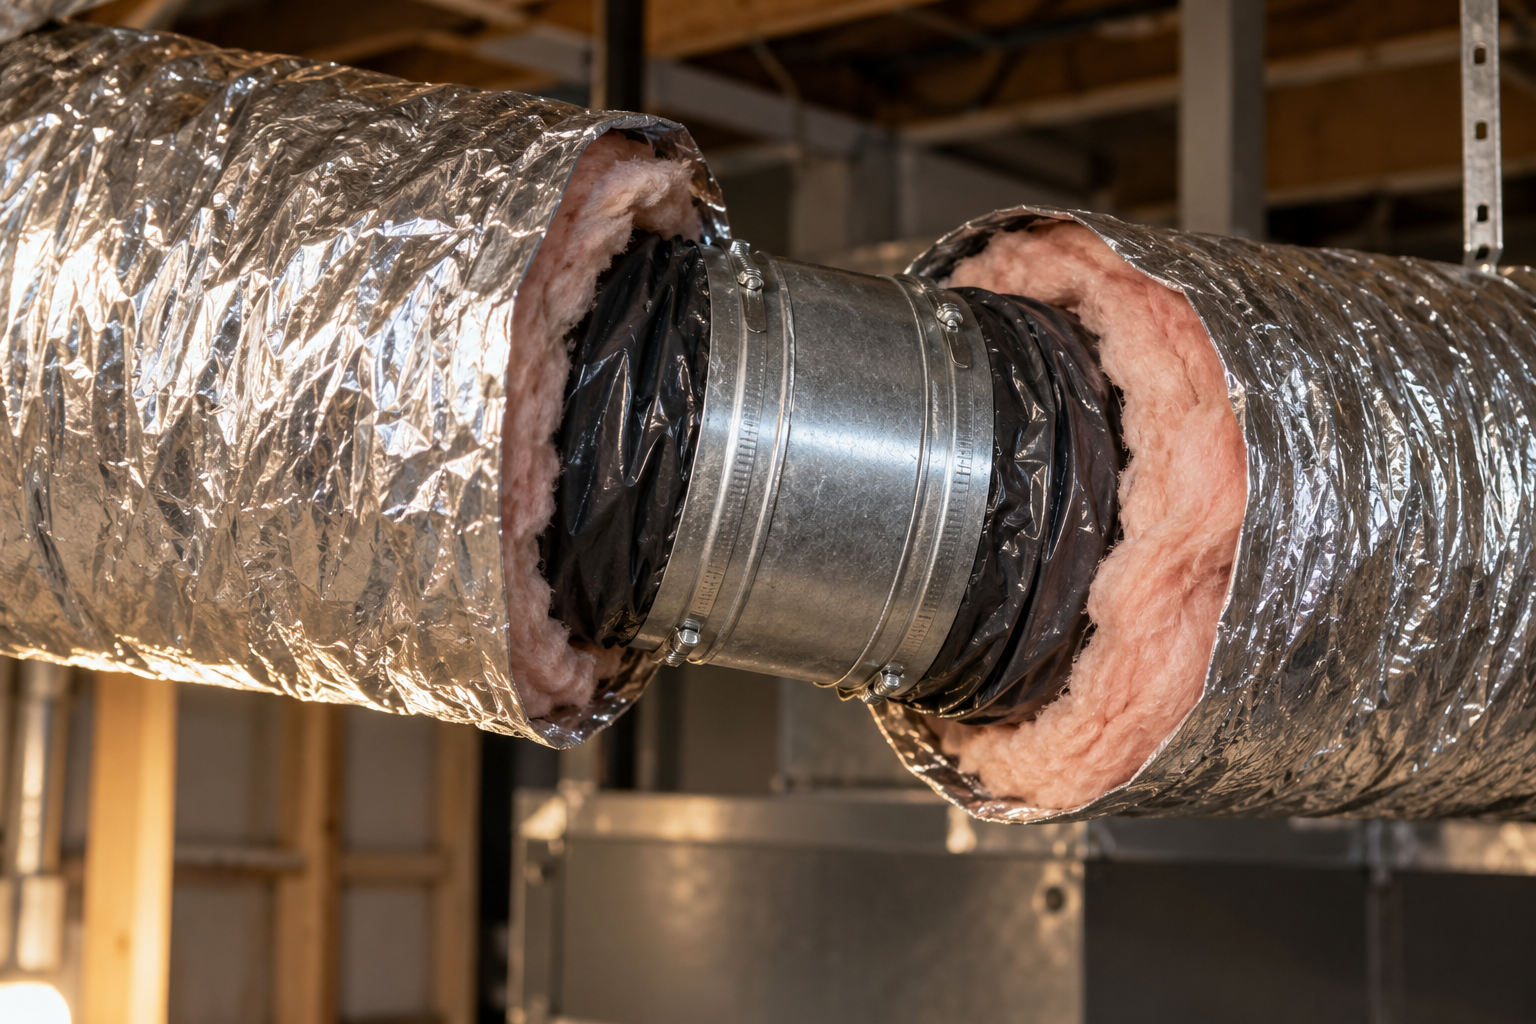
Follow the duct maker's connection procedure in that order: secure and seal the core, restore insulation without crushing it, then close and seal the jacket with the specified materials. DOE's installation guidance calls for sealed insulation seams, continuous vapor-barrier coverage, and no exposed duct at the finished connection.
A duct coupling joins sections; it cannot straighten a nearby kink or support a drooping run. Budget Heating's splice collar duct couplings category is relevant when planning a joint, but the installed connection still needs all three layers finished correctly.
Correct the Shape, Support and Thermal Envelope
Trace the installed run before choosing a repair. Restore a clear, smoothly routed liner where airflow is restricted; correct supports and contact points where the duct is pinched; and restore insulation and jacket continuity where the thermal envelope is damaged. If an airflow complaint remains after those defects are addressed, check the rest of the system rather than assuming the flex duct was its only cause.
 Cooling
 Heating
 Money Saving Tips
 Product and Brands Insights
 Buying Guides
 State by State