




 heating
 learning center
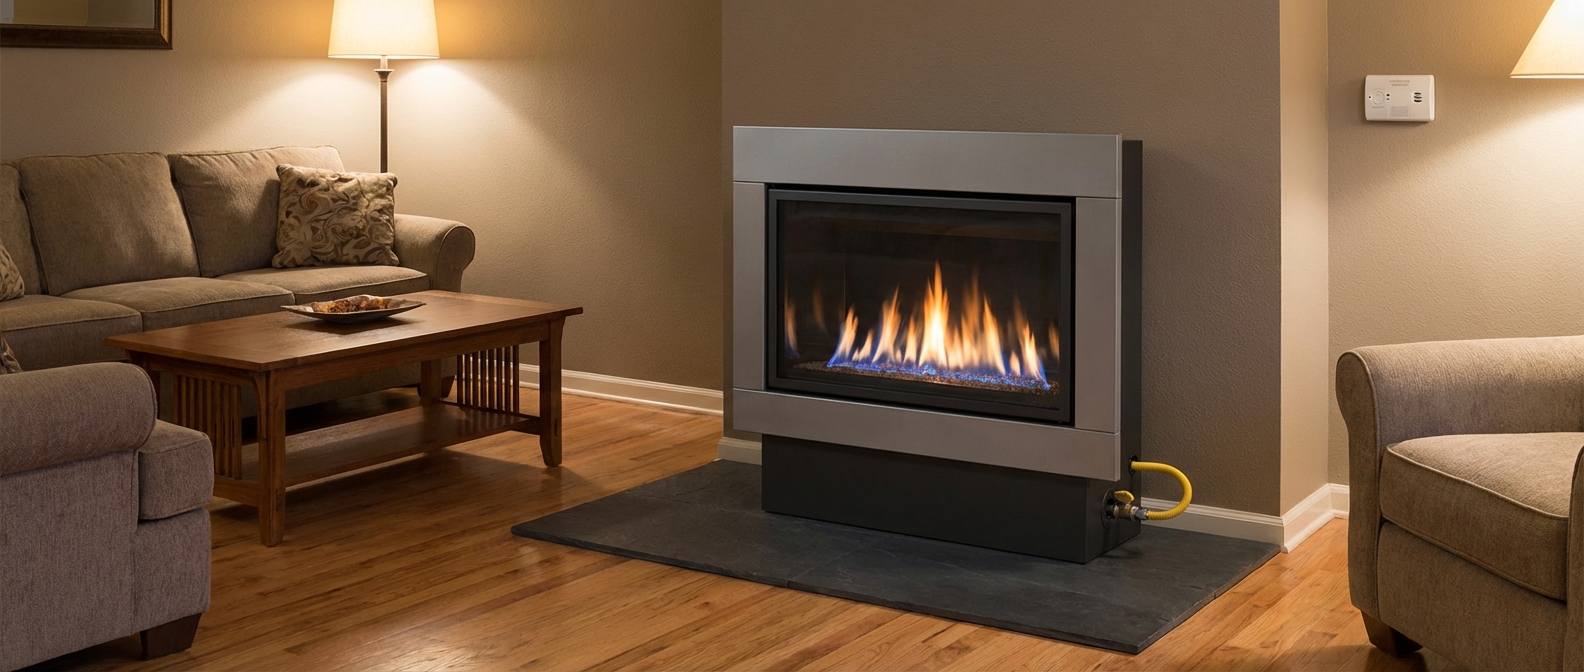
You bought a vent-free stove because you want quick heat without running a vent, then you hit the wall of conflicting advice about venting, safety, permits, and whether you can install it yourself. The stakes are simple: a bad gas-appliance install does not fail quietly.
Vent-free units are convenient, but only when the installation is done safely and legally. This project rewards discipline, not shortcuts or "good enough" fittings.
A vent-free (ventless) gas stove is an unvented room heater that burns gas and releases the combustion byproducts into the same room, which makes the manual, the listing, and the code requirements non-negotiable. ANSI Z21.11.2 / CSA 2.68 is the standard for newly produced gas-fired unvented (vent-free) room heaters, and that listing matters because it ties the appliance to specific safety systems and test conditions; ANSI Z21.11.2 requires an Oxygen Depletion Sensor (ODS).
Plan to follow the manufacturer's installation manual and your local rules, and treat NFPA 54 (National Fuel Gas Code) as the baseline for fuel-gas installation practice, including appliance connections, pressure regulation, leak testing, and combustion air provisions. Hire a licensed pro if the gas type or supply pressure is unknown, any piping must be modified, permits or inspections apply, combustion looks wrong, or you cannot properly leak-test and verify safe operation.
Before you touch a gas line or pick a final location, make sure a vent-free appliance is even allowed and workable in the room you intend to heat.
Is a Vent Free Gas Stove Right for Your Home?
A vent-free gas stove is the right choice only when the room can reliably supply combustion air and everyone in the house accepts the indoor-air and humidity tradeoffs. The decision is non-obvious because a vent-free unit operates inside the room air stream: it pulls oxygen from the room for combustion and releases combustion products back into that same room instead of sending them outdoors.
Start with the room-volume check, because it determines whether the space can realistically "feed" the heater. NFPA 54 guidance uses a simple rule of thumb: you need at least 50 ft³ of room volume per 1,000 BTU/hr of total appliance input in that space; at or above that threshold, infiltration may be regarded as adequate for combustion air. The catch is that many newer or weatherized homes do not behave like "leaky" older construction. A confined space is a room (or rooms) whose volume is less than 50 ft³ per 1,000 BTU/hr of the appliances inside it, and that is where oxygen supply problems start. If the room fails the 50 ft³ per 1,000 BTU test, treat it as a hard stop until your plan includes an approved source of combustion air.
Every listed vent-free heater relies on an Oxygen Depletion Sensor (ODS), a safety device designed to shut off the gas valve if room oxygen drops too low, but it does not "make up" for an undersized room. Understand the design behavior: ODS systems are commonly designed to shut down at about 18 to 18.5 percent oxygen (often cited as roughly 18%). If you are counting on the ODS to manage combustion-air sizing, the installation is already wrong.
Before you choose a model or a spot on the wall, pass the compliance checkpoint: unvented fuel-fired heaters are commonly prohibited in bathrooms and sleeping areas under NFPA 1 and NFPA 101, with local amendments varying by jurisdiction. Your decision rule is simple: if the room is a bedroom or bathroom, assume "not allowed" unless your local code official and the appliance listing explicitly allow it.
Vent-free stoves win on efficiency and installation simplicity because you are not sending heat up a flue. The friction is indoor-air sensitivity: all combustion happens in the living space, so dust, tight building envelopes, and occupant health sensitivity turn "works on paper" into "not comfortable to live with," and the added moisture output can push humidity where you do not want it.
Fit test before you buy: confirm the room-volume calculation passes for all appliances in that space, confirm the location is not a prohibited area (especially bathrooms and sleeping rooms), and commit to a plan that reliably supplies combustion air rather than depending on the ODS to save an undersized setup.
Plan the Install
If the room and location check out, the quality of the installation comes down to planning: the safest vent-free gas stove installation is decided before the stove moves an inch. Lock in the location, gas type, clearances, and the exact parts list so you do not end up improvising around hot surfaces or a live gas line.
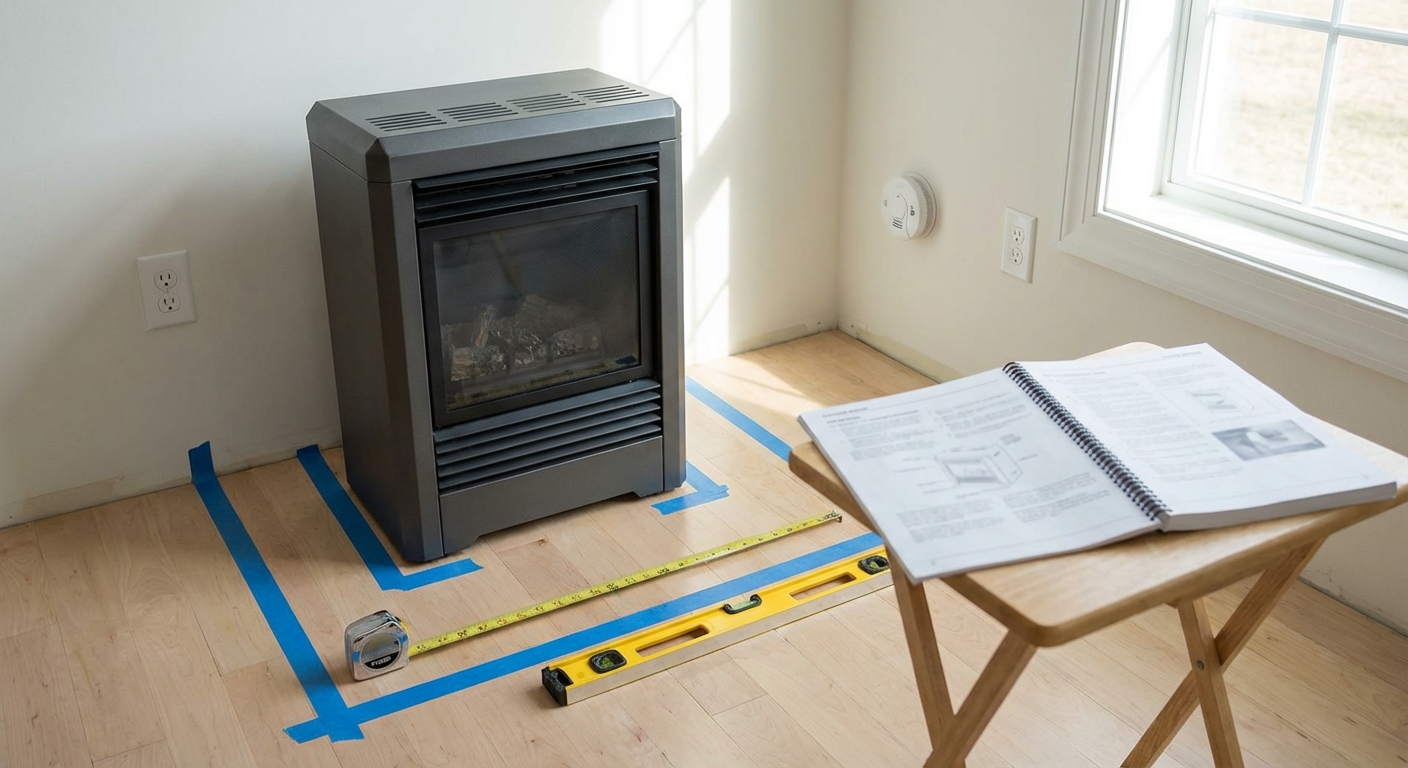
Choose a location that meets clearance-to-combustibles requirements and still leaves room to operate controls and service the unit. Use ceiling clearance as your planning anchor: common guidance calls for 48 in (1200 mm) from the stove top to a combustible ceiling, with some stoves cited at 36 in (900 mm) depending on design, then verify the exact numbers in your manufacturer manual and install strictly to that manual.
Floor and hearth protection are model-specific and depend on your flooring. Verify the manual's floor-protection requirements and protect any combustible flooring before the appliance arrives.
Confirm the stove is configured for your fuel (natural gas vs propane) and verify whether a manufacturer-specified conversion kit, orifice change, or regulator setting is required. Typical manifold pressure references are about 3.5 in. w.c. for natural gas and 10 to 11 in. w.c. for propane, and some sources cite max supply around about 14 in. w.c.; verify against the rating plate and manual, and confirm your gas line sizing is adequate.
- Connection parts: accessible manual shutoff valve, sediment trap (drip leg), approved connector, required adapters
- Connector standard: a flexible appliance connector (a listed, gas-rated connector used to join the appliance to the house piping) manufactured to ANSI Z21.24 / CSA 6.10
- Safety items: leak-detection solution, CO alarm (have it before first fire)
- Basic tools: wrenches, level, tape measure, gas-rated sealant where applicable, mounting or anchoring hardware per the manual
Before installation day, verify what you have in hand: rating plate info, stated gas type, included conversion parts, the installation manual, the log and ember placement guide, and all required hardware.
If gas type or pressure, clearances, or required parts are unresolved, stop. Fix those gaps before you schedule the install or touch the gas line.
Step-by-Step
Once the plan is locked, treat the installation as a controlled workflow: shut down, verify the fuel and supply, assemble the code-required service components, leak-test every joint, then commission ignition and flame safety behavior. Most failures come from skipping verification, especially missing shutoff access, omitting a sediment trap, setting the wrong gas configuration, or lighting the unit without inspecting flame and safety operation.
- Shut down and verify basics. Close the gas supply, kill any open flames and ignition sources, ventilate the area if gas work is already opened, and confirm the stove is the correct model for your fuel (natural gas vs LP) per the rating plate and manual.
- Confirm the gas supply is adequate. Check, at a high level, that the branch line size and available pressure match the appliance input and the home's total connected load. Use the fuel-gas sizing tables and the longest-length method (pros size to the longest run, not the shortest), or hand this step to a licensed installer if you cannot verify it confidently.
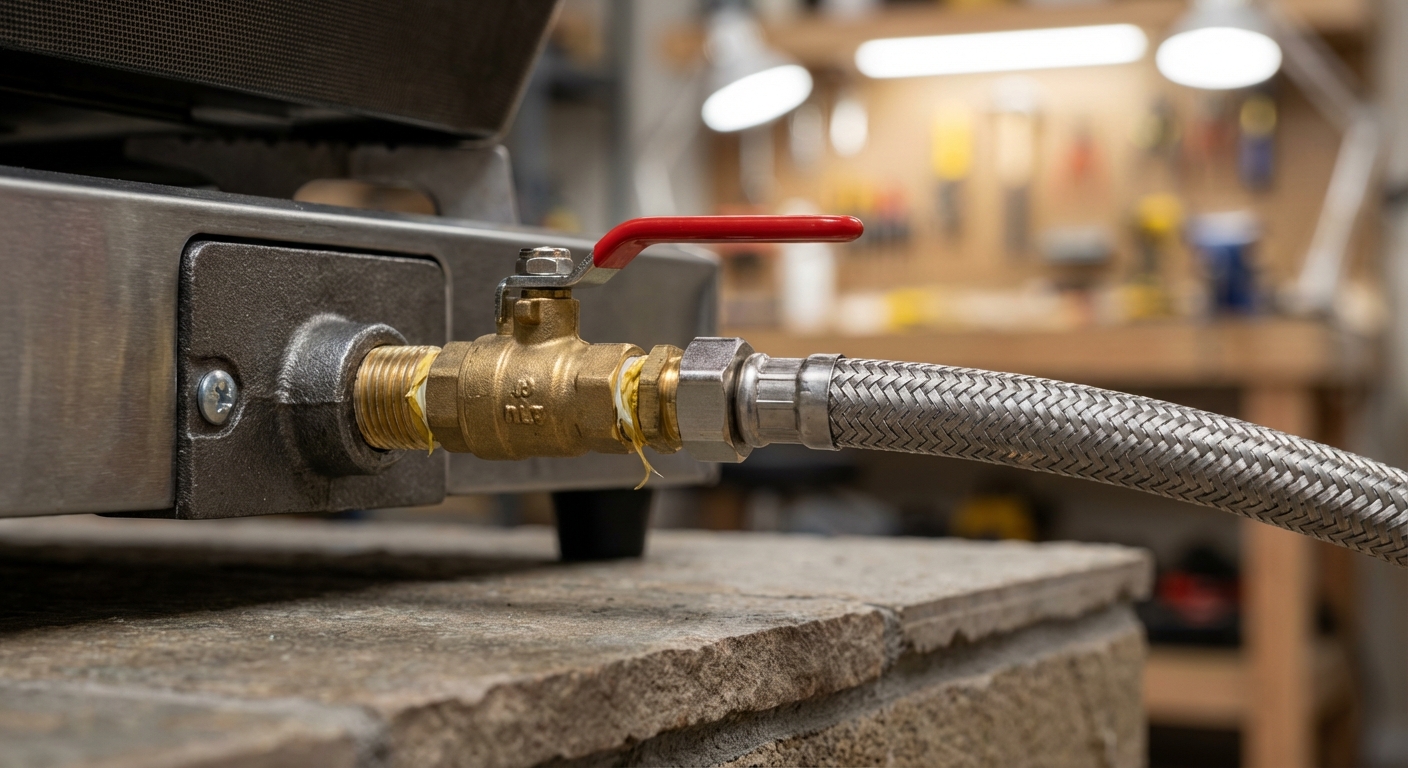
- Install service and safety controls at the appliance. Put an accessible, dedicated manual shutoff valve in place so you can isolate a single appliance for service or an emergency. NFPA 54 requires the appliance shutoff valve to be within 6 ft (1829 mm) of the appliance and dedicated to one appliance.
- Add the sediment trap where it actually protects the controls. Install a sediment trap (drip leg), a short capped drop that catches debris and moisture before it reaches the gas valve and regulator. NFPA 54 places it downstream of the appliance shutoff valve and as close to the appliance inlet as practical.
- Position and secure the stove. Set the unit in its planned location, level it, maintain the clearances you already verified in planning, and protect the floor exactly as the manual requires.
- Connect the gas line without stressing the appliance. Assemble the fittings and the flexible appliance connector (listed gas connector) you selected in planning. Use the correct thread practices for the fitting type, keep the connector untwisted, and eliminate strain so the appliance inlet is not acting as a lever.
- Configure the appliance for NG or LP. Set the regulator position and any orifice or conversion-kit parts strictly per the manual. If the manual restricts conversion to licensed personnel or ties it to warranty coverage, treat that as a hard requirement for both safety and claims support.
- Leak-test every joint before operation. Open the gas supply and apply an approved leak-detection solution to each connection: shutoff valve joints, sediment-trap fittings, connector ends, and the appliance inlet. Look for bubbles, not smell. If bubbles appear, close the gas, remake the joint, and retest until it holds. Do not use an open flame to check for leaks.
- Commission ignition, flame quality, and safety behavior. Purge air using the manufacturer's procedure, then follow the lighting sequence exactly. Inspect the pilot: it must envelop roughly 3/8 in to 1/2 in (10 to 13 mm) of the thermocouple tip. Use the manual's allowed adjustments only. Treat yellow or sooting flames and nuisance shutdowns as immediate troubleshooting cues, and verify ODS behavior only by the checks the manual permits.
Stop and bring in a qualified technician if any of the commissioning checks fail or the installation cannot be verified in a straightforward way.
- Any gas odor or any leak that will not seal on retest
- Yellow, sooting, lifting, or unstable flames after commissioning
- Repeated shutdowns, pilot drop-out, or ignition that does not follow the manual sequence
- Any situation where the manual requires licensed installation, conversion, or service
Safety, Ventilation, and Maintenance
A vent-free stove stays safe and clean only when you operate it like an indoor-combustion appliance: verified alarms, reliable combustion air, and routine cleaning. The catch is that problems rarely announce themselves as a dramatic failure. They show up first as subtle flame changes, nuisance shutdowns, or a room that suddenly feels "off."
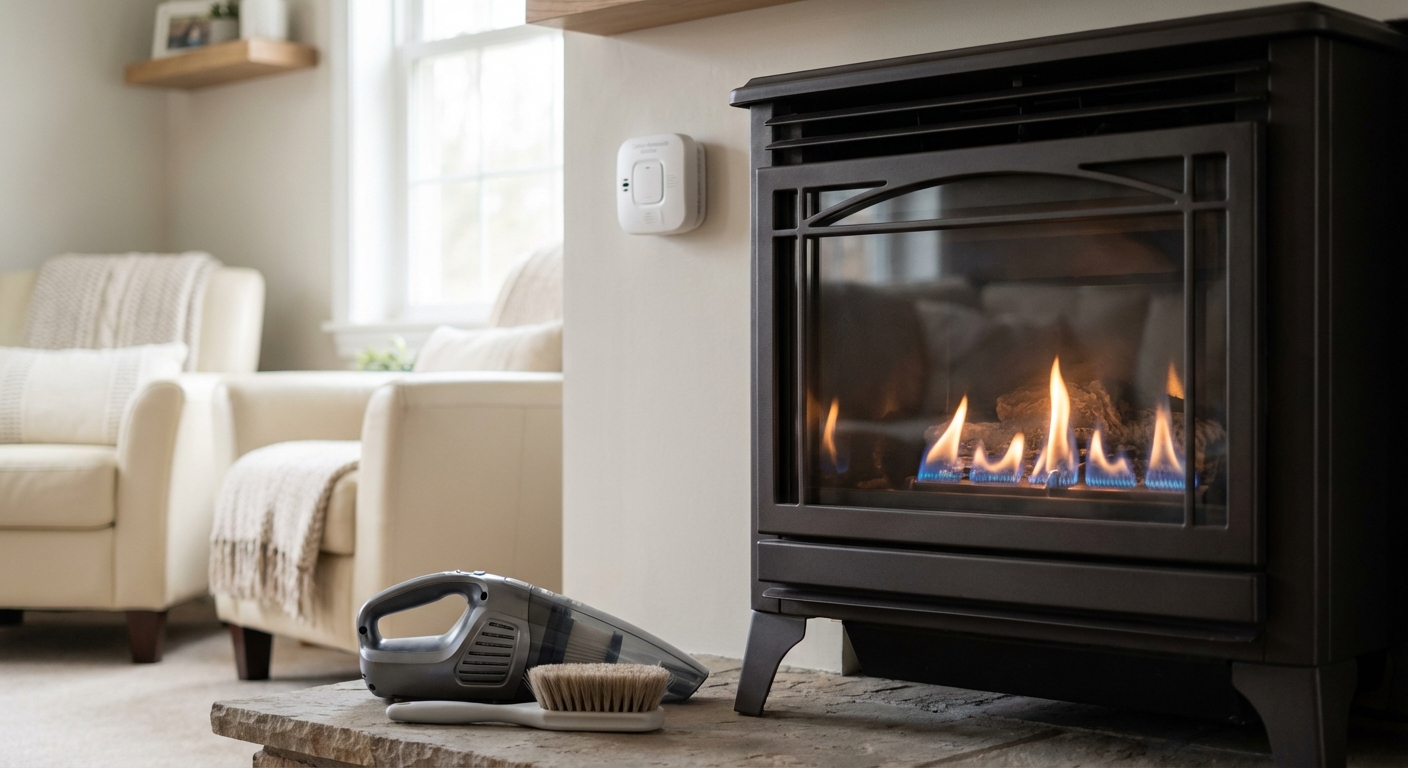
Install carbon monoxide (CO) alarms on each level of the home and outside sleeping areas near bedrooms. Add additional alarms 5 to 20 feet from common CO sources. Keep them powered, test them regularly, and replace them on schedule; a working alarm matters on a random Tuesday night, not just on install day.
Confirm the space consistently has adequate combustion air, and keep the designed air pathways open: do not block louvers or grilles, and do not seal door undercuts that were providing makeup air. Combustion-air opening sizing comes from NFPA 54, and the required free area depends on which method you use. Drawing air from adjacent indoor spaces requires two openings, each at least 1 sq in per 1,000 BTU/hr of total input and not less than 100 sq in each. Drawing air directly from outdoors requires less free area: roughly 1 sq in per 4,000 BTU/hr per opening for direct or vertical-duct openings, 1 sq in per 2,000 BTU/hr for horizontal ducts, and 1 sq in per 3,000 BTU/hr for a single opening. Size to the method you are actually using and confirm the current edition with your AHJ, because applying an outdoor-air figure to an indoor-air opening undersizes it by half or more.
Dust, pet hair, and lint change flame quality and can trigger nuisance shutdowns. Manufacturers specifically direct cleaning lint and particles from burner air-intake areas because dirty or partially clogged passages drive yellow flames and sooting.
- Inspect the burner and pilot area for dust buildup or debris.
- Clean intake openings and accessible surfaces (no poking wires into orifices).
- Verify logs and embers are positioned exactly per the manual.
- Observe flame behavior; yellow tips, soot, or odor mean stop and correct.
- Confirm normal ignition and stable operation through a full cycle.
Manufacturers commonly warn that ODS (oxygen safety shutoff) and pilot cleaning should be handled by a qualified technician; accepted procedures include using compressed air to remove dust from the pilot assembly. Call for service immediately for persistent shutdowns, any soot, gas odor, headaches or CO alarm activations, or ongoing pilot/ignition problems.
Monitor performance, keep air pathways open, keep the appliance clean, and stop using it when symptoms appear.
Costs, Permits, and Alternatives
If you are weighing whether this is a "simple" install, put numbers next to the same items inspectors and installers focus on: gas line work, permit requirements, and the accessories that make the appliance serviceable and testable. Those line items usually decide whether a vent-free unit stays straightforward or becomes a bigger project.
Start with the unit: retail vent-free stove/log-set listings commonly sit around $419 to $649. In the 20,000 BTU class, examples land about $419 to $557, and 30,000 BTU options are widely available.
Next is gas piping. Typical reported installed gas line work runs roughly $500 to $2,000 depending on run length and complexity; published "average" ranges often cluster around $500 to $1,200. Materials are commonly cited at about $1 to $9 per linear foot.
Permits and inspection are a separate bucket and are jurisdiction-dependent; price them as a line item, not an afterthought.
Accessories add up: connector, shutoff valve, sediment trap, and a CO alarm.
Use average fuel-cost inputs to compare cost per unit of heat: natural gas about $12.09 per MMBtu versus electricity about $41.79 per MMBtu. These numbers help you sanity-check gas heat versus electric heat, but they do not predict your monthly bill.
A whole-home system wins when you need consistent comfort, filtration and IAQ control, or multi-room distribution: a Goodman gas furnace, an 80000 BTU furnace, or a 100000 BTU gas furnace sized to the house.
If your constraints are layout and ducting, an upflow gas furnace or high efficiency furnace can still be the cleanest whole-home path; a heat pump and gas furnace combo or dual fuel heat pump system tightens comfort across mild and cold weather.
For room-by-room heat without indoor combustion, a ductless mini split is the direct alternative, and DIY mini split installation is viable when you can follow manufacturer commissioning requirements.
Decision rule: compare installed cost using the buckets above, then choose based on your comfort and IAQ priorities. Ask contractors to quote the full scope: piping length and material, permit and inspection handling, and the exact accessories they will supply and test.
Conclusion
The best vent-free installs are the ones that are verified, inspected, and operated with the same discipline as any other fuel-burning appliance. Treat the room-volume and combustion-air threshold, plus prohibited locations, as a hard compliance checkpoint. Confirm gas type and pressure readiness, then follow the manual's clearance guidance exactly. Build in serviceability with a shutoff valve within 6 ft and a correctly placed sediment trap, then commission for clean flame quality that properly envelops the thermocouple. Close the loop with the same cost buckets you used to plan the project, and use the gas vs. electric $/MMBtu inputs as a sanity-check when you compare long-term operating costs.
Shortcuts usually surface at inspection, at warranty time, or in the first weeks of operation. Inspectors commonly verify visible safety items like leakage, corrosion, shutoff accessibility, and sediment traps where present. Some manufacturers require licensed installer details on warranty claim forms (license number) and may require licensed gas-fitter work for conversions/installation to preserve coverage. Safety compliance inspections help confirm the installation meets applicable standards and is safe for continued use.
If you want product selection support, install help, or a fast quote, contact Budget Heating & Air Conditioning, Inc., and use in-store pickup at select locations if you want to skip shipping time.
Wrapping Up
A vent-free gas stove can deliver fast, efficient heat, but only when the room, the code rules, and the appliance listing all line up. The article walked through the non-negotiables: confirming the space can supply enough combustion air, avoiding prohibited locations like bedrooms and bathrooms, and treating the ODS as a safety backstop, not a sizing strategy.
From there, a safe install is mostly disciplined planning and verification, proper clearances and floor protection, the correct fuel setup for natural gas or propane, and code-required service components like an accessible shutoff valve and a correctly placed sediment trap. Finishing strong means leak-testing every joint, commissioning for stable, clean flames, and supporting long-term safety with CO alarms, ventilation awareness, and routine cleaning and inspection.
Before you commit, double-check local permit requirements, confirm your gas supply details, and decide whether this is a DIY job or one for a licensed professional, then move forward with a plan you can verify from start to first fire.
 Cooling
 Money Saving Tips
 Product and Brands Insights
 Buying Guides
 State by State
 HVAC Systems