




 buying guides
 heating
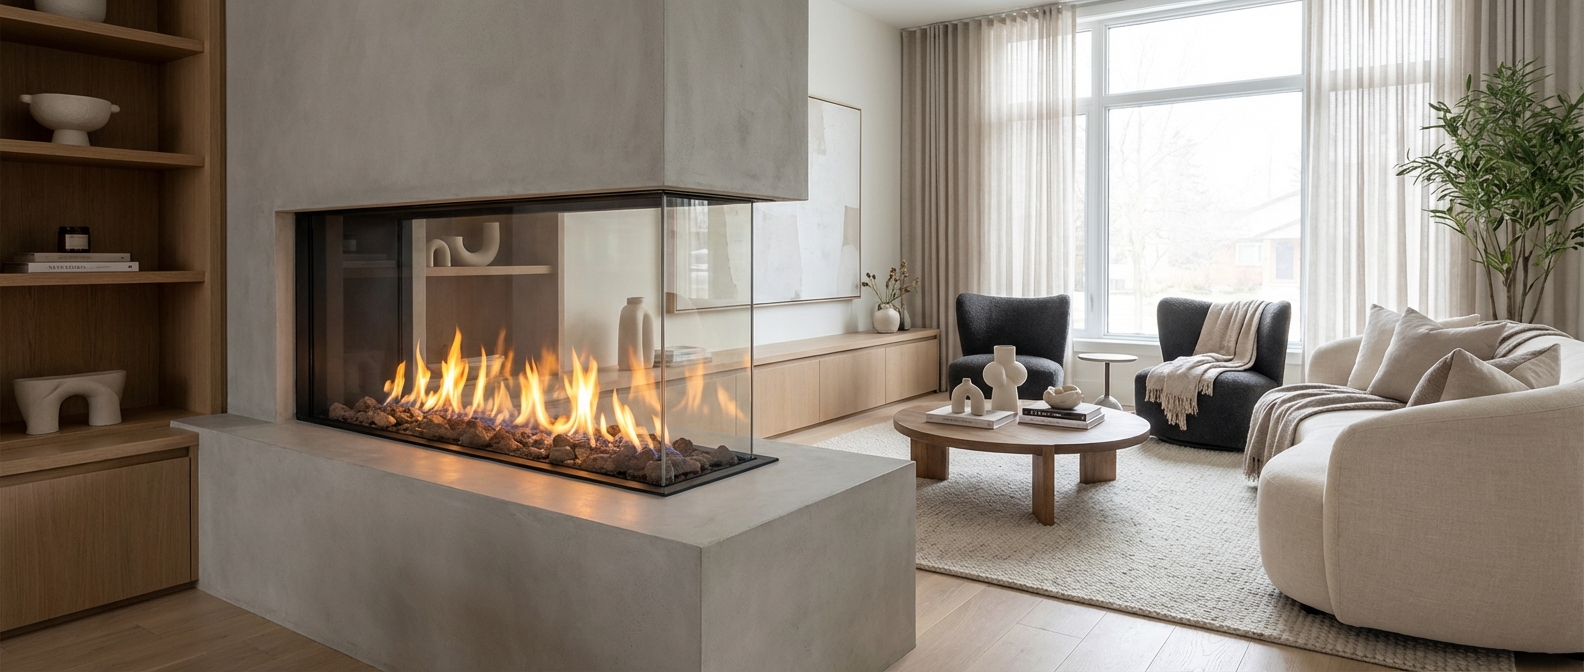
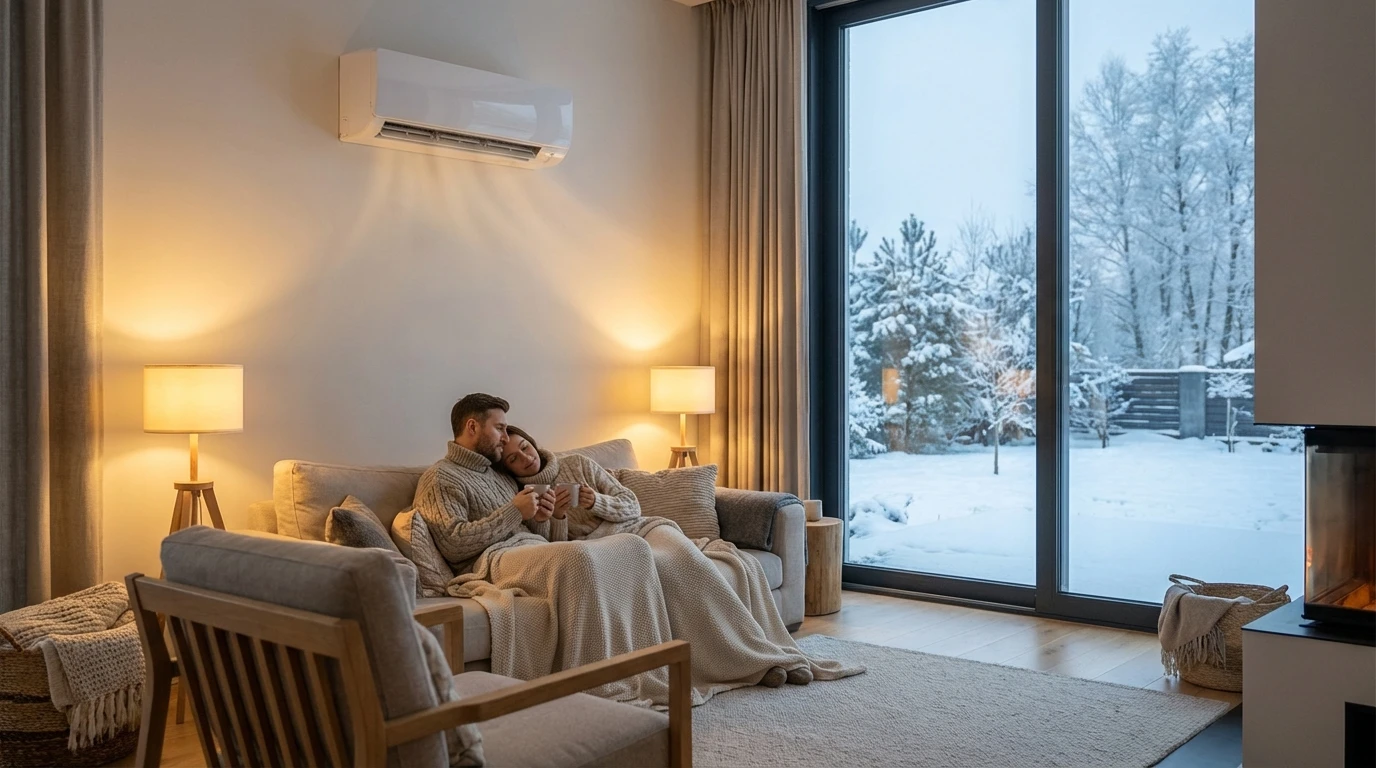
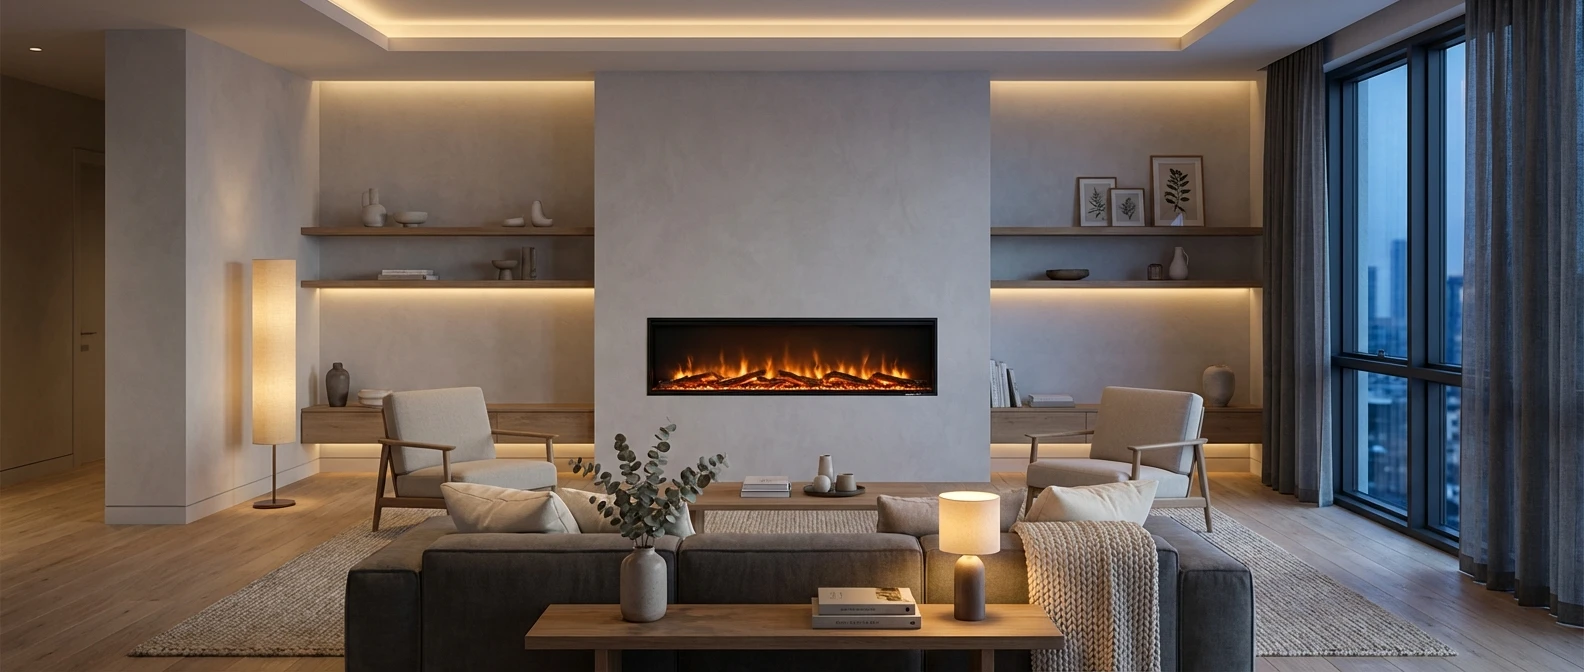
If your house is newer and tight, or you are remodeling a room with no existing chimney, the goal is simple: real flame and real comfort without turning your living space into an indoor-air-quality compromise or a venting surprise that blows up the project.
The tradeoff is where buyers get stuck. The most realistic-looking flames and best heat delivery only pay off if the unit matches your home's constraints, and "gas fireplace" is not one product category. Choosing the wrong type forces bad choices later: awkward vent routes, limited placement options, or an appliance that does not fit your air-quality expectations.
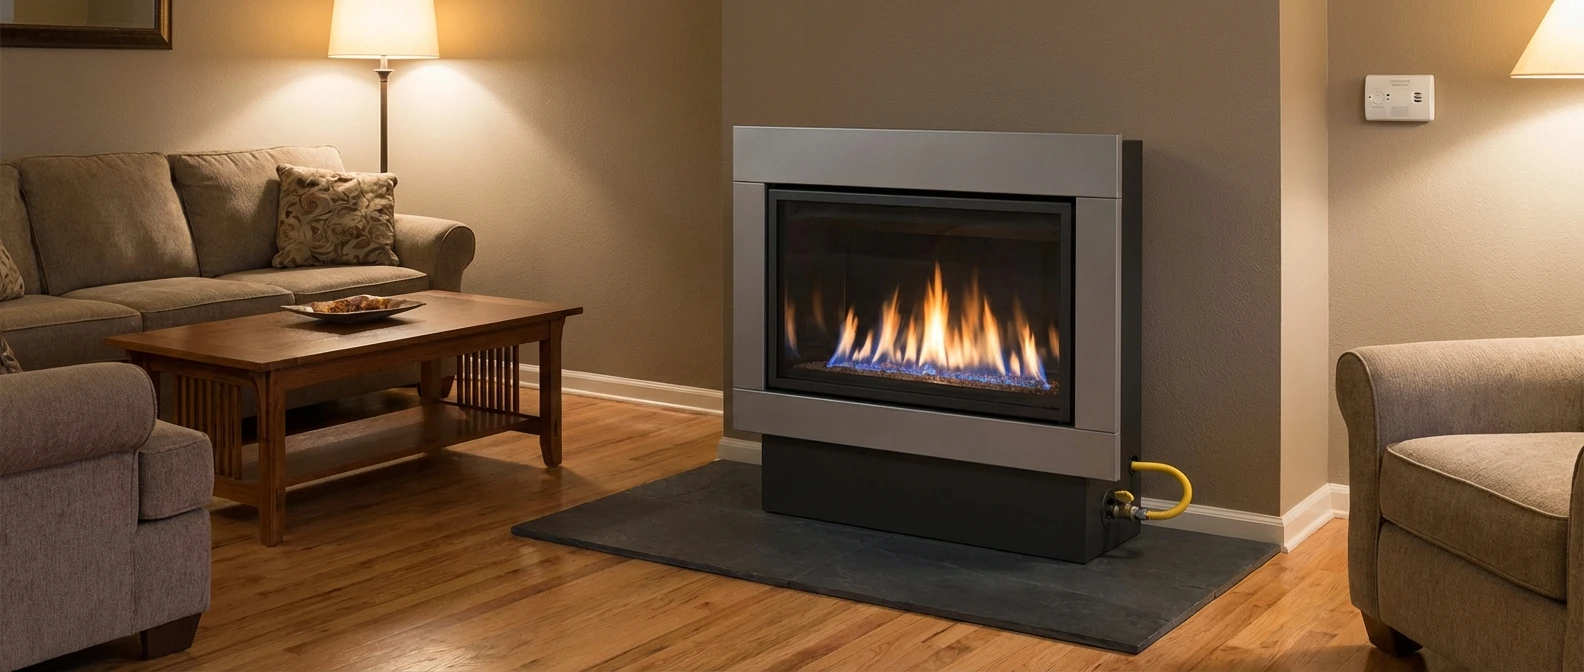
At retail, fireplaces are typically split into three buckets: Ventless (vent-free), Direct Vent, and B-Vent, with inserts usually grouped separately (including direct-vent inserts). A direct vent gas fireplace is a sealed unit that brings combustion air from outdoors and sends exhaust outdoors through approved venting, and it is listed under ANSI Z21.88 (Vented Gas Fireplace Heaters), which keeps indoor-air impact predictable compared with unvented options. A vent-free (ventless) gas fireplace skips a chimney or vent entirely and is covered under ANSI Z21.11.2 (Unvented Room Heaters), meaning its combustion byproducts are released into the room within the standard's limits, which changes where it makes sense. A B-vent gas fireplace uses vertical, natural-draft B-vent components, so the install planning is different than direct vent.
After this guide, you will confidently pick the right type first, then size the unit, plan the venting and installation constraints, choose features, and weigh cost and alternatives, with direct vent set as realistic zone heat and supplemental comfort rather than a whole-home replacement.
Direct Vent 101 + 2026 Trends
Direct vent is the default recommendation for many 2026 homes because the safety model is built into the design, not patched in later. Reviews and guidance consistently tie modern direct-vent performance to safety and efficiency, and combustion and venting mistakes are explicitly linked to carbon monoxide and fire risk. Tight construction raises the stakes because small pressure changes and limited make-up air punish any system that depends on indoor air to behave predictably.
Sealed combustion means the appliance uses a dedicated outdoor combustion-air intake and a dedicated exhaust path, keeping combustion air separate from your indoor air. The friction is that "tighter and quieter" homes are also more sensitive to drafts and pressure imbalances. A sealed system resolves that by making draft performance far more predictable, because the fireplace is not borrowing air from the room.
Plan around coaxial (concentric) venting, an allowable configuration that routes exhaust and intake through distinct airflow paths in one assembly, simplifying routing decisions.
Buyers now expect flame realism and electronics, not just heat. Market and retail trend coverage flags Wi-Fi control as a mainstream driver, and product marketing leans hard on more convincing flame presentation. A concrete example: the Majestic IntelliFire Wi-Fi module pairs with the IntelliFire iOS/Android app to control flame height, fan speed, and accent lighting. Prioritize sealed-system integrity and manufacturer-approved venting first, then choose the realism and control features you will actually use daily.
Choose the Right Size
Correct sizing is the difference between cozy zone heat and a fireplace you avoid because the room turns into a sauna 15 minutes after you light it. The trap is thinking the biggest BTU number on the label automatically means better comfort.
Most gas fireplaces are marketed by their BTU input rating, meaning how much fuel energy the unit consumes per hour, not how much heat ends up in your room. Input is a useful starting point for comparing models, but "felt heat" depends on how much of that input is converted to usable output and how effectively the unit moves that heat into the seating area.
For quick room planning, target 20 to 30 BTU per square foot. Use the low end for tighter, better-insulated spaces and milder climates; push toward the high end for draftier rooms and colder climate bands.
- Ceiling height: adjust for volume, not just floor area. An 8 ft ceiling is the baseline; for a 12 ft vaulted ceiling, multiply your BTU target by 12/8 (1.5x).
- Envelope reality: leaky windows and weak air-sealing behave like "adding square footage" to the load.
Oversizing causes overheating and short cycling, where the unit satisfies the immediate area fast and then shuts off repeatedly. That cycling produces bigger temperature swings, less even comfort, lower efficiency, and more wear from frequent on-off operation.
Plan around where people actually sit. A fireplace dumps the hottest air near the face and ceiling first, so a couch 12 feet away in the cross-draft can still feel cool while the mantle area bakes. Open-concept layouts also siphon heat into adjacent spaces, and vaulted ceilings store heat above head level unless a blower or active heat management is moving air where you live.
- Name the zone: commit to the one room (or open area) you expect to feel warmer, not the whole floor.
- Measure volume: square footage times average ceiling height; vaulted rooms demand a BTU bump.
- Audit leakage: if you feel drafts, you are sizing toward the top of the 20 to 30 BTU/ft² band.
- Sanity-check overheating: if the fireplace faces a small, tight room with close seating, downsize before you buy, or solve comfort with HVAC (whole-home heat pump sizing and system planning, dual fuel, or an air handler) instead of brute-forcing BTUs.
Sizing narrows the field, but it does not guarantee the unit can be installed cleanly. Before you fall in love with a model's viewing area or controls package, make sure your vent path and clearances will work on your actual exterior wall or roofline.
Venting, Clearances, and Installation
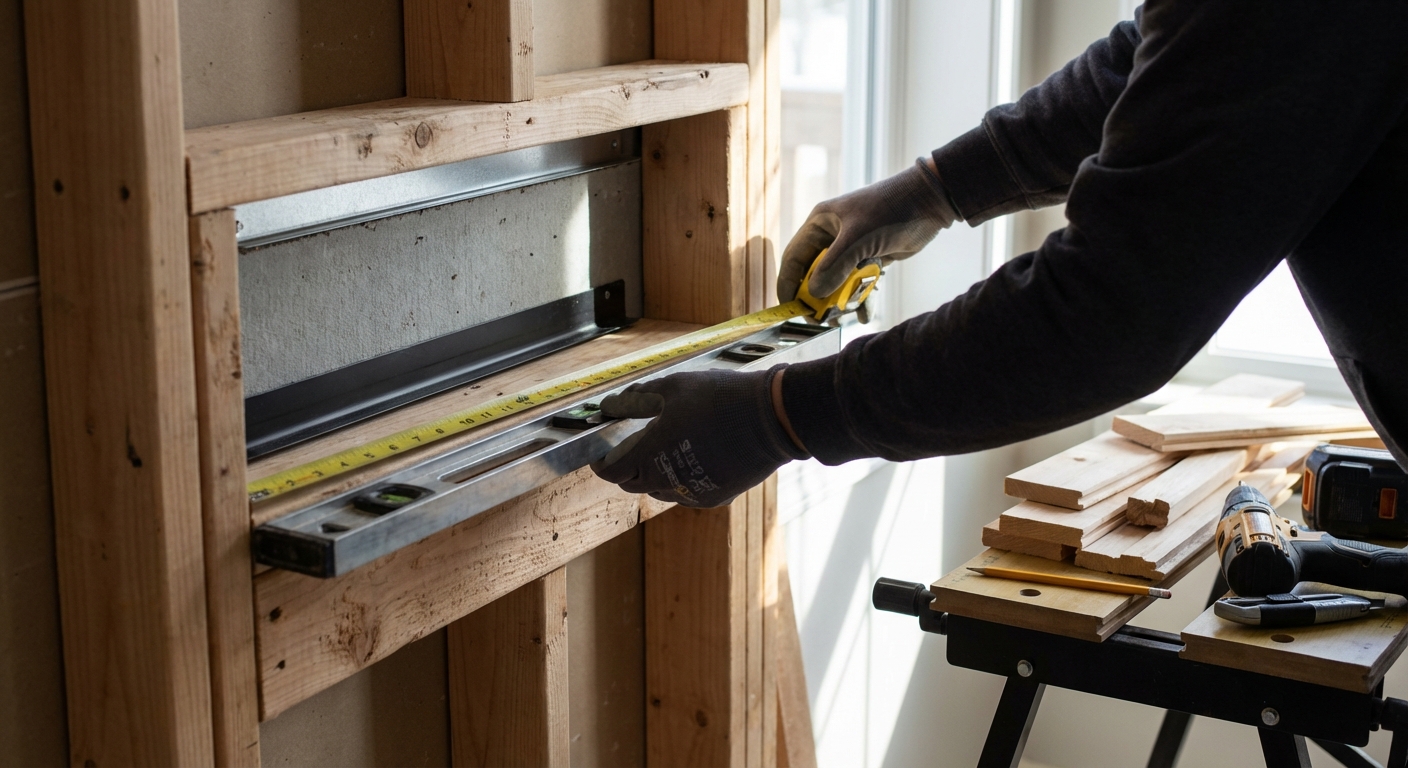
The installs that fail in the field usually fail outside the house: the unit fits the wall, but the vent cannot legally and safely terminate where it needs to. Commit to the vent route first (horizontal through a sidewall vs vertical through the roof), then walk the exterior and pick a termination zone you can actually use. Confirm you have a straight, buildable path for the vent run without running into framing members you cannot cut, planned built-ins, masonry, or a chase you do not have room to frame.
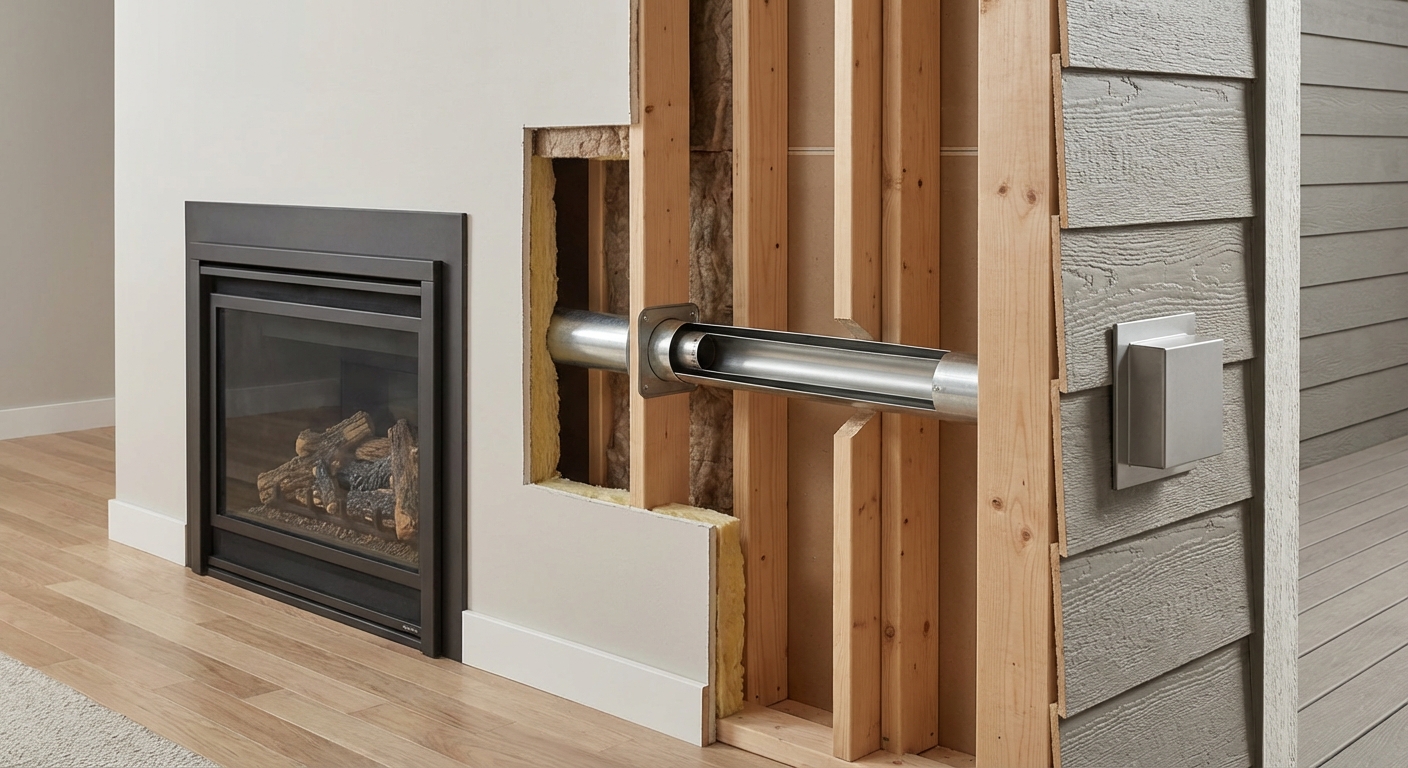
Treat the manual as the governing document for the exact vent materials, allowable configurations, and vent-length limits for that specific model. If the manual does not approve a material or routing, do not improvise it.
Code-style clearance rules regularly used in planning include keeping vent terminals at least 12 inches from openings (windows, doors, gravity inlets) and terminating not less than 3 ft above any forced-air inlet located within 10 ft.
Manufacturer manuals can be stricter than the minimums. One published example set requires 11 in below unventilated soffits, 18 in below ventilated soffits, and 6 in below roof eaves. Verify every clearance against the exact model's manual before you lock in the termination point.
Plan for permitting early. Permits are typically required before installation for new, replacement, alteration, or extension of gas piping, and the permit must be obtained before the work starts.
Confirm gas pipe sizing, not just location. Gas piping must be sized using BTU load vs length/diameter tables so each appliance has adequate inlet gas pressure. If you are changing the run length or adding load, assume the gas line needs to be evaluated and possibly upsized.
Also plan power. Many units need 120V for blowers and ignition modules, so identify a compliant power source before the unit shows up.
Treat carbon monoxide as the non-negotiable risk: confirm working CO alarms and follow the manufacturer's approved venting exactly to prevent CO poisoning and fire.
- Vent route: horizontal or vertical, with termination point selected
- Termination zone: distance to openings, forced-air inlets, soffits/eaves
- Rough opening: width, height, and depth (including finish thickness)
- Wall thickness at termination (sheathing to exterior finish)
- Route obstacles: studs, headers, joists, beams, plumbing, wiring
- Chase/framing space for the vent and required air gaps
- Gas: distance to tie-in, pipe diameter, and total run length to meter/regulator
- Electrical: 120V source location and path for wiring
- Termination height above grade and any expected snow line
If any one item is unknown, pause the order and confirm it in the manual or with the inspector/installer.
Once the installation constraints are real, feature shopping gets easier because you are only comparing models you can actually vent and frame correctly. That is where 2026 buyers tend to make (or avoid) the most expensive mistakes: selecting controls and add-ons that do not match how the room will be used.
Features That Matter in 2026
The right feature set determines whether you use the fireplace every day or only on special occasions, and ignition is where that decision gets real. Millivolt (standing pilot) ignition keeps a pilot burning continuously, 24/7, which trades a small, constant fuel burn for no-drama starts. The payoff is outage reliability: millivolt systems operate without external electrical power, so the flame still runs when the lights are out. Electronic ignition flips the tradeoff, cutting the always-on pilot but adding power dependence for lighting and advanced features.
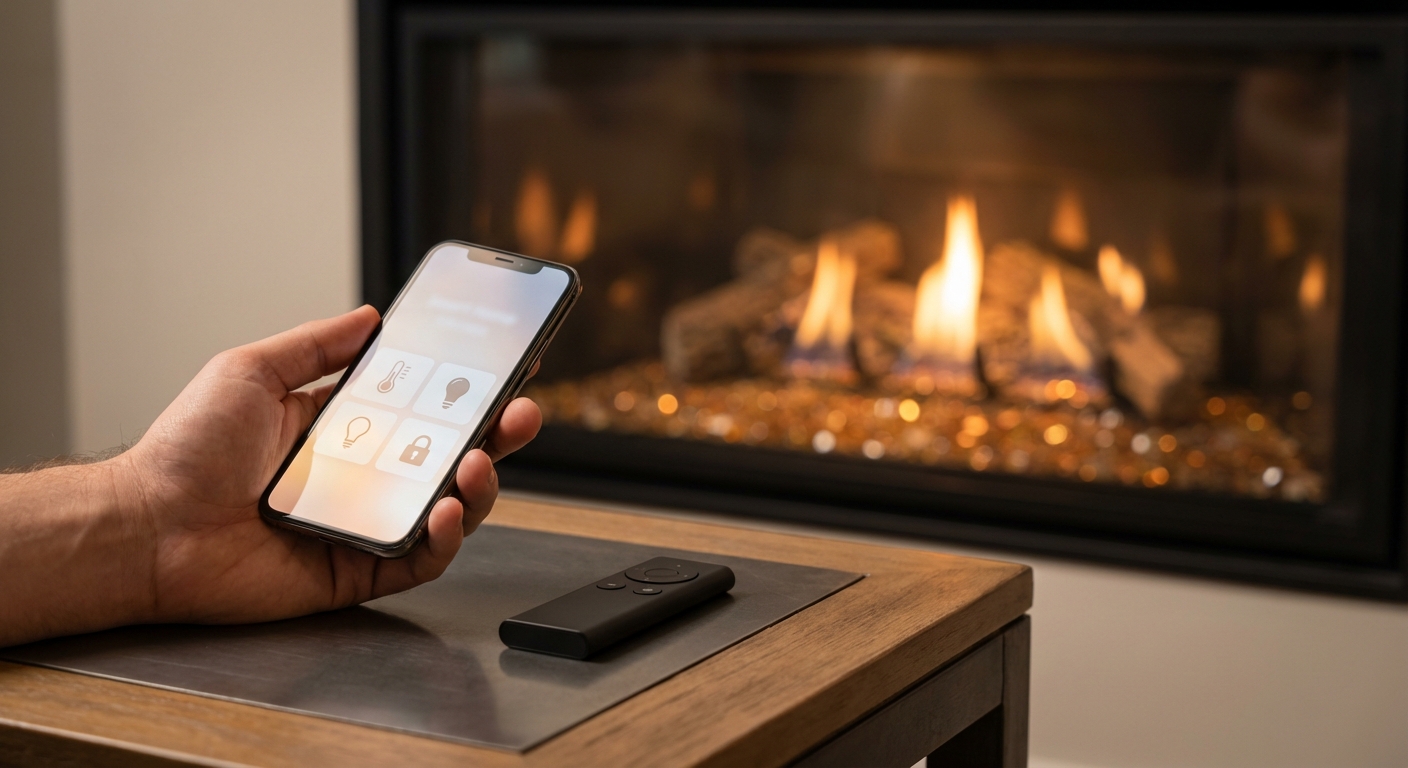
Pick one control "lane" and stay in it. A basic on-off wall switch is the most fail-safe. A thermostat or thermostatic remote is the set-and-forget choice for steady comfort. If you want scene control, use a Wi-Fi module: the Majestic IntelliFire Wi-Fi module pairs with the IntelliFire iOS/Android app to control flame height, fan speed, and accent lighting (on compatible IntelliFire-equipped systems).
A blower moves heat off the fireplace face and mixes room air for more even temperatures, but airflow creates audible fan noise at higher speeds.
On the spec sheet, look for published airflow and any sound rating. Some manufacturers disclose loudness, and "sones" is a common fan metric when sound is reported, with standardized methods such as AMCA 301.
Logs read traditional but collect dust and show soot faster; glass media reads modern and wipes clean, but fingerprints and haze are more obvious under accent lighting. Liners control depth and contrast (matte black hides visual clutter; reflective panels amplify flame). Ember beds add "glow," but more texture means more nooks to vacuum gently. Ember beds add "glow," but more texture means more nooks to vacuum gently. Every unit built after January 2015 ships with a factory safety barrier over the glass as standard equipment, so confirm the barrier style (micromesh screen or second glass panel) is compatible with the decorative front you pick.
Buying filter:
- If outages matter, do you want millivolt reliability even with a 24/7 pilot?
- Will you actually use scheduling, or do you just need a thermostat-style set point?
- Are you willing to hear a blower at high speed, or do you need published sone data?
- Do you prefer easy wipe-down media, or the realism of logs?
Costs in 2026
The cheapest fireplace on the page is rarely the cheapest fireplace to own. The box is only one line item, and it is not always the biggest one once venting and labor are priced correctly.
A useful sanity check for "premium appliance pricing" is that a 34-inch Zircon Gas B-Vent is listed at $6,509.00, with other configurations up to $8,070.00. Use that as category-level context for how quickly finishes and configurations move totals, even though direct-vent models price differently.
- Fireplace unit: the core appliance cost; pricing swings with size, viewing area, ignition/controls, and included trim.
- Vent kit and materials: pipe, termination, and any adapters; complexity and length drive this line.
- Installation labor: carpentry, setting the unit, finish work coordination, and inspection time.
- Gas line connection/extension: if you can tie into an existing, properly sized line, contractors often estimate about $200 to $400 in labor/parts; new runs and upsizing raise the number fast.
- Electrical add-ons: an outlet, switch, or new circuit if you want a blower, lights, or always-hot receptacle.
- Optional upgrades: blower kits, remotes, media kits, surrounds, and custom fronts.
If you are collecting quotes from a wholesale source like Budget Heating, ask for a line-by-line install stack so you are comparing totals, not headlines.
You only need two numbers: your fireplace BTU rate and your gas price per therm. 1 therm = 100,000 BTUs, so therms per hour = (BTU per hour) / 100,000. Multiply by $/therm to get $/hour; if you are using BTU output instead of input, efficiency is already baked into that number.
Real-world running cost reports cluster around about $0.30 to $1.50 per hour, because BTU rate, efficiency, and local fuel price dominate the answer.
A direct-vent fireplace is a smart spend when you are buying comfort plus ambiance plus zone heat in one focal room, and you accept that adjacent rooms will lag unless doors stay open and airflow is managed.
HVAC upgrades win when your problem is multi-room comfort, cold bedrooms, or seasonal efficiency goals. If electrification is on your roadmap (or gas pricing volatility is a concern), put your big dollars into heat-pump capacity and distribution first, then treat the fireplace as an optional luxury instead of a primary heat plan.
Plan for 2026 rebates to be primarily state and utility-driven, with eligibility rules that vary by ZIP code and equipment pairing. As a practical planning assumption, the federal heat-pump tax credit is not available for installations completed in 2026 or later unless new legislation restores it. Verify incentives before ordering, because the program rules change faster than product catalogs.
Summary + Next Steps
Buying the right direct vent fireplace in 2026 is a verification exercise, not a guess. The same constraints that opened this guide-tight homes, no chimney, and no appetite for indoor-air-quality compromises-are exactly why direct vent works when the sizing, venting, and controls match the room and the installation plan.
- Match framing: rough opening dimensions and minimum chase depth.
- Lock venting: approved vent sizes/materials and required vent kit components.
- Confirm routing: maximum vent run/equivalent length for your layout.
- Verify safety: clearances to combustibles for the unit and vent pipe.
- Validate termination: termination constraints for the exterior location.
- Site-check utilities: gas line path, electrical needs, and permit/inspection requirements.
- Freeze options: exact control package, blower, and media SKU compatibility.
Plan delivery like an installer: inspect the crate before signing, note any damage on the delivery receipt, and photograph everything. "Refuse only damaged merchandise" means if major damage isn't repairable in the field, you reject the damaged item(s) rather than the entire shipment.
Before ordering, confirm current state and utility rebates, especially if you're also comparing heat pumps, and verify current federal rules for 2026 installs rather than assuming eligibility. Compile your exact model, vent kit, and option list, then request a quote or support from Budget Heating.
Wrapping Up
Choosing a direct vent gas fireplace in 2026 comes down to matching the appliance to your home, not just picking the prettiest flame. Direct vent units stand out for tight, newer construction because sealed combustion keeps indoor air and combustion byproducts separated, while proper sizing helps you get comfortable zone heat without overheating, short cycling, or disappointing "felt heat."
From there, the success of the project hinges on planning the vent route, termination clearances, and utility needs before you order. When those constraints are confirmed, it is easier to choose features that fit your routine, whether that is millivolt reliability during outages, electronic ignition with smart controls, or a blower and media package that matches the room's look and noise expectations.
Next, gather your room measurements, confirm your venting path in the manual, and build a finalized model and options list so you can move forward with confidence.
 Cooling
 Learning Center
 Money Saving Tips
 Product and Brands Insights
 State by State
 HVAC Systems