




 buying guides
 cooling
 hvac systems
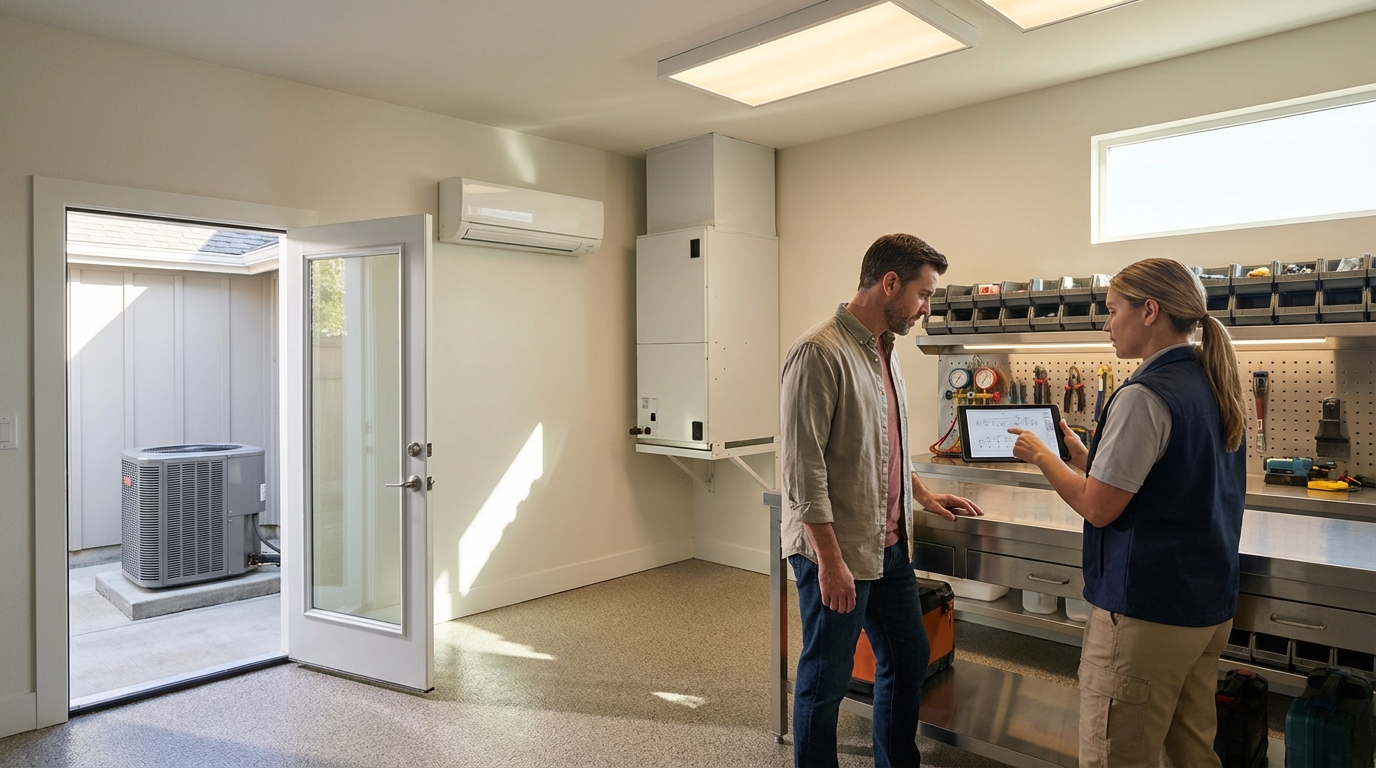
Choosing the right AC system is a fit problem, not a "best unit" problem, and the conflicting advice on size, efficiency, system type, and budget makes it easy to spend big and still feel uncomfortable.
Square-footage guessing overshoots or undershoots capacity. Chasing the highest efficiency rating can force expensive equipment and install changes that do not match your home. Replacing like-for-like without checking fit ignores climate, duct condition, and humidity control.
Your real options are straightforward: heat pump split systems, gas furnace plus AC, dual fuel, and ductless mini splits. The decision gets simpler when you anchor it to two things that drive comfort and long-term cost: the right size for your home's load and the right efficiency level for how you actually live in the space. Once those are locked, brand names and headline ratings stop steering the decision. If you want help tightening the choice, request a quote or get expert help at admin@budgetheating.com and (813) 885-7999, with wholesale-style pricing often 30 to 40% off list and orders typically processed and shipped in 2 to 3 business days after order and payment (excluding weekends and holidays).
After this, you'll be able to choose the system path that fits your home, then set sizing and efficiency so comfort and operating cost line up.
Pick Your System Type
Choose the system type based on how your home moves air (or doesn't) and what you expect in winter. If you already have a ducted distribution that is in good shape, a central split system gives you whole-home comfort from one air handler and one outdoor unit. If you do not have ducts, forcing a central system into the house often means trading away performance to fit the building, not the other way around.
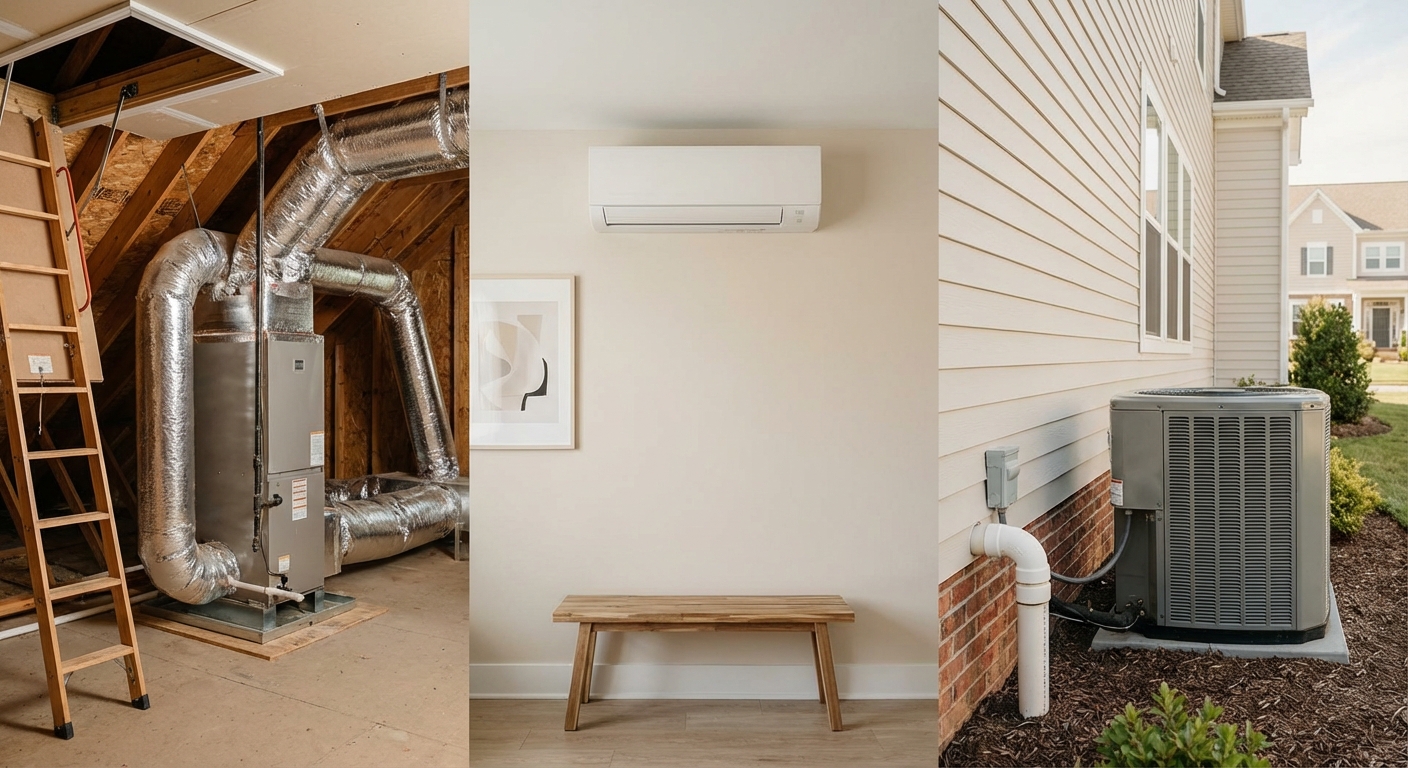
Central ducted equipment lives or dies on airflow. Typical design targets run about 400 CFM of delivered airflow per ton, and when duct resistance is high, airflow drops and capacity and comfort drop with it. That duct resistance is static pressure, meaning the pushback from undersized returns, restrictive grilles, long flex runs, and tight fittings that reduces delivered CFM when it climbs too high. The practical takeaway: the same "tonnage" can feel completely different depending on what the ducts will actually move.
Once you know whether the building can support a ducted system (or needs ductless), the remaining choice is about how you want to heat when temperatures drop.
A heat pump split system (heat pump plus air handler) is the cleanest fit for all-electric homes with ducted distribution and mild-to-moderate winters. It is one appliance that handles cooling and heating, so the decision hinges on winter expectations as much as summer load.
AC plus a gas furnace is the straightforward choice when you already have reliable gas service and a furnace and venting ecosystem that is staying in place, or when your heating demand is strong enough that you want gas heat as the primary engine.
Dual fuel (heat pump plus gas furnace) is the control-first option. You run the heat pump when it is efficient, then switch to gas for colder snaps and fast recovery. That switchover is planned around the balance point, the outdoor temperature where heat pump capacity equals the home's heat load, which gives you a rational trigger for when gas should take over.
Ductless mini splits solve problems ducts cannot: additions, bonus rooms, upstairs hot spots, and homes with no duct chases. Architecture matters. A single-zone mini split is one outdoor unit paired to one indoor unit. A multi-zone system is one outdoor unit feeding two or more indoor units, which can be wall mounts or ceiling cassettes. The comfort tradeoff is simple: more indoor zones mean more control points to tune, and fewer compromises when rooms need different setpoints.
Use this filter to narrow to one or two system types before you argue about efficiency ratings or features:
- Pick ducted central if your ducts can deliver design airflow (around 400 CFM per ton) without high static pressure.
- Pick heat pump split if you are all-electric and winter demand is moderate.
- Pick AC plus gas furnace if gas heat is the primary workhorse and your furnace and venting stay.
- Pick dual fuel if you want heat pump efficiency most days and gas authority below the balance point.
- Pick ductless if you lack ducts or need true room-by-room control, with common equipment options available from brands like Goodman.
After you've narrowed the system type, sizing is the next make-or-break decision-because the right equipment in the wrong tonnage still delivers the wrong comfort. For a broader overview of types of AC systems, compare the core layouts before you get into ratings.
Get the Size Right
Sizing is what determines whether your new system feels stable and dry, or clammy and inconsistent. Comfort and operating cost start with capacity that matches your home's load, not a guess and not a "safe" oversize. Oversizing is the most common mistake because it looks protective on paper, then performs worse in the house: more cycling, less moisture removal, and bigger temperature swings.
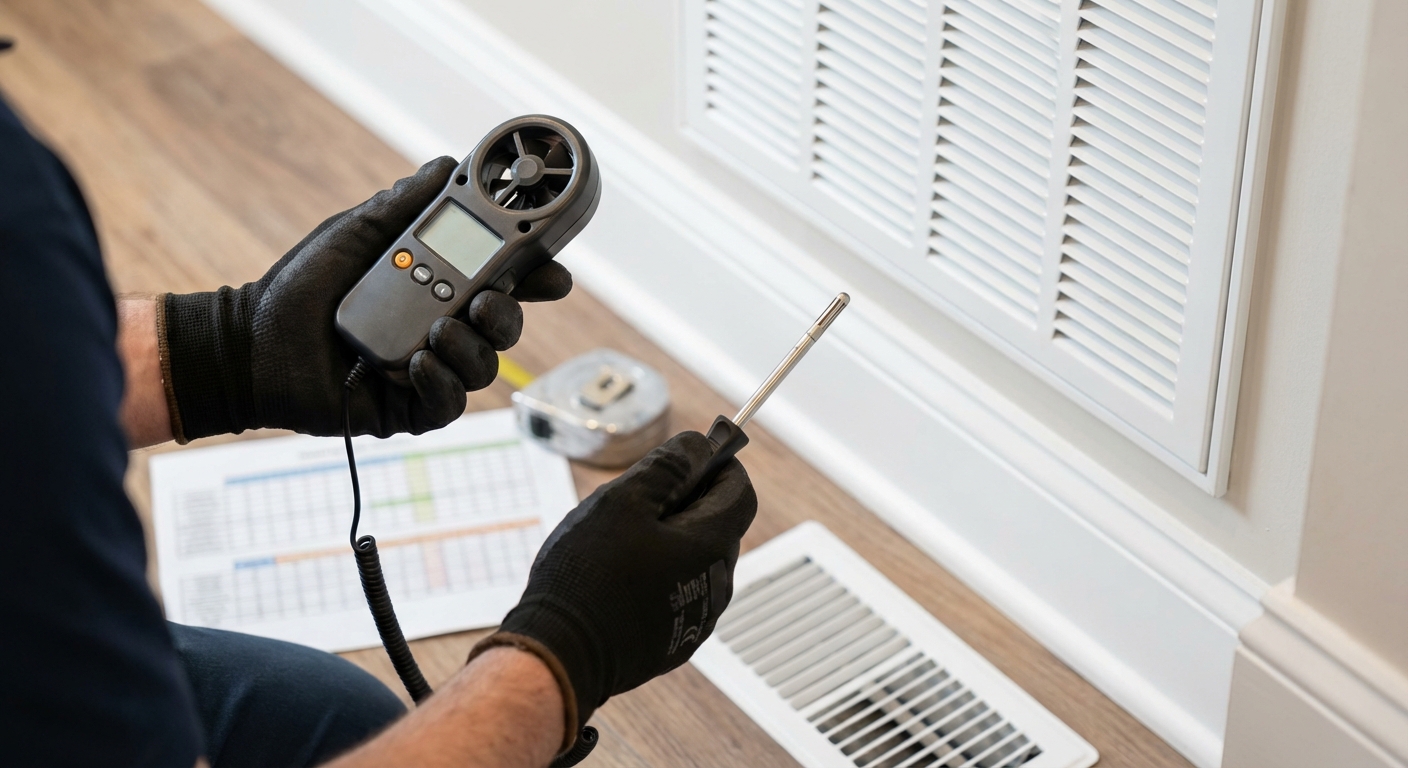
The only non-negotiable input is the home's load. That's why pros lean on a Manual J load calculation, the standardized method used to determine the capacity a home actually needs instead of guessing from square footage. If the contractor can't show you a documented load, you're buying tonnage blind.
1 ton of cooling equals 12,000 BTU per hour. Use that to sanity-check every recommendation, and lean on quick sizing guidance to keep the tons-to-BTUs math straight. A 2-ton central system is 24,000 BTU/hr; 3-ton is 36,000 BTU/hr; 4-ton is 48,000 BTU/hr. On the small end, a 12,000 BTU mini split is a 1-ton reference point that helps keep expectations grounded: it's single-room scale, not whole-house capacity.
Loads move when the building moves. Manual J inputs force the conversation onto the levers that actually matter: insulation levels, windows (U-factor and SHGC), infiltration (air leakage), orientation (solar exposure), occupancy, and duct losses. Improve insulation or tighten infiltration and the required capacity drops. Add west-facing glass or leaky ducts in a hot attic and the load climbs, even if the square footage never changed.
Airflow is the performance constraint that exposes bad sizing. If your ducts cannot deliver the design airflow assumed for the equipment, "more tons" does not equal more comfort.
Oversized equipment short cycles: it satisfies the thermostat fast, then shuts off before the coil runs long enough to pull moisture out of the air. The result is weaker humidity control, cooler-but-wetter indoor air, and noticeable temperature swings as the system repeatedly blasts and stops.
What to do next: insist on a Manual J (or equivalent documented load) before you pick a 2-, 3-, or 4-ton class system, and confirm the design airflow assumptions in writing (target CFM per ton and expected delivered airflow at the registers) before you commit to the tonnage.
When sizing is correct, efficiency discussions get clearer, because you can evaluate what you're paying for in real run time-not in oversized short cycles. If you're comparing room-by-room options, use a mini split sizing guide to keep the 12,000 BTU (1-ton) baseline in perspective.
Efficiency, SEER2, and Refrigerants
The right efficiency level is the one that lowers bills without buying "paper savings" you'll never realize. Efficiency is where you optimize lifetime cost, but only after the system type and capacity are already correct, because run time patterns, climate, and installation quality decide whether higher ratings turn into real dollars.
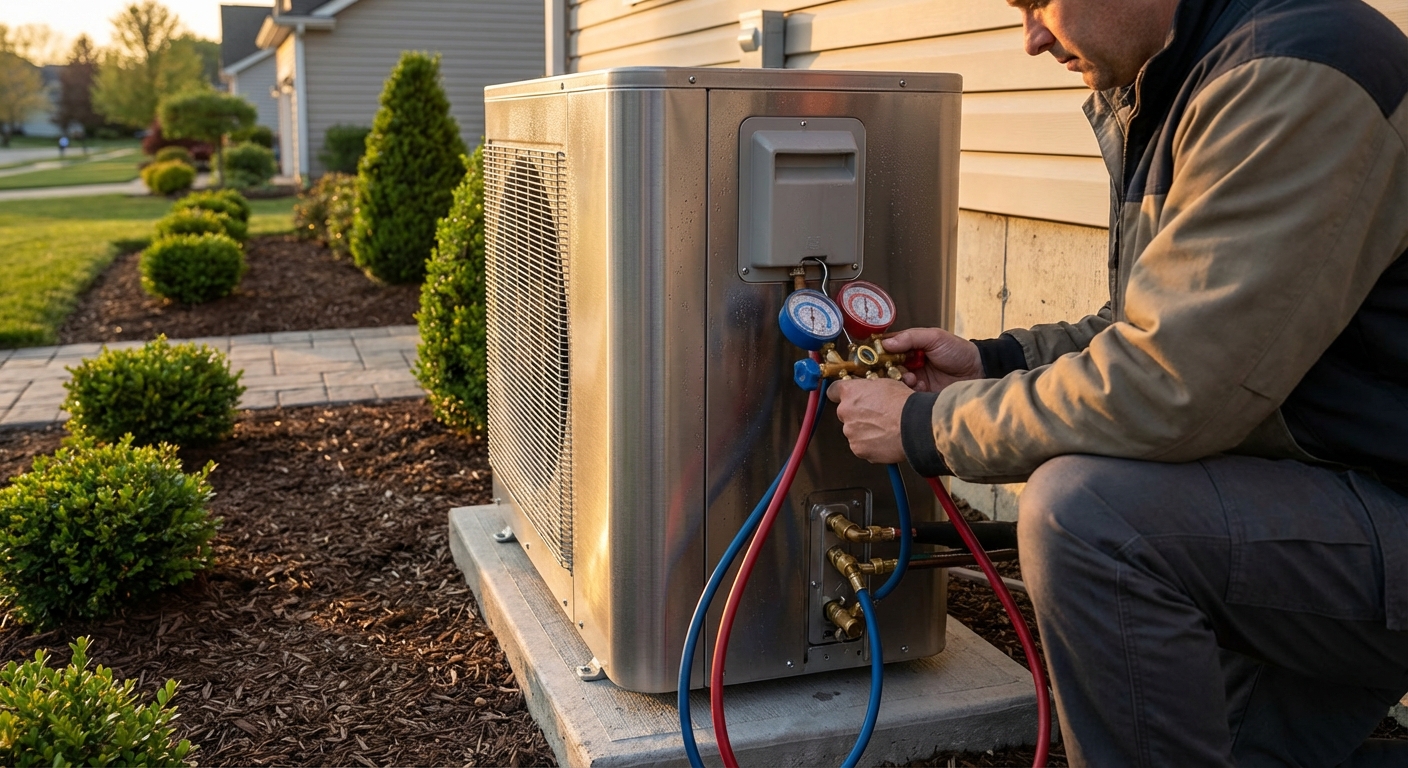
Compare cooling equipment by SEER2, the U.S. DOE efficiency rating estimating cooling output per unit of electricity under updated test procedures. Those same DOE procedure updates also produced EER2 (steady-state cooling) and HSPF2 (heating season performance) for heat pumps. The consumer trap is simple: SEER2 is not apples-to-apples with older SEER labels, so only compare ratings within the same "2" system when you're judging value.
Use this to translate a SEER2 upgrade into annual dollars before you pay extra upfront (and to compare efficiency tradeoffs and operating costs):
Annual Cost = (Capacity BTU/h ÷ SEER2) × Cooling Hours ÷ 1,000 × Electricity Rate.
- Plug in capacity (the unit's BTU/h, tied to your correct sizing).
- Use equivalent full-load cooling hours for your climate, not the total hours the system runs. A correctly sized system spends most of its runtime at part load, so plugging in actual run hours will roughly double the result.
- Multiply by your electric rate ($/kWh) to see savings and payback.
Higher-efficiency systems, often variable-capacity, run longer at lower output. That steadier run time tightens temperature swings and improves dehumidification in many homes. If ducts are restrictive or airflow is off, or if the equipment is oversized, you can pay for efficiency and still get the wrong comfort curve.
New residential systems now use A2L refrigerants, most commonly R-454B or R-32, because equipment manufactured on or after January 1, 2025 must use a refrigerant with a GWP under 700. R-410A remains widely available for servicing the existing installed base, so you will still see it in parts and equipment categories, but treat any R-410A system listing as legacy stock and ask what it means for long-term refrigerant cost and repair support. The practical move is to buy current, compatible equipment and follow the manufacturer's refrigerant, charging, and service requirements.
Rebates can shorten payback, but they only matter after the math and the install details pencil out.
At this point, the remaining risk is rarely the rating on the box-it's whether the components are matched correctly and the installation path supports the equipment you picked (especially when you choose systems by climate and regional demand).
Brands, Buying Options, and Installation Path
Compatibility is what protects performance, efficiency ratings, and headaches on install day. Most buying mistakes are compatibility mistakes and installation-path mistakes, not "wrong brand" mistakes.
An AHRI-matched system is a certified pairing of outdoor and indoor HVAC components listed in the AHRI Directory for verified performance ratings. Use that pairing (or a manufacturer-approved match) to lock in the published efficiency numbers, because mixing components can affect ratings and warranty expectations. Confirm the indoor side is the right coil/air handler/furnace match, and check thermostat requirements, especially if the equipment expects a communicating control instead of standard 24V wiring.
Buying as a complete set is straightforward because suppliers typically stock the full chain: condensers or heat pumps, air handlers, evaporator coils, furnaces, thermostats, and the install accessories that make or break fit-up.
DIY makes sense for ductless and quick-connect kits (see this mini split AC buying guide) where line-set handling is simplified. Central split systems demand a licensed contractor when the job requires brazing, pressure test and evacuation, refrigerant commissioning, and code-compliant electrical sizing (wire, breaker, disconnect) as spelled out in manufacturer install manuals.
- Outdoor pad/stand location: level base, service clearances, snow/drip line risks
- Electrical: voltage, panel breaker space, disconnect location, whip path
- Line set: required length plus slack, correct liquid/suction diameters
- Indoor fit: coil cabinet width/height, plenum transitions, drain routing
- Thermostat: 24V wire count, compatibility with staging/communicating needs
- Delivery: access for lift gate, driveway width, someone to receive freight
- Permits: HVAC and electrical permit expectations in your jurisdiction
Before you click "buy," verify the AHRI match or manufacturer-approved pairing, confirm coil compatibility, and pick DIY versus contractor based on commissioning and electrical realities.
Choosing the right air conditioning system comes down to the same core decisions the introduction laid out: pick the system type that fits your home's air distribution and winter needs, size it from a documented load instead of square-foot guesses, and then choose an efficiency level you can justify with SEER2 math. Finish by protecting those choices with AHRI-matched components and a realistic installation plan, and the equipment you buy is far more likely to deliver the comfort and operating cost you expected.
Conclusion
Choosing the right air conditioning system is less about chasing a "best" unit and more about matching equipment to your home. Start by picking the system type that fits how your house distributes air and how you want to heat in winter, whether that means a ducted split system, a heat pump, dual fuel, or ductless mini splits for spaces that need targeted control.
From there, sizing becomes the make or break factor. A documented Manual J load calculation helps you avoid the common trap of oversizing, which can lead to short cycling and poor humidity control. Once type and size are locked in, efficiency decisions like SEER2, along with refrigerant considerations, make more sense, and you can protect performance by sticking with AHRI-matched components and a realistic installation plan.
Use these steps to narrow your options confidently, then line up a load calculation and compatibility check so your final choice delivers the comfort and operating cost you expect.
 Heating
 Learning Center
 Money Saving Tips
 Product and Brands Insights
 State by State