




 heating
 product and brands insights
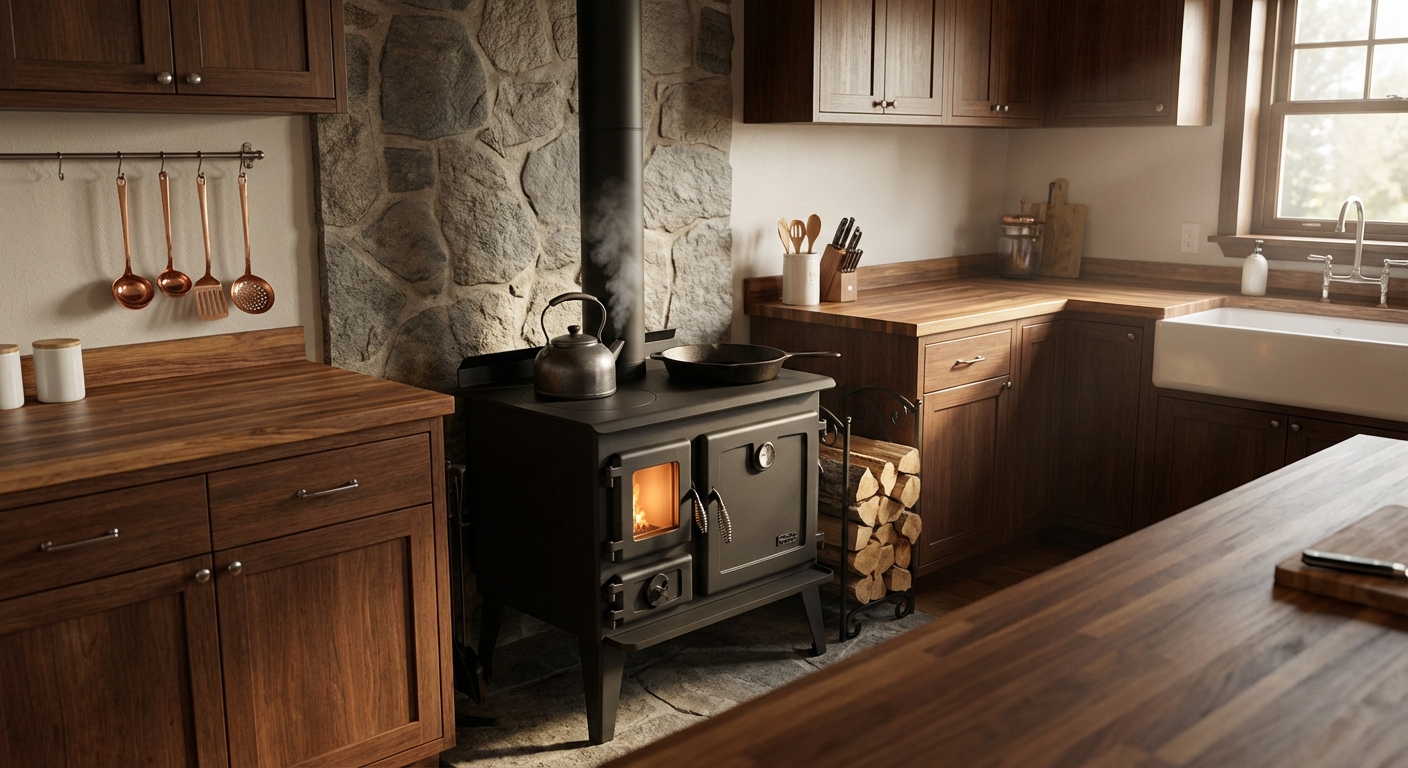
The power's out, your range is dead, and the "backup heat" plan you paid for still can't boil water. You want dependable cooking and real heat when the grid gets unreliable, but the wood-stove aisle is crowded with gimmicks and nostalgia pieces that don't belong in a working home.
You're making a practical decision: resilience without wrecking your daily routine. The goal is a setup that covers outages and shoulder-season heat while still fitting alongside the comfort systems you already rely on.
The Buck Stove Homesteader Wood Cook Stove is now available. The "Homesteader" name is also documented in comparative stove literature: Wood Stove Handbook references a "Homesteader 240DG" model and notes it "features a Scandinavian-type baffle," establishing that the model name appears in third-party writing, not just marketing copy.
This listing comes through a wholesale-priced online supplier that has fulfilled 200,000+ orders worldwide (as of 2025), with site-level free shipping and financing availability to remove the usual friction of buying heavy equipment online.
The tradeoff is straightforward: traditional wood-fired cooking and backup heat versus modern convenience systems like heat pumps, mini splits, and furnaces. You'll walk away with decision clarity on fit, a realistic plan, and whether this belongs in your resilience stack.
That decision starts with role clarity: a wood cook stove is at its best when you treat it as a working tool that backs up your existing comfort systems, not a replacement for them.
Why a Wood Cook Stove Belongs in a Modern Homestead
A wood cook stove earns its place because it carries two essential loads at once: you can cook real meals and you can put meaningful heat into a core living space when other systems cannot run.
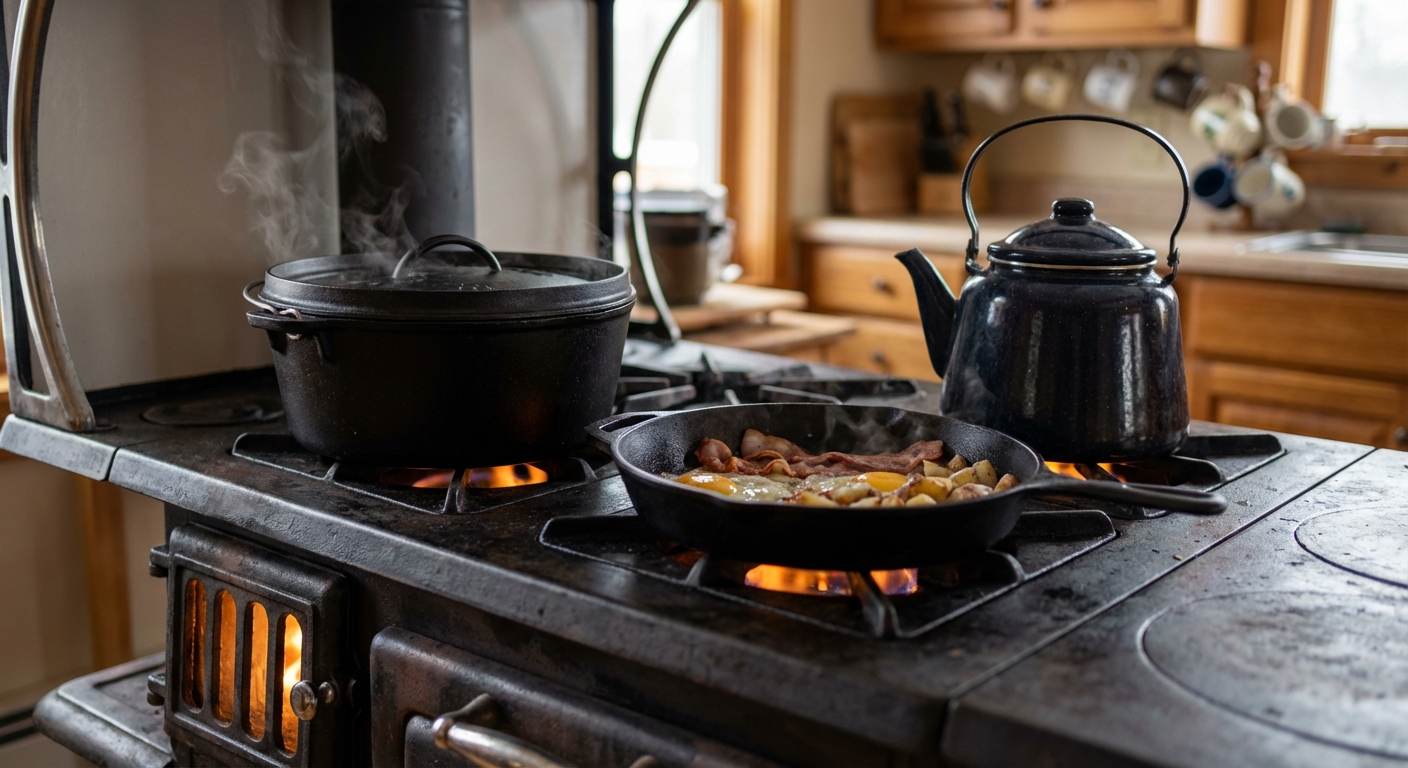
The non-obvious value is not "free heat." It's continuity: boiling water for cooking tasks, keeping food moving through an oven and cooktop, and holding a livable indoor temperature in the rooms that matter when the grid is down, propane deliveries are delayed, or a single appliance failure turns into a whole-house outage.
That's why the strongest use cases look like homesteads, cabins, rural homes where restoration can take longer, homeowners building a backup-heat plan, and any household that wants a non-electric way to cook. If you can store wood on-site, you're not negotiating with a supply chain every time the lights flicker.
In a modern HVAC setup, a wood cook stove typically complements rather than replaces a heat pump, mini split, or furnace, like a Daikin mini split. The main system wins on convenience and efficiency; the stove wins on independence and peak-load coverage when conditions stop being normal.
Once you frame the stove as the backstop, the next practical question is when your primary system stops carrying the load. Plan around how heat pumps are actually specified: heating capacity is commonly published at 47°F and 17°F, and those rating points are used in analysis and simulation to determine when supplemental heat is needed. A high coefficient of performance (COP), the ratio of heat delivered to electricity consumed (higher is more efficient), doesn't help you cook or stay warm when power is unavailable.
If you're deciding, look at your outage history, your ability to store and handle fuel, whether you want to cook through an outage, whether you can manage indoor heat actively, and whether you want an on-site energy reserve: air-seasoned firewood around 20% moisture carries roughly 7,000 BTU of usable energy per pound, with values varying by species and moisture.
If those realities match your needs, the next step is getting specific about what daily use and installation look like with a real cook-stove, not an abstract category.
Meet the Buck Stove Homesteader
The Buck Stove Homesteader is a daily-driver wood cook stove built for real kitchen work, not occasional ambiance. You buy it because you want to cook on it every day, then treat the room heat as a valuable side effect. The appeal of this category is resilience and cooking continuity, but ownership is mostly about learning a new rhythm at the stove.
Daily use feels closer to running a live piece of equipment than "turning on a burner." Fire management is the learning curve: how much fuel you feed it, when you feed it, and how you respond to changes in draft and coal bed. Cooking is also more physical. You preheat longer, you time meals around the fire's peak, and you learn the cooktop's hot spots by experience. In the room, you end up heat-zoning naturally, with one side of the kitchen becoming the warm working zone and the rest of the space lagging behind unless air is moved.
Plan for a substantial appliance that demands deliberate placement. Common spec listings cite overall dimensions around 42 inches high by 27 inches wide by 23 inches deep, and you should confirm the exact numbers on the product page and in the manual for the model you are buying. Weight is commonly listed around 660 lbs, which sets expectations for freight delivery, extra hands, and the reality that "sliding it over later" is not a casual decision.
Before money changes hands, verify the paperwork. Look for a recognized third-party safety listing on the exact model documentation. The ETL Mark is recognized by Authorities Having Jurisdiction (AHJs) and indicates testing to the same safety standards as UL, which makes it a practical checkpoint for inspections and insurance conversations.
- Floor protection and hearth planning
- Venting and chimney planning
- Basic stove thermometers, simple fire tools, and carbon monoxide alarms for the stove room and sleeping areas
- A wood handling and dry storage plan that fits your daily routine
- Delivery equipment and a clear path, plus extra hands for placement
Before purchase, confirm the manual for your exact model, confirm the listing mark in the documentation, measure your delivery path end-to-end, and sanity-check your kitchen layout against the stove's footprint and how you actually cook. If you want a single place to start the paperwork trail, check the listing page at Budget Heating.
Those choices are not optional details; they determine whether the stove can be installed safely in the first place. That makes planning and placement the real gatekeepers before you commit to a specific spot in the kitchen.
Planning, Placement, and Safety
Most wood-stove problems are planning failures, not product failures. Space, venting category, floor protection, and code alignment have to be decided before you buy, because those decisions determine whether the install is safe, insurable, and approvable at inspection.
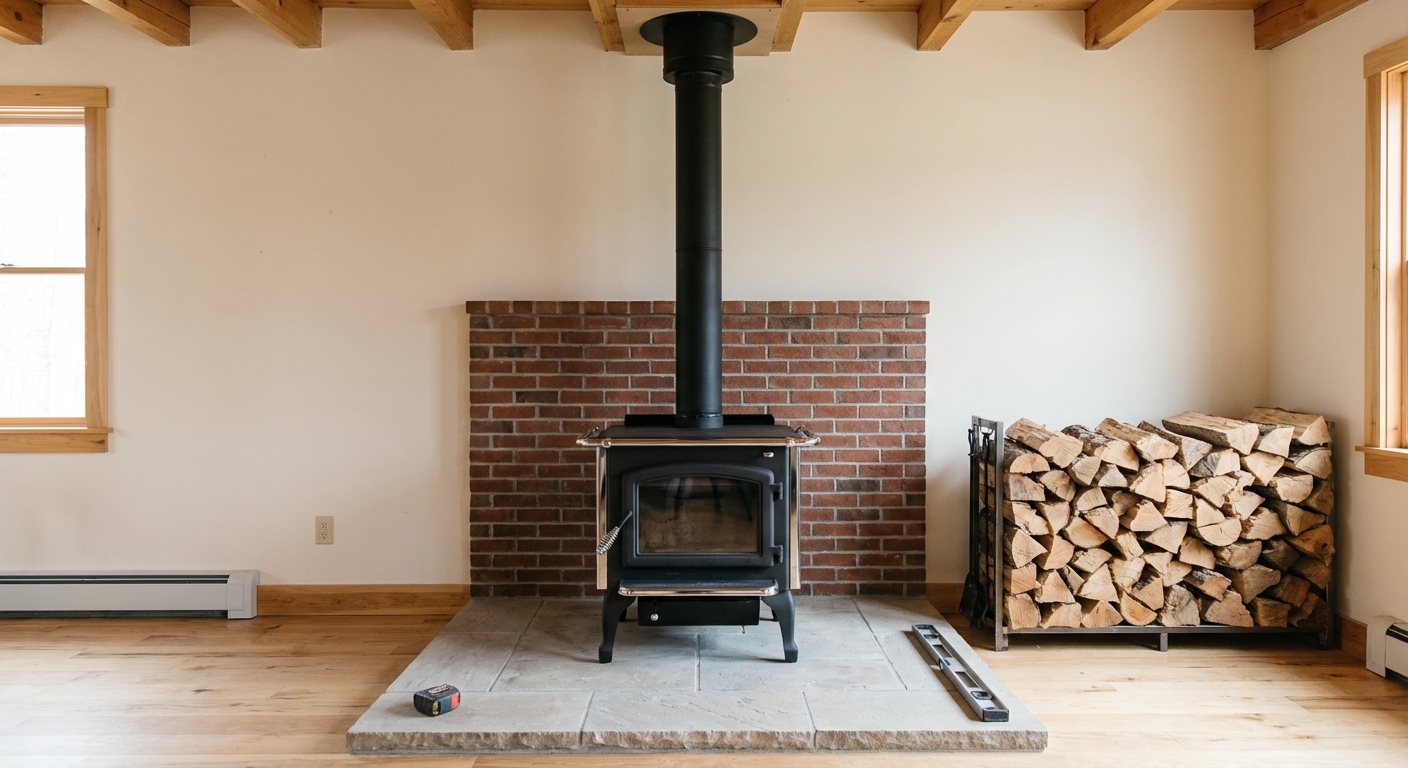
The friction is that wood appliances collide with real houses: combustible walls and cabinets, required air gaps that cannot be filled with insulation, and clearance assumptions that change with shields and connector choices. Even within one product line, a reported manual excerpt shows rear clearance changing from 28 inches without a heat shield to 18 inches with a heat shield, which is exactly how a "perfect spot" turns into a forced remodel when you finally read the fine print.
Plan the venting category first, not last. A Class A chimney is a high-temperature-rated, factory-built chimney system designed for solid-fuel venting with specified clearances to combustibles; it is built for the highest exhaust temperatures and is listed to run with only 2 inches of clearance to combustibles. Buck's Homesteader documentation calls for a 6-inch UL 103 HT (or ULC S629) chimney or a code-approved masonry chimney with a lined flue, so your layout has to accommodate that category from day one.
Your hearth design is driven by one decision variable from the manual: floor-protector R-value, a measure of how well a hearth or floor protector resists heat transfer that some stove manuals require at a minimum level. Manual examples show why you verify the exact document for the unit you buy: 3/8-inch noncombustible (or equivalent) is a baseline, rear-vent installs call for protection extending under the connector and at least 2 inches beyond each side, and some versions specify a minimum thermal value like R-6.6 plus minimum protector dimensions such as 41 inches by 41 inches. Use the manual provided with your unit, because those minimums dictate materials, thickness build-up, and footprint before you spend a dollar on stone or tile.
Decide early who approves the work. Your Authority Having Jurisdiction (AHJ) is the local code official, inspector, or agency that interprets and enforces installation and safety requirements, and they can require permits, inspections, and specific documentation. The manual itself directs installers to verify minimum clearances and use an approved floor protector to meet them, which means your paperwork and your physical layout have to match.
NFPA 211 targets fire-hazard reduction by requiring safe removal of flue gases and proper installation of solid-fuel appliances. Pair that with alarms that are placed for life safety: NFPA 72 requires smoke alarms inside every sleeping room, and NFPA 72 prohibits smoke alarms within a 10 foot horizontal path of a stationary or fixed cooking appliance, with conditional requirements out to 20 feet, to reduce nuisance alarms that get ignored. That setback cannot be the whole alarm plan here, because this is also a combustion appliance. Most jurisdictions require carbon monoxide alarms wherever a fuel-burning appliance is installed, and a wood cook stove is exactly that. Put a CO alarm in the room with the stove and outside sleeping areas so the smoke-alarm setback does not leave the combustion zone unmonitored.
- Confirm the exact manual minimums for your specific unit version (clearances, floor protection thickness, and any required floor-protector R-value).
- Decide the venting category up front, including whether your planned route and clearances support a Class A chimney system.
- Verify the hearth footprint requirements your manual triggers (rear-vent connector coverage and overhangs, plus any minimum dimensions like 41 inches by 41 inches where applicable).
- Check AHJ permit, inspection, and documentation expectations before buying hearth materials or vent components.
- Plan smoke-alarm locations to meet NFPA 72 sleeping-room coverage while respecting the 10 foot cooking-appliance setback, add carbon monoxide alarms in the stove room and outside sleeping areas, and line up a qualified installer or inspector consult if any requirement is unclear.
Once those constraints are real on paper-clearances, hearth build, and chimney route-the stove's role in your home becomes easier to judge against the systems you already use every day.
Wood Cook Stove vs. Heat Pumps, Mini Splits, and Gas
Wood heat and modern HVAC solve different problems. High-performing homes often keep both because tight comfort control and outage resilience rarely live in the same appliance.
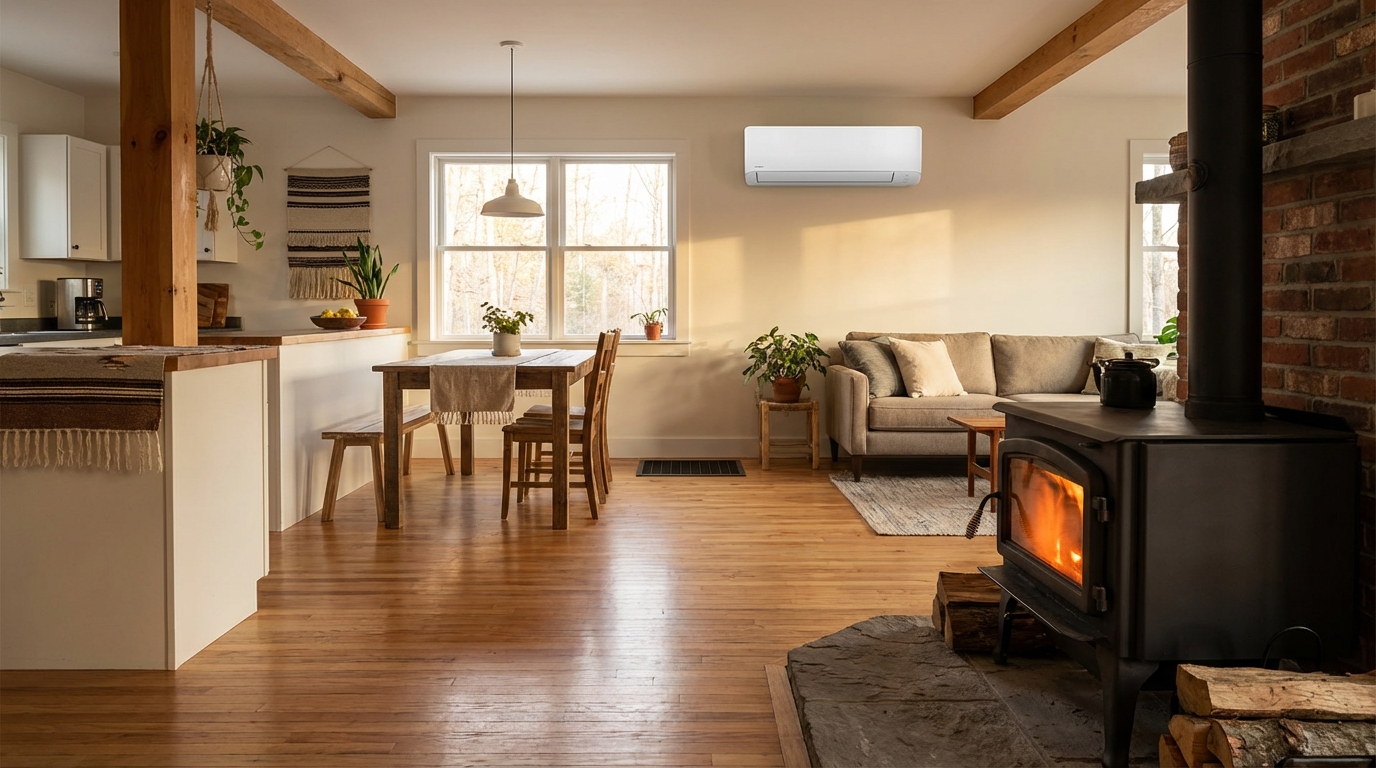
A heat pump or furnace holds a setpoint with a thermostat and delivers steady room temperatures. A wood cook stove delivers variable radiant and convective heat, hottest when the fire is cruising and softer as it coasts, so comfort tracks your firing cycle and how much cooking you are doing. If you want "70F everywhere, all day," HVAC is the primary tool; wood is the supplement you run when its variability is acceptable.
Ducted systems distribute heat through registers, and ductless mini-splits create zones by room or floor, so you can actually heat the spaces you use. A stove dominates the room it sits in and nearby adjacent spaces, and the rest of the house follows whatever airflow and door positions allow. If the back bedrooms matter, distribution, not peak output, becomes the deciding factor.
Modern HVAC is push-button heat: schedule it, walk away, and it responds automatically to weather swings. Wood heat demands fuel handling (including dry wood), ash removal, and active fire management. The payoff is hands-on control and multi-use capability, but you earn every BTU with attention and time.
Most heat pumps, mini-splits, and furnaces depend on electricity for compressors, blowers, controls, or ignition. A wood stove keeps producing space heat during outages, which is why many owners treat it as the resilience layer rather than the daily comfort system.
Compare operating cost using one framing: dollars per million BTU of delivered heat ($/MMBtu), not just fuel price. Start with national price inputs from EIA's Monthly Energy Review (MER), convert each fuel to raw $/MMBtu, then adjust for appliance efficiency. Heat pumps use HSPF2, the updated seasonal heating efficiency metric expressed as BTU of heat output per watt-hour of electricity input. Gas furnaces use AFUE (Annual Fuel Utilization Efficiency), the percentage of a furnace's fuel energy converted into usable heat over a season.
All-electric, mild climate: Make the heat pump primary; use wood for outages and cold snaps when you want higher radiant comfort.
Cold climate with backup needs: Plan for a backup heat source; wood covers outages and peak-demand days when comfort in the main living zone matters most.
Rural propane user: If propane is expensive or delivery is uncertain, wood offsets the highest-cost gallons and reduces dependence during storms.
Existing high-efficiency furnace: Keep it as the "whole-house thermostat," and run wood when you are home and want localized heat and cooking.
Dual fuel strategy: A heat pump plus gas furnace combo handles shoulder seasons efficiently and deep cold reliably, with wood reserved for outages and peak pricing periods.
Choose both when you want precise whole-house comfort most days and an independent heat source when the grid or fuel deliveries fail. Choose one primary when your expectations are clear: whole-house even temperatures point to HVAC, while tolerance for hands-on operation and single-zone dominance points to wood. Evaluate your comfort setpoint habits, how your house moves air, your outage risk, local fuel availability, and how much daily labor you will actually sustain.
If the balance points you toward adding a cook-stove as your resilience layer, ordering is simplest when you treat shipping and documentation as part of the install plan, not an afterthought.
How to Order the Homesteader from Budget Heating
Ordering the Homesteader goes smoothly when you treat it like two workflows: freight delivery and documentation. Most delays come from mismatched shipping expectations or missing paperwork when a return or warranty request is needed.
Open the product page and verify you are viewing the correct Homesteader model documentation before checkout, including the manual and warranty info tied to that listing. Then plan delivery like a heavy appliance: many stoves ship freight, so access, delivery appointments, and a clear inspection plan matter more than a typical doorstep parcel.
Standard shipping typically runs 3 to 7 business days. Expedited shipping options apply to parcel shipments, so do not assume faster service is available for freight. If offered, you can also choose in-store pickup at select locations during checkout.
Returns and exchanges are accepted within 30 days, and the item must be unused and in the same condition you received it.
Warranty coverage runs through the manufacturer for the original purchaser. Budget Heating processes warranty part requests through a warranty part request form, so have your invoice and serial number ready.
- Save your invoice immediately after checkout.
- Inspect the shipment on delivery day and document condition before you sign.
- Submit warranty needs through the warranty part request form with invoice and serial.
If your goal is dependable cooking and real heat when the grid gets unreliable, the Homesteader fits best as the hands-on continuity layer alongside modern HVAC. Make the purchase only after the manual, clearances, and delivery plan are settled, so resilience adds capability without wrecking the daily routine you're trying to protect.
Wrapping Up
The Buck Stove Homesteader is positioned as a practical, modern resilience tool: a wood cook stove that keeps meals moving and delivers meaningful room heat when the grid, propane deliveries, or a primary appliance lets you down. Used alongside a heat pump, mini split, or furnace, it adds continuity without forcing you to abandon the convenience and whole-house control of HVAC.
The real decision comes down to planning, not hype. Clearances, hearth requirements, chimney category, and AHJ expectations determine whether the install is safe, insurable, and workable in your kitchen, and the day-to-day experience depends on your willingness to manage fire, fuel, and heat zoning. Ordering also goes best when you treat freight delivery and documentation as part of the install plan.
If the Homesteader fits your outage risk and your home's layout, confirm the manual details, map your venting and hearth plan, and line up delivery and inspection so you can move forward with confidence.
 Cooling
 Learning Center
 Money Saving Tips
 Buying Guides
 State by State
 HVAC Systems