




 buying guides
 cooling
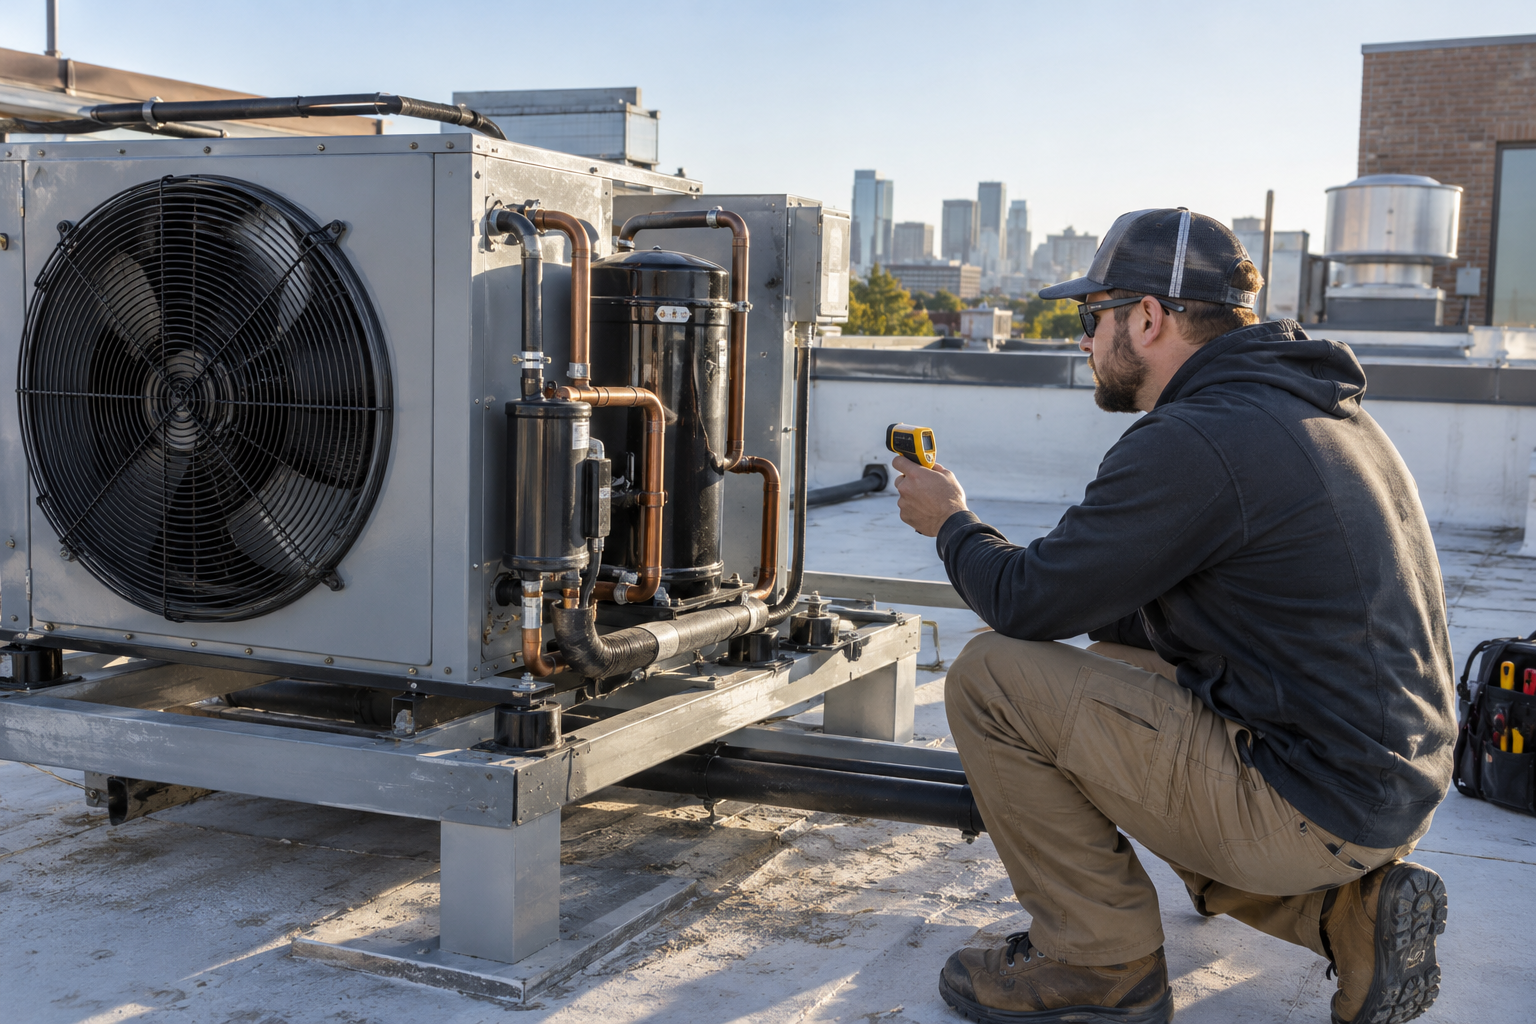
Start with the cooler's door traffic and incoming product schedule: two boxes of the same size can have different loads because warm air enters through open doors and newly delivered products need cooling. Calculate the design load in Btu/h, including heat entering through the enclosure and heat released inside. Then compare that load with a candidate unit's rated capacity at the required evaporating temperature, which is below the box temperature, and the design ambient temperature around the unit. A hotter ambient can reduce available capacity, so horsepower alone is not a sizing measure. The approved refrigerant, matched evaporator, available voltage and phase, and condenser airflow must also fit. Use these inputs to narrow candidates; have a qualified refrigeration professional complete the system design and final selection.
Calculate the Cooler’s Design Load
A walk-in cooler load calculation accounts for heat entering the enclosure, warm air entering through openings, heat released inside the box and heat removed from incoming products. Two coolers with identical dimensions can therefore need different refrigeration capacities. Compressor horsepower and a box-size label do not measure those loads.
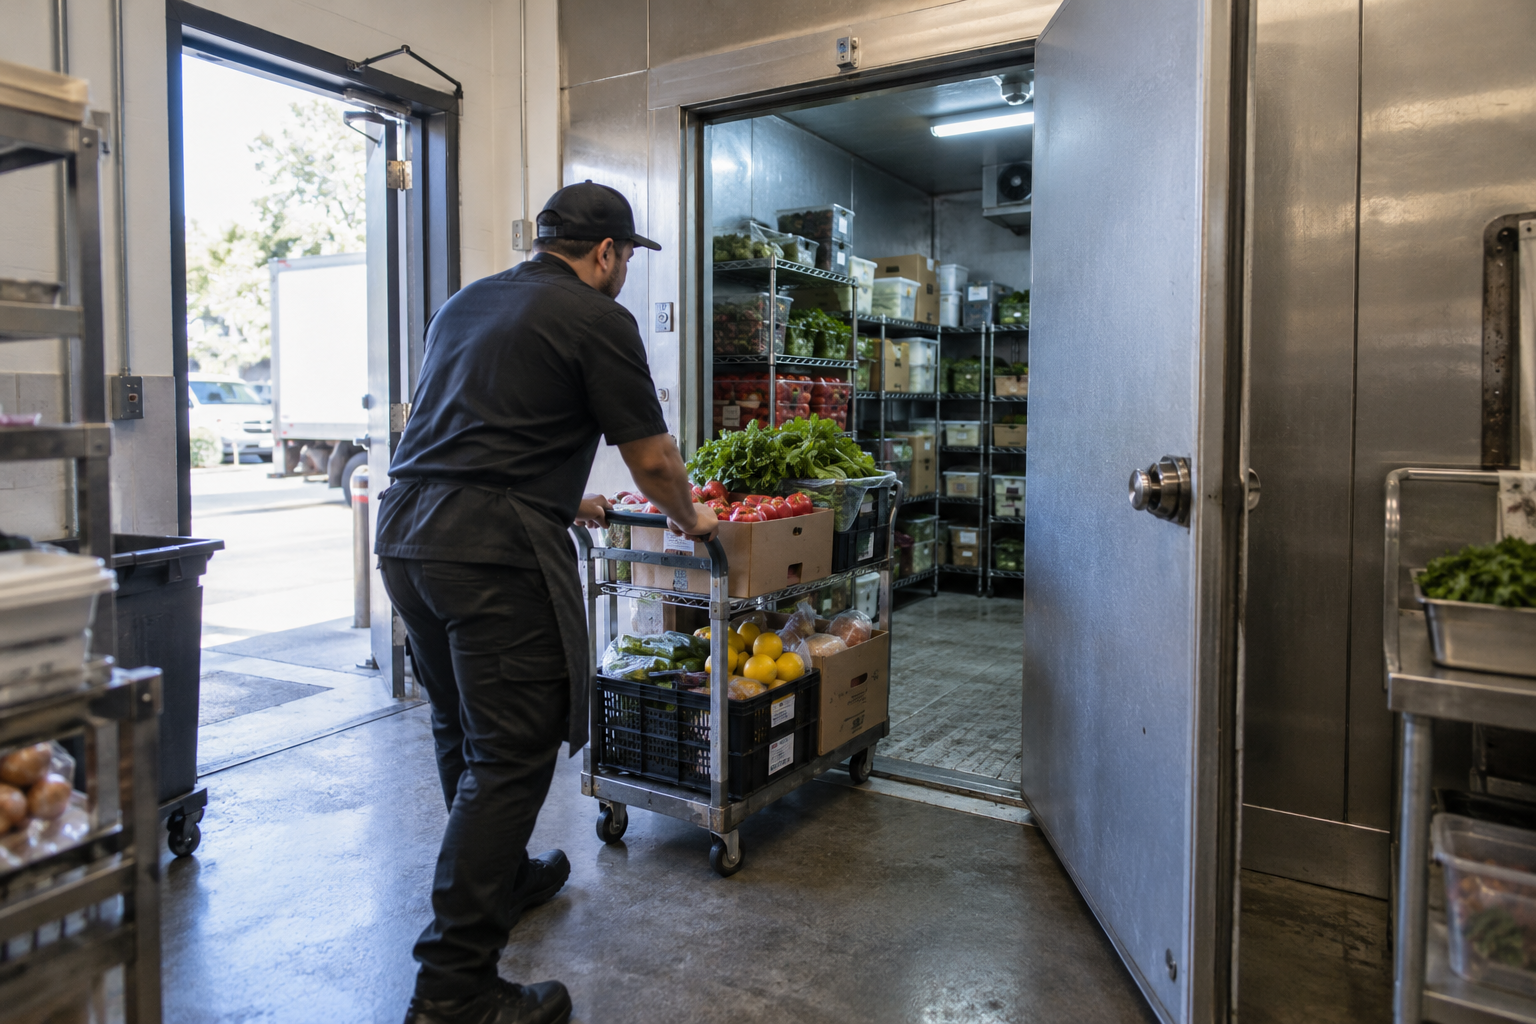
- Record the interior length, width and height; wall, ceiling and floor construction; insulation; and temperatures on the other side of each surface. Heat conducted through closed surfaces depends on their area, construction and temperature difference.
- Describe door dimensions, how often and how long doors open, traffic patterns and any adjacent warm or humid areas. Incoming air adds a different load from heat passing through closed walls; moisture in that air also has to be removed.
- List lights, evaporator fans, people and other equipment that release heat inside the cooler, along with their operating schedules.
- For each incoming product, note the quantity, arrival temperature, target storage temperature and time allowed to cool it. This product pull-down load is separate from ongoing enclosure and door loads; produce may also release respiration heat.
A lightly used storage cooler and a frequently opened cooler receiving warm deliveries can have very different peak requirements. Give the designer the actual operating schedule rather than selecting capacity from dimensions alone. A qualified refrigeration professional can turn those inputs into a design load expressed in cooling capacity, typically Btu/h.
Set Box, Evaporating, and Ambient Temperatures
The desired box temperature describes the air inside the cooler; the evaporating temperature describes refrigerant boiling in the evaporator. The latter is lower because heat flows from the warmer box air to the colder coil. That difference influences evaporator selection and the operating condition used in equipment rating tables.
That temperature difference, often called evaporator TD, is chosen with the coil and application in mind. It affects how the evaporator handles the load and the cooler's humidity. The designer also accounts for effects such as suction-line pressure drop. Do not enter the desired room temperature as the evaporating-temperature value in a capacity table.
Next, establish the design ambient temperature: the air surrounding the condensing unit at its proposed outdoor or equipment-room location during the conditions used for sizing. It is not the air inside the cooler. A hotter surrounding environment can reduce an air-cooled unit's available capacity.
Keep the application class in view. Cooler and freezer equipment is intended for different operating ranges, so a freezer label or a similar horsepower is not a substitute for the exact unit's approved temperature range and rating conditions.
Compare Capacity at the Required Rating Conditions
With the load and temperatures established, find each candidate's manufacturer capacity data. Compare its capacity with the calculated design load using the proposed refrigerant, evaporating or suction temperature, and design ambient. If the data specifies an evaporator TD or another rating condition, account for that condition too. Values from unlike operating points are not a fair comparison.
A capacity table can change across its temperature columns and ambient rows because the compressor and heat-rejection equipment operate under different conditions. Kramer's KFO technical specifications illustrate why the stated rating conditions matter; those figures apply to the configurations identified in that document, not every condensing unit. Use the selected candidate's own current data for the job.
Neither nominal tonnage nor compressor horsepower tells you how many Btu/h a unit will deliver at your design point. A candidate whose headline capacity looks sufficient may fall short at a hotter ambient or a different evaporating temperature. Conversely, choosing a much larger unit solely because it is larger does not establish a suitable evaporator and control match.
For a straightforward comparison, place the required load beside each candidate's capacity at the same design conditions and refrigerant. Where the exact operating point is not tabulated, have the designer use the manufacturer's approved selection method rather than inventing a capacity or applying a blanket horsepower rule or safety factor.
Match the Refrigerant and System Components
Refrigerant compatibility is a system requirement, not a choice to make after selecting capacity. Check the exact condensing unit's approved refrigerant and configuration against the connected evaporator and metering device. Their capacities and operating ranges must also suit the cooler's design conditions. A matching capacity figure by itself does not make two units interchangeable.
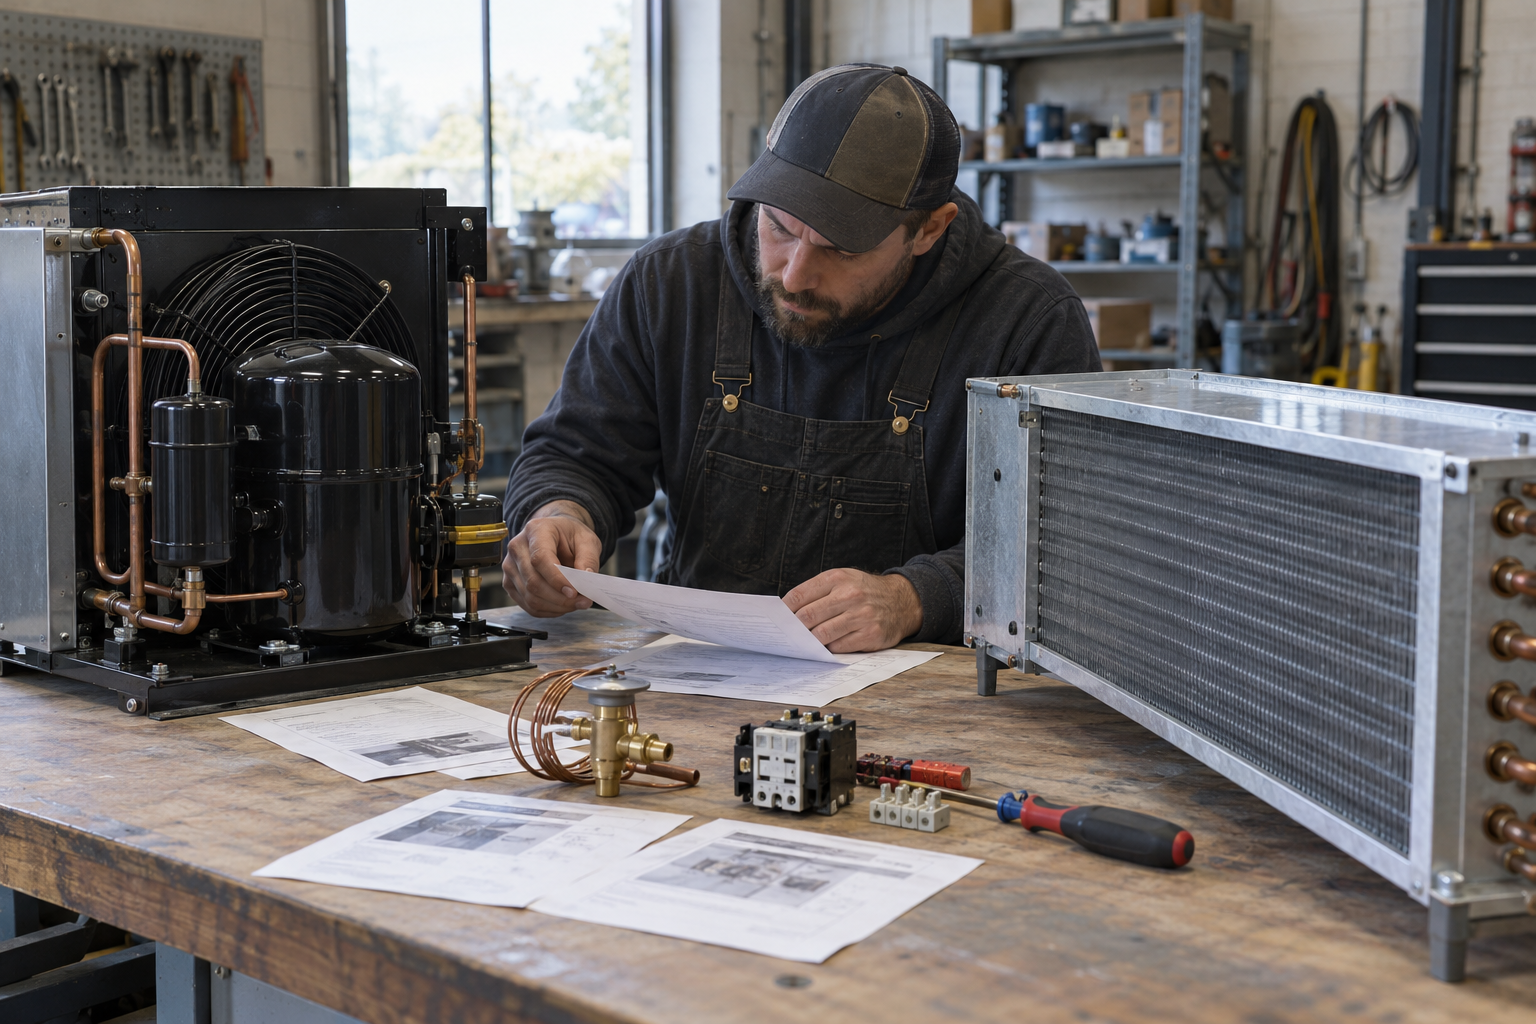
For a replacement, identify the installed refrigerant and record the evaporator model, expansion or metering device, controls and any other connected equipment before narrowing candidates. A new condensing unit may require a different approved system configuration even when its nominal size resembles the old unit.
For example, Kramer's K-Series information identifies refrigerants and application configurations for that series. Those approvals do not extend automatically to other models or authorize a field refrigerant substitution.
Leave refrigerant choice, any change to an existing system, and refrigerant-handling work to qualified refrigeration professionals following the selected equipment's instructions and applicable requirements. In the United States, EPA Section 608 certification rules apply to specified work that could release refrigerant.
Check the Evaporator, Power, and Installation Fit
A unit that meets the load on paper must still fit the evaporator and the site. Confirm that the evaporator can handle the application load at the chosen operating point, and that its metering device, defrost arrangement and controls suit the proposed system. These checks matter for normal operation, not just for initial startup.
Record the available voltage and phase at the proposed location and compare them with the exact model's electrical requirements. Also check its permitted ambient range. An electrical mismatch can rule out an otherwise plausible unit unless the designer specifies an approved solution; model-specific voltage or ambient limits should not be assumed to apply to a whole product category.
Identify where the condensing unit will sit and how it will receive and discharge air. Restricted airflow or recirculation of heated discharge air can raise head pressure and impair operation. Allow for the service access and clearances required by the chosen model's installation instructions, whether the location is outdoors or in an equipment room.
Finally, show the contractor the proposed refrigerant-line route, including elevation changes and fittings. Line sizing depends on the refrigerant, operating conditions and route; a connection-stub diameter alone does not determine the interconnecting line size. Heatcraft's condensing-unit installation manual illustrates these installation checks for Heatcraft equipment; use the selected unit's own instructions for its limits.
Prepare a Candidate Comparison for Your Refrigeration Contractor
Bring your refrigeration contractor one comparison sheet with these entries for each condensing unit for a walk-in cooler:
- Calculated design load in Btu/h, desired box temperature, selected evaporating temperature and ambient temperature at the unit's location.
- Manufacturer-rated capacity at those conditions, approved refrigerant, and proposed evaporator and metering-device models.
- Required and available voltage and phase, installation location, airflow provisions and proposed line route.
You can browse Budget Heating's Coolers and Condensers Freezer & Cooler categories for candidates. Check each individual listing and its manufacturer documents for the exact configuration. Before ordering, have the contractor confirm the final load, equipment match, piping, controls, electrical fit and installation requirements.
Choose by Load and Operating Point
The right walk-in cooler condensing unit is one whose capacity meets the calculated load at the intended operating point, and whose refrigerant and connected equipment form a suitable system. Use the comparison to narrow your options, then obtain professional approval of the final selection and installation before purchasing or beginning refrigerant work.
 Heating
 Learning Center
 Money Saving Tips
 Product and Brands Insights
 State by State
 HVAC Systems