What's involved in installing a central air conditioner: a quick overview
Installing central AC is a coordinated, code driven project that starts with planning and permitting and ends with a documented startup and inspection. It begins with proper sizing to match the home's load, then moves to duct evaluation or design, refrigerant line routing, condensate handling, and dedicated electrical work. Once equipment is set, professional startup and commissioning confirm airflow, refrigerant charge, safety controls, and thermostat operation, followed by the final permit inspection.
Why it matters: in our decades of hands on HVAC work, installation quality is the biggest lever on comfort, energy bills, and system life. A right sized, well balanced system delivers even temperatures and lower utility costs, while a mismatched or poorly charged system can run long, spike bills, and wear out faster. Manufacturers also link warranty validity to proper installation and commissioning, so the details are not optional, they are foundational.
Do you need a new central AC? How to decide and prepare
In our experience, start with a quick home check. Match your system needs to your climate and humidity priorities, then look at the house itself.
- Size and layout: confirm square footage and rooms served.
- Insulation and air sealing: upgrade first, a tighter shell can reduce required AC size.
- Climate and humidity targets: define temperature and moisture expectations.
When vetting pros, get 2 to 3 written proposals. Require Manual J, Manual S, and Manual D. Ask for license, insurance, and recent references. These steps help decide whether to repair, right size, or replace.
Key components explained: condenser, evaporator coil, compressor, line set, ductwork and thermostat
A central split system works like a relay team, each piece must be in sync. Matching the indoor and outdoor components and placing them right protects efficiency and lifespan.
- Condenser: the outdoor unit with fan and controls. Set it level on a pad, anchor it, maintain clear airflow, and shield it from debris.
- Compressor: the pump inside the condenser that circulates refrigerant. Correct charging and secure mounting prevent stress and noise.
- Evaporator coil: the indoor heat absorber. It must be the correct match to the furnace or air handler to deliver rated capacity.
- Line set: insulated copper tubing linking coil and condenser. Run and braze, pressure test, evacuate, then charge per manufacturer specs.
- Ductwork: distributes air. Proper sizing and tight seals curb losses and drafts.
- Thermostat: the control that calls for heating or cooling and manages fan operation.
Plan service access and reliable condensate routing at the indoor unit. Proper pairing and placement preserve capacity, reduce wear, and cut energy waste.
Sizing the system: tons, Manual J load calculations, Manual S and airflow rules of thumb
Right-size first, then select equipment. We rely on ACCA Manual J to calculate the actual cooling load in tons for a specific home. Sizing by square footage is guesswork: oversized systems short-cycle, undersized systems fall behind on design days.
With the load known, Manual S guides the equipment choice. The outdoor unit, indoor coil, and blower must be matched so the system can deliver the calculated capacity and expected airflow. Correct pairing prevents capacity loss and keeps commissioning straightforward.
Airflow ties it together. A common starting target is about 350 to 450 CFM per ton. During startup, installers should measure airflow and static pressure, then adjust blower speeds or duct settings to hit the target. Think of it like lacing a shoe to fit: the tonnage gives the size, Manual S picks the model, and airflow tuning makes it comfortable in real conditions.
When central AC may not be the best choice: tradeoffs, limitations and better alternatives
Central AC is not ideal everywhere. In very cold climates, traditional heat pumps struggle below about 25 F, so a gas furnace, a cold climate heat pump, or a dual fuel setup is a better fit. Homes without ducts, or with leaky or constrained ductwork, often perform better with ductless mini splits or high velocity small duct systems. If you also need heat, consider a heat pump instead of an AC only condenser.
- DIY refrigerant or electrical work is unsafe and may void warranties.
- Oversizing reduces humidity control.
- Duct leaks waste energy.
- Poor condensate drains cause water damage.
- High SEER alone does not guarantee savings.
- New systems still need routine maintenance.
Choosing the right system: SEER2/EER2, compressor types (rotary/scroll/inverter) and what efficiency really buys you
SEER2 and EER2 show cooling per watt hour, like MPG. SEER2 replaces legacy SEER under DOE M1. More SEER2 means less kWh: moving from SEER 14 to 16 can cut cooling energy 10 to 15 percent with correct installation. Market options run from roughly SEER 13 to 26. Many inverter units reach 18 to 20 plus, and SEER2 labels read a bit lower than old SEER.
Compressor choice shapes comfort. Single stage is on or off. Two stage adds a low gear for longer runs. Variable speed, or inverter, modulates and runs long at low speed, which steadies temps and improves dehumidification. Rotary and scroll describe the mechanism, but staging is what you notice. In our experience at Budget Heating (BudgetHeating.com), mid tier SEER2 with a two stage scroll is the best value for many homes, while full inverter pays back in high run hours and humid climates.
Pre installation checklist: permits, electrical requirements, placement and what you can do safely
Confirm these items before install day to keep the job smooth and code compliant.
- Permits and planning: Ask who is pulling mechanical and electrical permits and who schedules inspections. Verify local setbacks for the outdoor unit and any HOA rules.
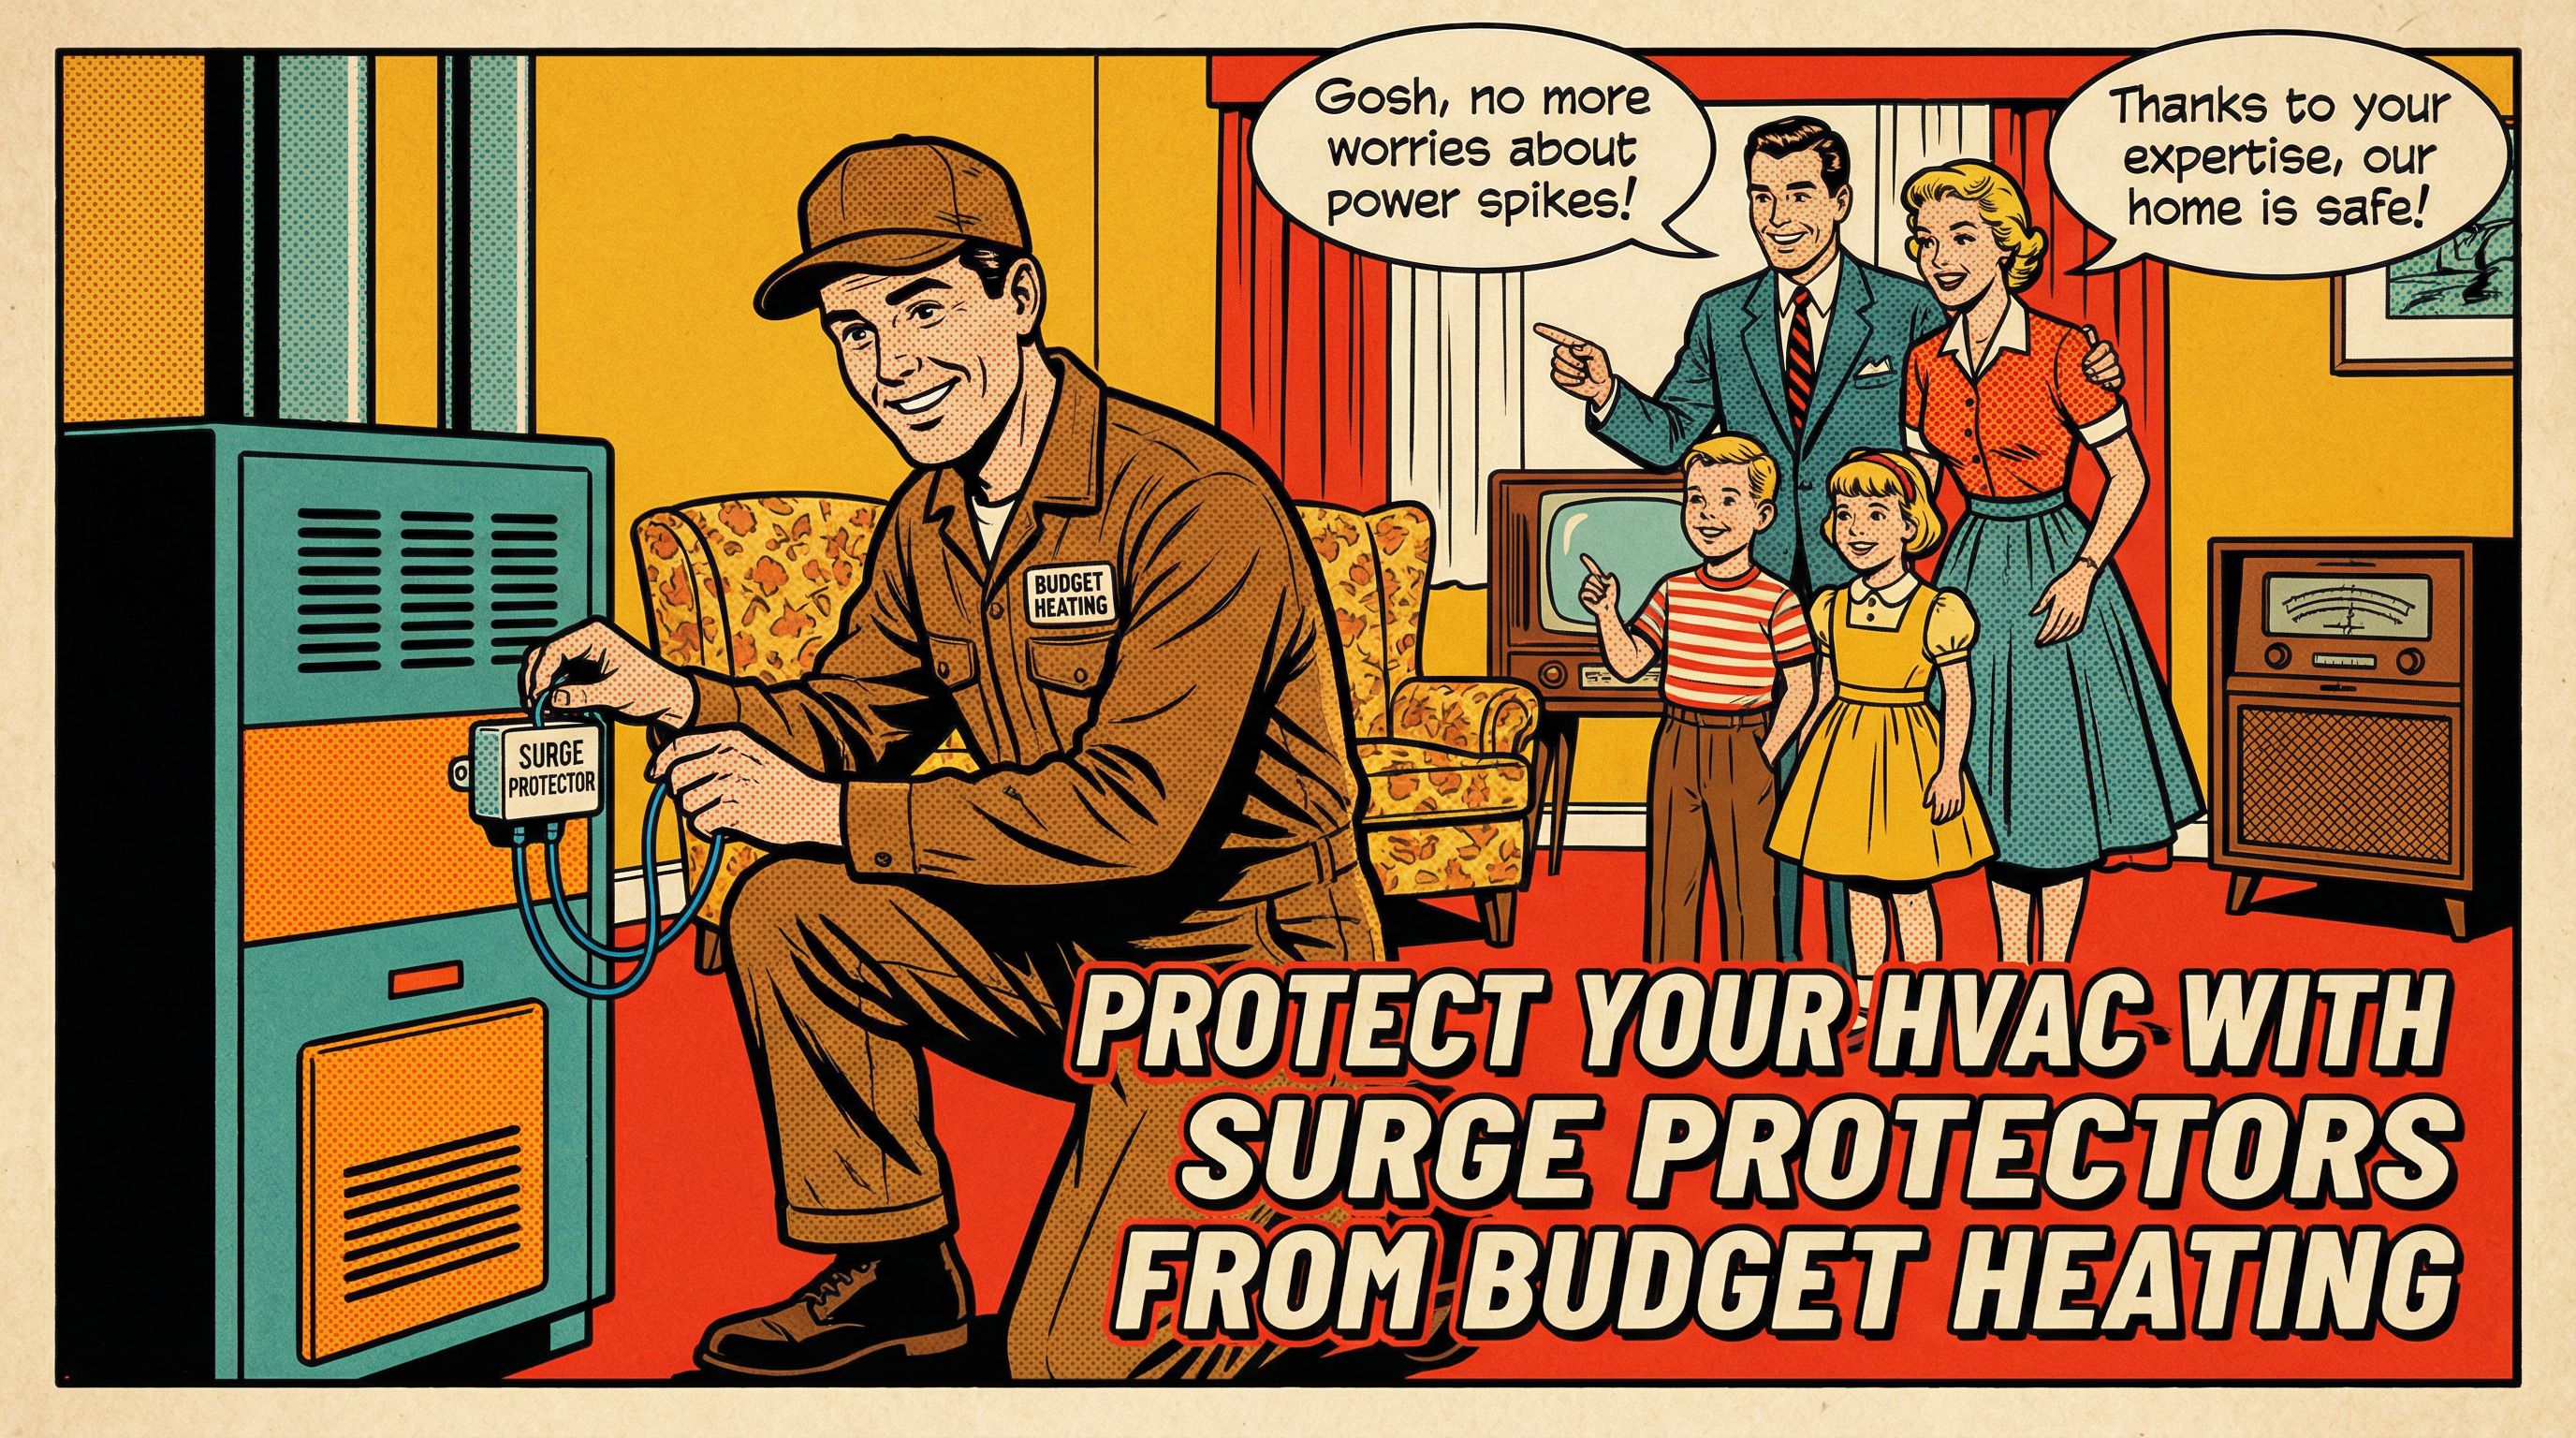
- Electrical readiness: Central AC needs a dedicated 240V circuit, correctly sized breaker, an outdoor disconnect within sight, proper wire gauge, and compatible thermostat or control wiring. Surge protection is smart insurance. In our experience at Budget Heating (BudgetHeating.com), a small surge device often saves a board that costs hundreds.
- Paperwork and incentives: Request the AHRI system match numbers for rebates. Have the contractor register warranties and provide load and design documents.
- What you can do safely: Clear and level the outdoor pad area, open attic access, and ensure a code compliant condensate drain path. You may run low voltage thermostat cable if comfortable. Leave electrical terminations, brazing, and refrigerant work to licensed pros.
Ductwork evaluation, sealing, insulation and airflow balancing
Ducts are the lungs of the home. If they leak or are undersized, comfort drops and efficiency suffers. A proper evaluation checks size, layout, condition and leakage, then applies Manual D principles to right-size supply runs and ensure ample return air. Many homes need added returns, resized branches, or larger trunks to deliver the required CFM to each room.
Codes in many jurisdictions require duct leakage testing, specified insulation levels for ducts in attics, crawlspaces or garages, and documented airflow verification during permitting or HERS inspections. Repairs should target airtightness first: seal seams and boots with mastic or UL rated foil tapes, not cloth duct tape. Insulate ducts in unconditioned spaces to curb heat gain or loss. Airflow balancing and commissioning confirm that the design delivers even, quiet comfort.
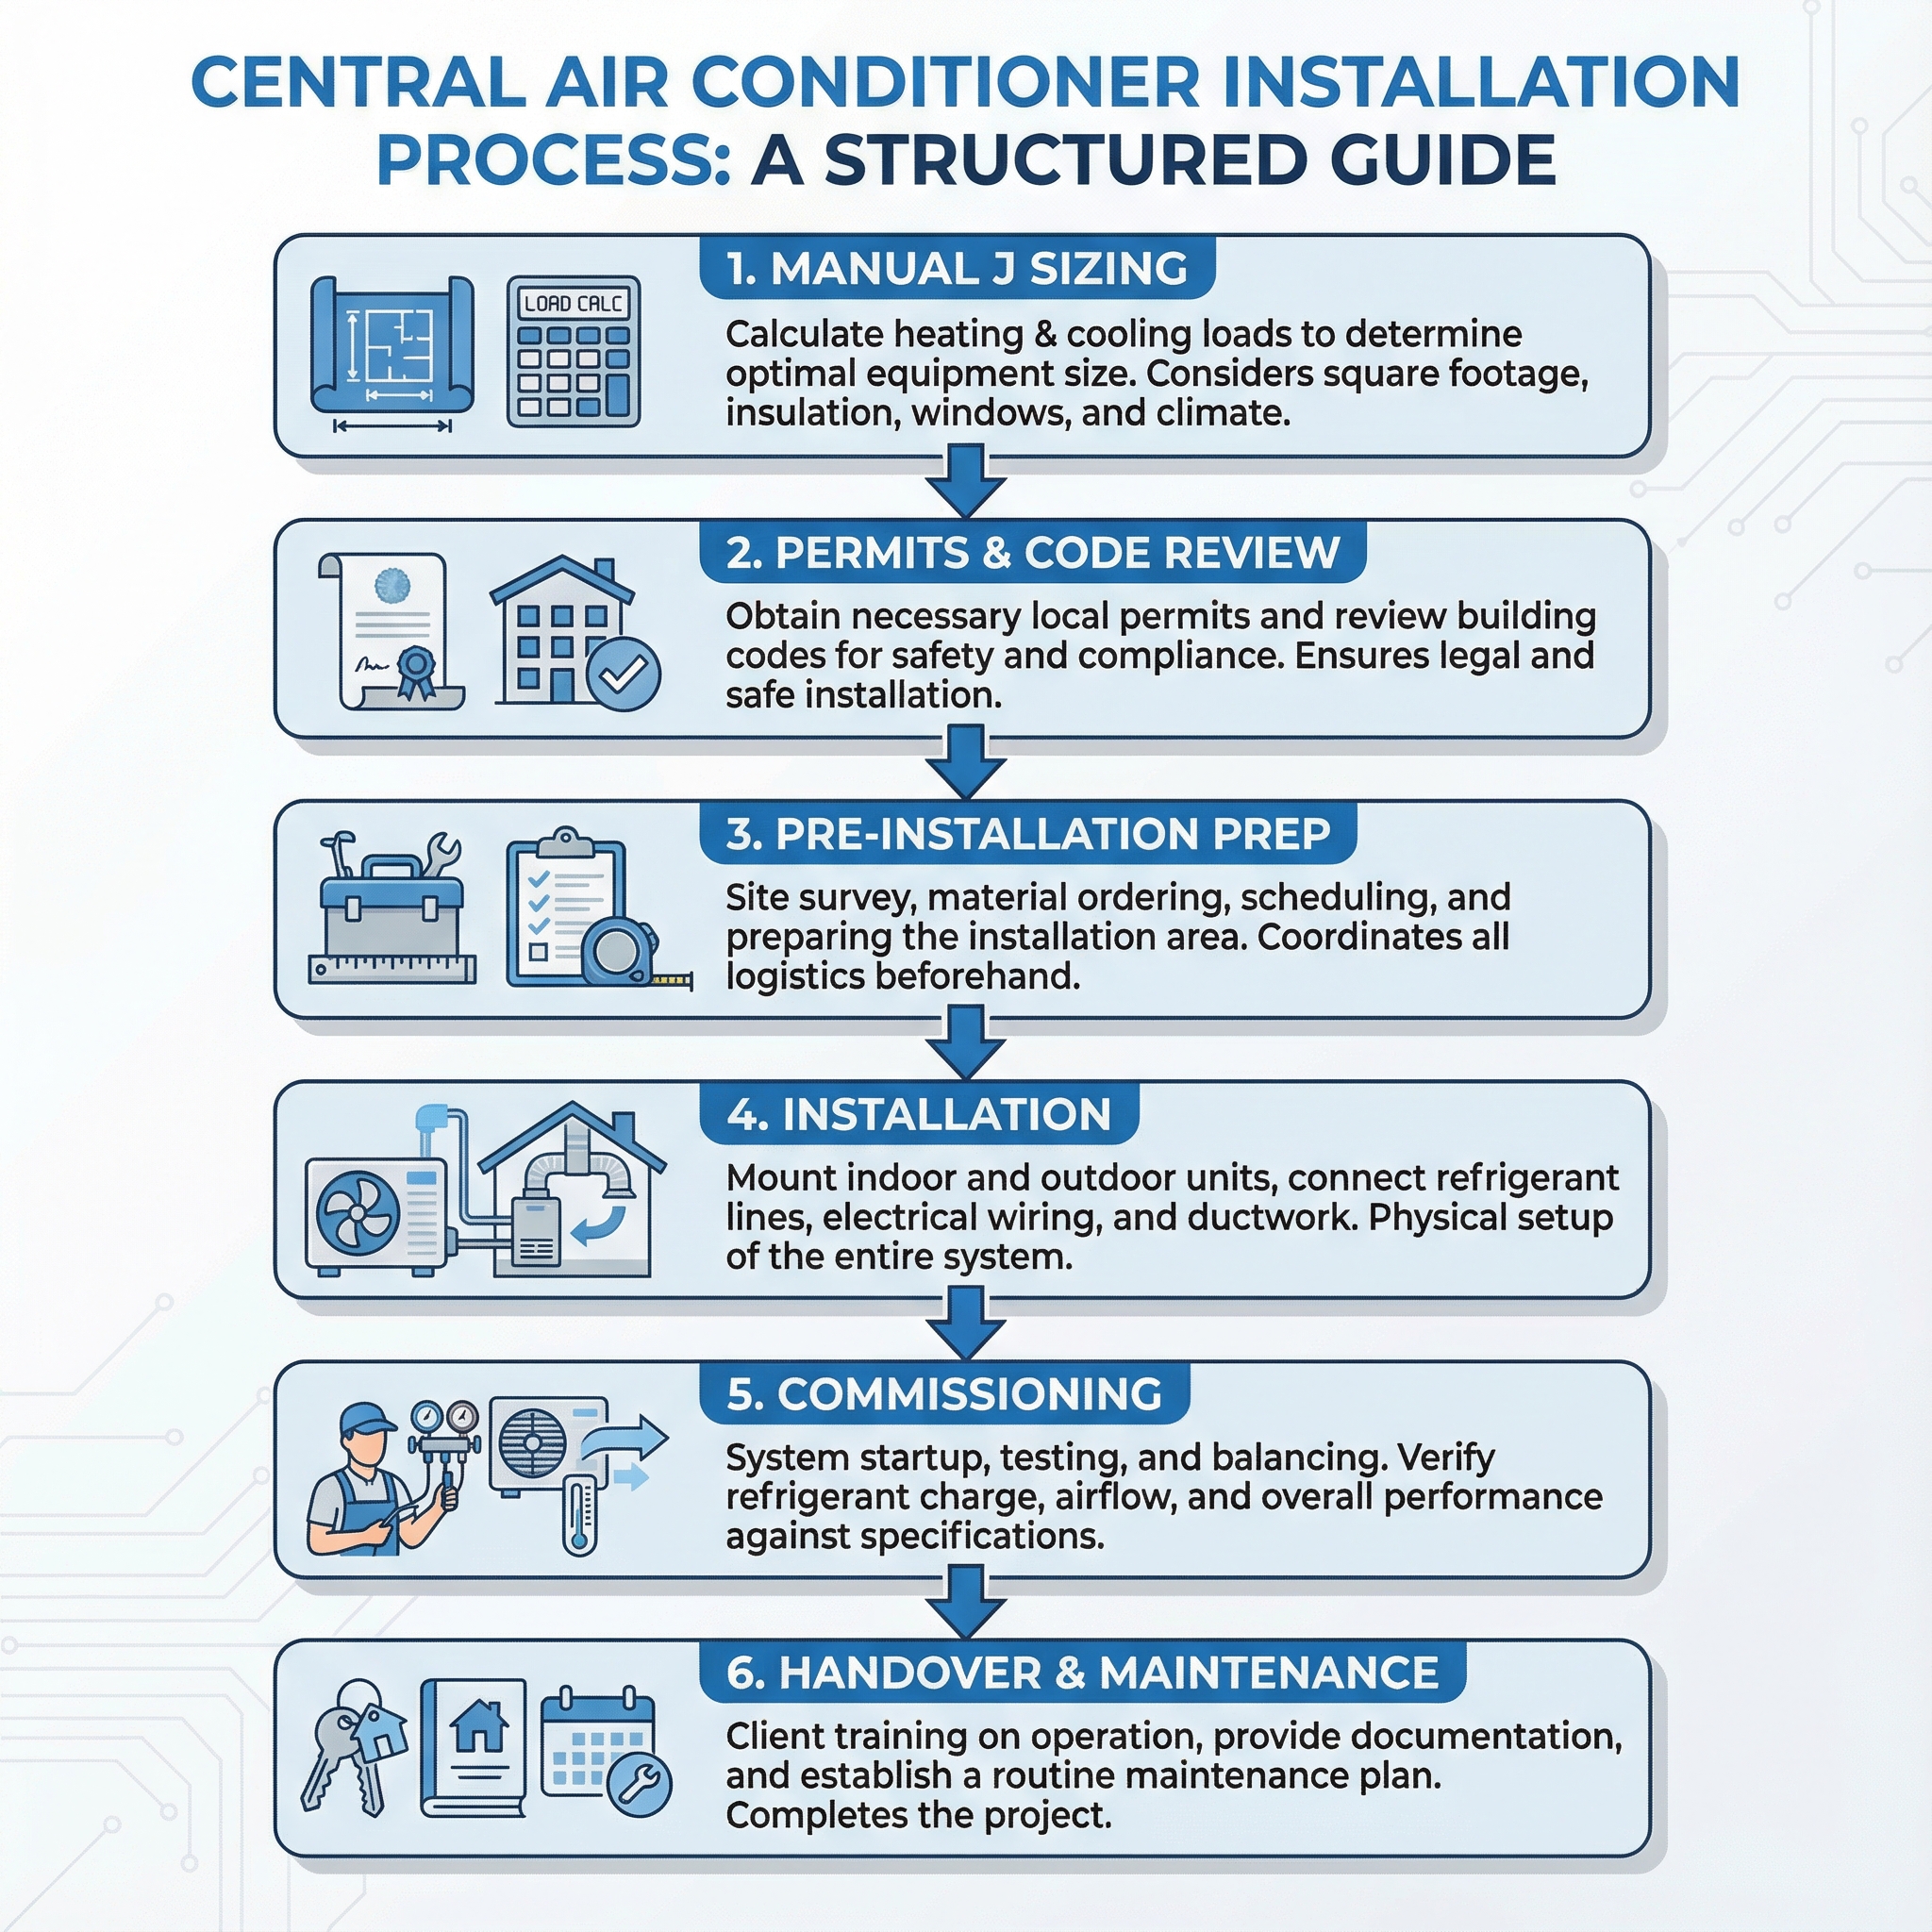
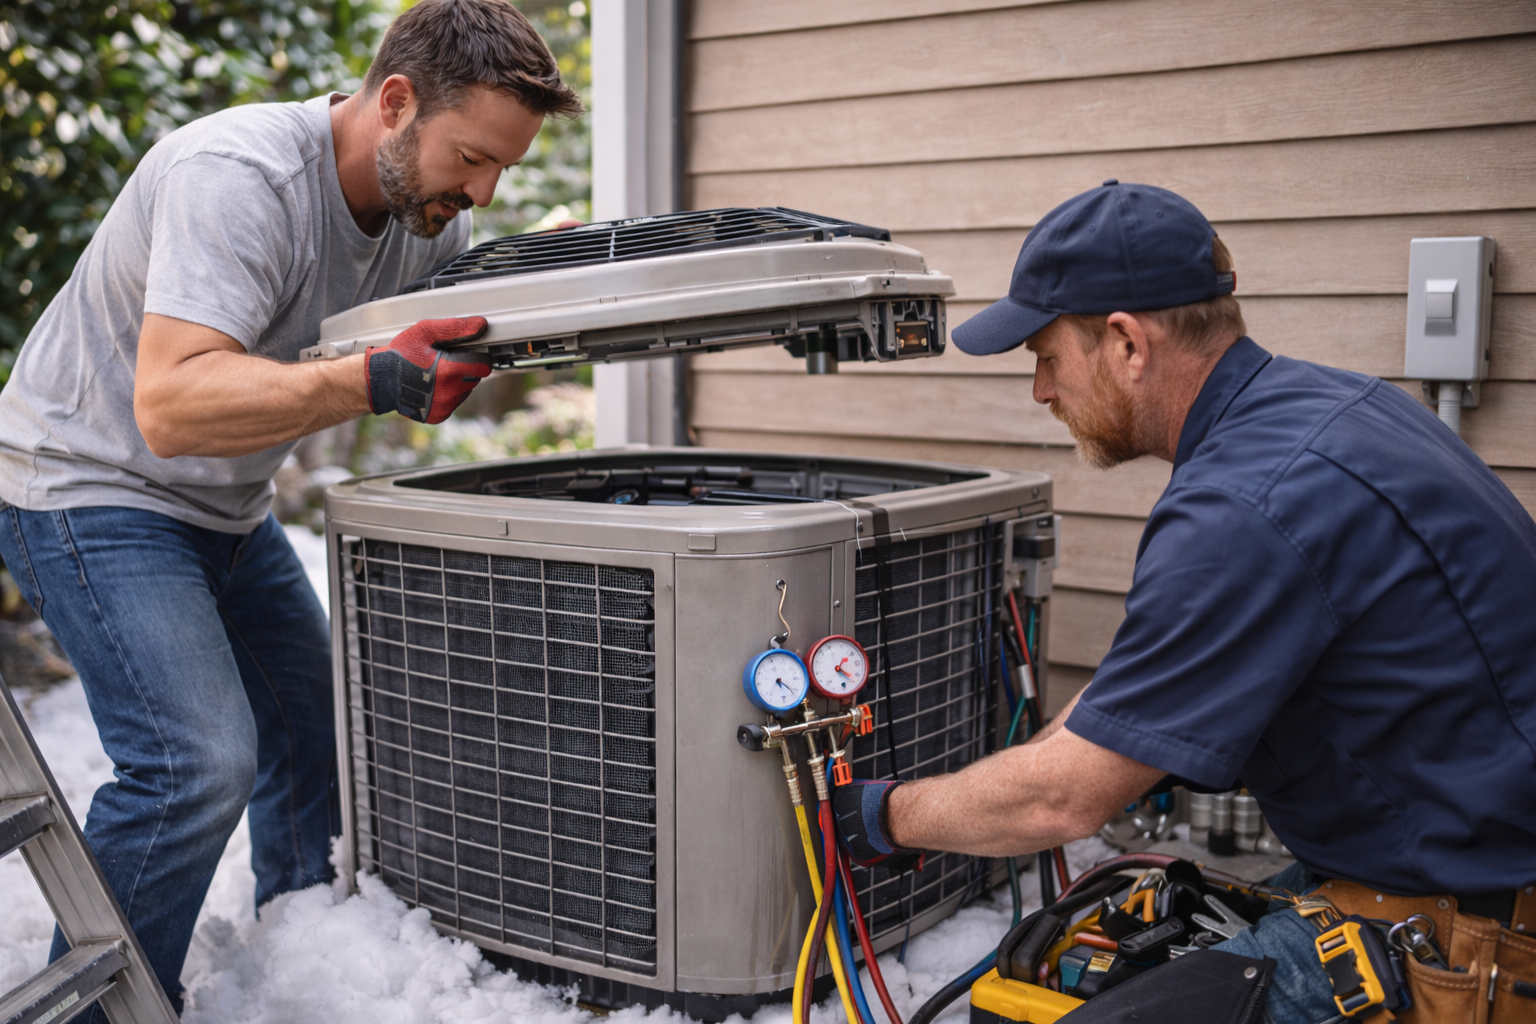
Step by step installation: removal, placement, line sets, brazing, electrical hookup and commissioning checks
On install day, floors and furnishings are protected, final equipment locations and service clearances are confirmed, filter size and access are verified, and operation and maintenance documentation is left behind. In our experience, that upfront walkthrough prevents surprises and keeps the project moving.
- Assessment and design: a licensed pro handles Manual J, S, and D. Homeowners can clear work areas and confirm thermostat and return locations.
- Removal: recovered refrigerant is handled by an EPA Section 608 certified technician, then old equipment is disconnected and hauled away per code.
- Placement: the outdoor unit is set on a level pad and anchored, the indoor coil or air handler is positioned with service space verified.
- Line sets: copper lines are run and insulated, then brazed with a continuous nitrogen purge to protect tubing interiors.
- Pressure test and evacuation: lines are nitrogen pressure tested, then evacuated to a deep vacuum, about 500 microns, to remove air and moisture.
- Charging: refrigerant is weighed in to manufacturer specifications, then fine tuned using superheat or subcool targets.
- Condensate and safety: drains, traps, and float switches or pans are installed for reliable moisture management.
- Electrical: high voltage wiring, properly sized breakers, and a code compliant disconnect are completed, along with low voltage controls.
- Startup: commissioning includes performance checks and airflow verification, with results documented.
Homeowners typically manage access, clearances, and filter choices. Licensed professionals handle brazing, pressure testing, deep vacuum, charging, and electrical. Think of evacuation like drying a straw before use, it keeps ice and acids from forming inside the system.
Timeline, costs, warranties, permits and next steps: how to plan and hire the right contractor
Most straightforward replacements take 1 to 3 days, longer if ducts or electrical service need upgrades. Project cost depends on size, efficiency level, duct condition and your region. Protect comfort and your budget by insisting on correct sizing, duct sealing and professional commissioning, since many manufacturer warranties require documented installation by a qualified pro.
Permits and compliance matter: regional SEER2 and EER2 minimums control what can be installed, and AHRI matched systems are often required for permits and rebates. Ask for the AHRI certificate. New refrigerant rules are arriving too. Under the AIM Act, many models are transitioning to low GWP A2L refrigerants like R 32 or R 454B, and local codes may add A2L requirements. Confirm your contractor's training and your jurisdiction's timeline.
Safety first: refrigerant handling and high voltage work are regulated and dangerous. Do not attempt charging or high voltage terminations. After install, replace or clean filters every 1 to 3 months, keep the outdoor unit clear, add a condensate alarm, and schedule annual maintenance for coil cleaning, drain flushing, electrical checks and refrigerant performance testing.
The takeaway: a well planned install stays on schedule, passes inspection and keeps warranties intact. If you are weighing brands and bids, you are not alone. Our team pairs real field experience with wholesale pricing to help you choose confidently.
- Get a Custom Quote
- Talk to Our Team by phone for U.S. based technical guidance
- Shop Heat Pumps and AC Systems
- Ask about free shipping zones and monthly payments with Affirm
 Cooling
 Heating
 Learning Center
 Money Saving Tips
 Product and Brands Insights
 Buying Guides
 State by State
 HVAC Systems