buying guides
 cooling
 hvac systems
Regular AC maintenance cuts energy bills by 15-30% and extends equipment life by 5-7 years. A well-maintained system delivers consistent cooling, better air quality, and fewer emergency repair calls. Spring cleaning takes 2-3 hours and costs under $50 in supplies. Skip it and you're looking at reduced efficiency, higher bills, and potentially a $300-$800 compressor failure.
Why AC Maintenance Actually Matters
Dirty air conditioners work harder to move the same amount of air. Restricted airflow from clogged filters forces the blower motor to strain. Debris-packed outdoor coils prevent heat transfer, making the compressor run longer to achieve target temperatures. Each problem compounds, driving efficiency down 5-15% per season without intervention.
The financial case is clear. A system losing 20% efficiency means a $150 monthly cooling bill jumps to $180. Over a 5-month cooling season, that's an extra $150 wasted. Maintenance costs $120-$200 for professional service or $30-$50 for DIY supplies. The math works heavily in favor of regular upkeep.
Equipment longevity matters too. Air conditioners last 15-18 years with proper care. Neglect cuts that to 10-12 years. On a $5,500 system, that's losing $1,800-$2,700 in expected service life. Two hours of maintenance annually protects that investment better than any warranty.
When to Schedule Maintenance
Spring maintenance happens before the first hot days arrive. Schedule for late March through April in southern states, April through May in northern regions. You want the system ready before temperatures hit 85°F consistently. Waiting until June means you're already running a dirty system during the hottest weeks.
Fall maintenance prepares heat pumps for winter operation. If your system provides both heating and cooling, service it twice yearly. Spring cleaning focuses on cooling components. Fall service checks heating elements, reversing valves, and defrost controls. Heat pumps work harder than AC-only systems, so the extra attention pays off.
Mid-season checks catch problems early. If you notice reduced cooling, strange noises, or higher electric bills, don't wait for scheduled maintenance. A refrigerant leak detected in June costs $200-$400 to fix. The same leak left until August can destroy a $800-$1,200 compressor through low-pressure operation.
Safety First: Shutting Down Power
AC systems run on 240-volt circuits. That's enough amperage to cause serious injury or death. Before touching any components, shut off power at two locations. Never skip this step. Accidental contact with live wires or moving parts creates medical emergencies.
Start at the outdoor disconnect box mounted near the condenser unit. This metal box sits within 4-6 feet of the unit, usually on the house wall. Open the cover and pull the disconnect block straight out. Some boxes use a switch instead. Either way, verify power is off before proceeding.
Next, flip the AC breaker inside your main electrical panel. This is a double breaker (two switches connected together) labeled "AC," "Air Conditioner," or "Heat Pump." Flip both switches to the off position. Better safe than sorry. With power off at both locations, you can work without electrocution risk.
Cleaning the Outdoor Condenser Unit
The outdoor unit concentrates heat removal. Refrigerant flows through aluminum fins surrounding the unit. Air passes through these fins, carrying heat away. When fins get dirty, heat transfer drops. The compressor runs longer, using more electricity and wearing out faster. Clean fins restore full efficiency.
Remove the top fan guard first. This requires a screwdriver or nut driver. Four to six screws typically hold the guard in place. Lift it straight up and set aside. The fan blade is usually attached to the guard, so handle it carefully to avoid bending blades.
Clear debris from inside the unit by hand or with a shop vacuum. Leaves, grass clippings, cottonwood seeds, and pine needles accumulate throughout the season. Remove everything visible. Check the base for standing water or mud. Wipe it clean with a rag.
Spray fins from the inside out using a garden hose. Use normal water pressure, not a pressure washer. The goal is pushing dirt outward, away from the coil core. Spray at a shallow angle parallel to the fins. Direct spray perpendicular to fins bends them, reducing airflow. Work your way around the entire unit.
Heavily soiled fins need commercial coil cleaner. These foaming cleaners cost $8-$15 at home improvement stores. Follow label directions carefully. Most products spray on, foam up, and rinse off with the hose after 10-15 minutes. They dissolve grease, pollen, and organic matter that water alone can't remove.
Straightening Bent Fins
Bent fins restrict airflow even when clean. Each fin sits about 12-18 fins per inch. Bent fins create bottlenecks, reducing the system's ability to move air and transfer heat. A butter knife works for minor bends. Fin combs (specialty tools costing $12-$25) handle extensive damage better.
Work gently. Aluminum fins bend easily but also break off if forced. Slide your tool between fins at the top of the bent section. Gently pull or push to restore vertical alignment. Check your work by eye. Fins should be parallel and evenly spaced.
Severely damaged fins (crushed or torn) need professional replacement. A coil with 30%+ damaged fins loses significant capacity. If more than one side of the unit shows heavy damage, consider calling a technician. Replacing entire coil sections costs $300-$600 but restores full efficiency.
Maintaining Proper Clearance
Outdoor units need airflow on all sides. Manufacturers specify 18-24 inches of clearance minimum. Plants, fences, or stored items within this zone restrict airflow and reduce efficiency. Heat pumps need even more clearance (24-30 inches) because they move more air.
Trim back shrubs, bushes, and tree branches twice yearly. Spring growth happens fast. What starts as 24 inches in April becomes 12 inches by July. Use hedge trimmers or pruning shears to maintain clearance. Don't let plants touch the unit or grow over the top.
Remove stored items from around the unit. Bikes, lawn equipment, and miscellaneous junk pile up near outdoor units. These items block airflow and trap heat. Keep the area clear. Your condenser isn't a garden shed annex.
Consider afternoon shade. Units in direct sun work 5-10% harder than shaded units. If possible, plant trees or install awnings that shade the unit during afternoon hours (2-6 PM when cooling demand peaks). But maintain that 24-inch clearance. Shade helps efficiency. Blocked airflow kills it.
Leveling the Condenser Pad
Outdoor units sit on concrete pads or composite bases. Over time, soil settles and pads tilt. An unlevel unit stresses the compressor, potentially causing premature failure. The compressor contains oil that lubricates internal parts. Tilting can pool oil away from critical components, causing metal-on-metal wear.
Check level with a standard bubble level. Place it on top of the unit. Check front-to-back and side-to-side. The unit should be perfectly level or (for heat pumps only) sloped slightly away from the house foundation. This slope allows defrost water to drain away during winter heating mode.
Correction requires lifting the unit. Shut off power first. Carefully raise the low side using a pry bar or large screwdriver. Slide rot-resistant shims (composite or pressure-treated wood) under the pad. Shims cost $8-$15 for a package. Stack as needed to achieve level. Recheck with your level before lowering the unit.
Major settling (over 2 inches) requires professional help. The pad may need replacement or the unit needs remounting on a new pad. This costs $200-$400 but prevents compressor damage costing $800-$1,500 to replace.
Cleaning Indoor Evaporator Coils
The indoor evaporator coil absorbs heat from air circulating through your home. Located above the furnace or inside the air handler, this coil gets dirty from dust and debris pulled through the return air filter. Dirty coils reduce cooling capacity and freeze up during operation.
Access typically requires removing a metal panel secured with screws. Some installations use foil tape sealing the panel. Cut the tape carefully with a utility knife. Remove screws and lift the panel away. The evaporator coil sits inside, usually in an A-frame configuration.
Brush dust off gently using a soft-bristle brush. Work from top to bottom so debris falls away from the coil. Avoid bending fins or damaging the delicate aluminum surfaces. A small hand brush or large paintbrush works well.
Spray with no-rinse coil cleaner formulated for evaporator coils. These products cost $10-$18 and foam up, then drip into the drain pan below as they dissolve dirt. Follow manufacturer directions for application. Most products require 10-15 minutes of dwell time before the foam liquefies and drains away.
Clean the drain pan while you have access. This pan catches condensation from the cold coil. Standing water breeds algae and bacteria, creating foul odors and potential clogs. Wash the pan with dish soap and hot water. Rinse thoroughly. Pour a 50/50 mix of bleach and water down the drain line to kill any growth in the pipe.
Clearing Condensate Drains
Condensate drains remove water from the evaporator coil area. In humid climates, a 3-ton AC produces 20-30 gallons of water daily. This water must drain away properly or it backs up, causing water damage or shutting the system down via a float switch.
Locate the drain line where it exits the air handler. This is usually 3/4-inch or 1-inch PVC pipe. Follow it to where it terminates. Common drain points include floor drains, utility sinks, exterior walls, or condensate pumps. Some installations drain into the main sewer line.
Test drainage by pouring a cup of water into the drain pan. It should drain within seconds. Slow drainage or standing water indicates a clog. Clogs form from algae, mold, dust, and biological slime growing in the dark, damp pipe.
Clear clogs using a wet/dry shop vacuum. Remove the paper filter first (the moisture will ruin it). Seal the vacuum hose to the drain line end using duct tape or hold a rag around the gap. Run the vacuum for 2-3 minutes. The suction pulls clogs loose and removes them through the vacuum.
Prevent future clogs with drain pan tablets. These tablets cost $8-$15 for a 6-month supply. They slowly dissolve, releasing chemicals that inhibit algae and bacteria growth. Drop one tablet in the pan during spring maintenance. Replace it every 90 days for best results.
Replacing Air Filters
Air filters protect your equipment from dust while improving indoor air quality. Dirty filters are the number one cause of AC problems. They restrict airflow, forcing the system to work harder. Severely restricted airflow can freeze evaporator coils, potentially damaging the compressor.
Filter types vary widely. Basic fiberglass filters cost $1-$3 and last one month. Pleated filters cost $8-$20 and last 2-3 months. High-efficiency MERV 11-13 filters run $15-$30 and last 3 months. HEPA filters cost $40-$80 but restrict airflow significantly. Use them only if your system is designed for high-resistance filters.
Locate your filter. Most systems have a slot in the return air duct near the air handler or furnace. Some homes have return grilles with filters behind them. Check multiple locations if you can't find it immediately. Every forced-air system has at least one filter.
Note the airflow direction arrows printed on the filter frame before removing it. The arrow must point toward the air handler (in the direction air flows). Installing backward reduces effectiveness by 30-50%. Match the size exactly. Common sizes are 16x20, 16x25, 20x20, and 20x25 inches. Depth varies from 1 inch to 5 inches.
Replace filters based on actual conditions, not arbitrary schedules. Check monthly by holding the filter up to light. If you can't see light through it easily, replace it. Homes with pets, smokers, or ongoing construction need monthly changes. Clean homes in mild climates can push pleated filters to 3 months.
Professional Maintenance Tasks
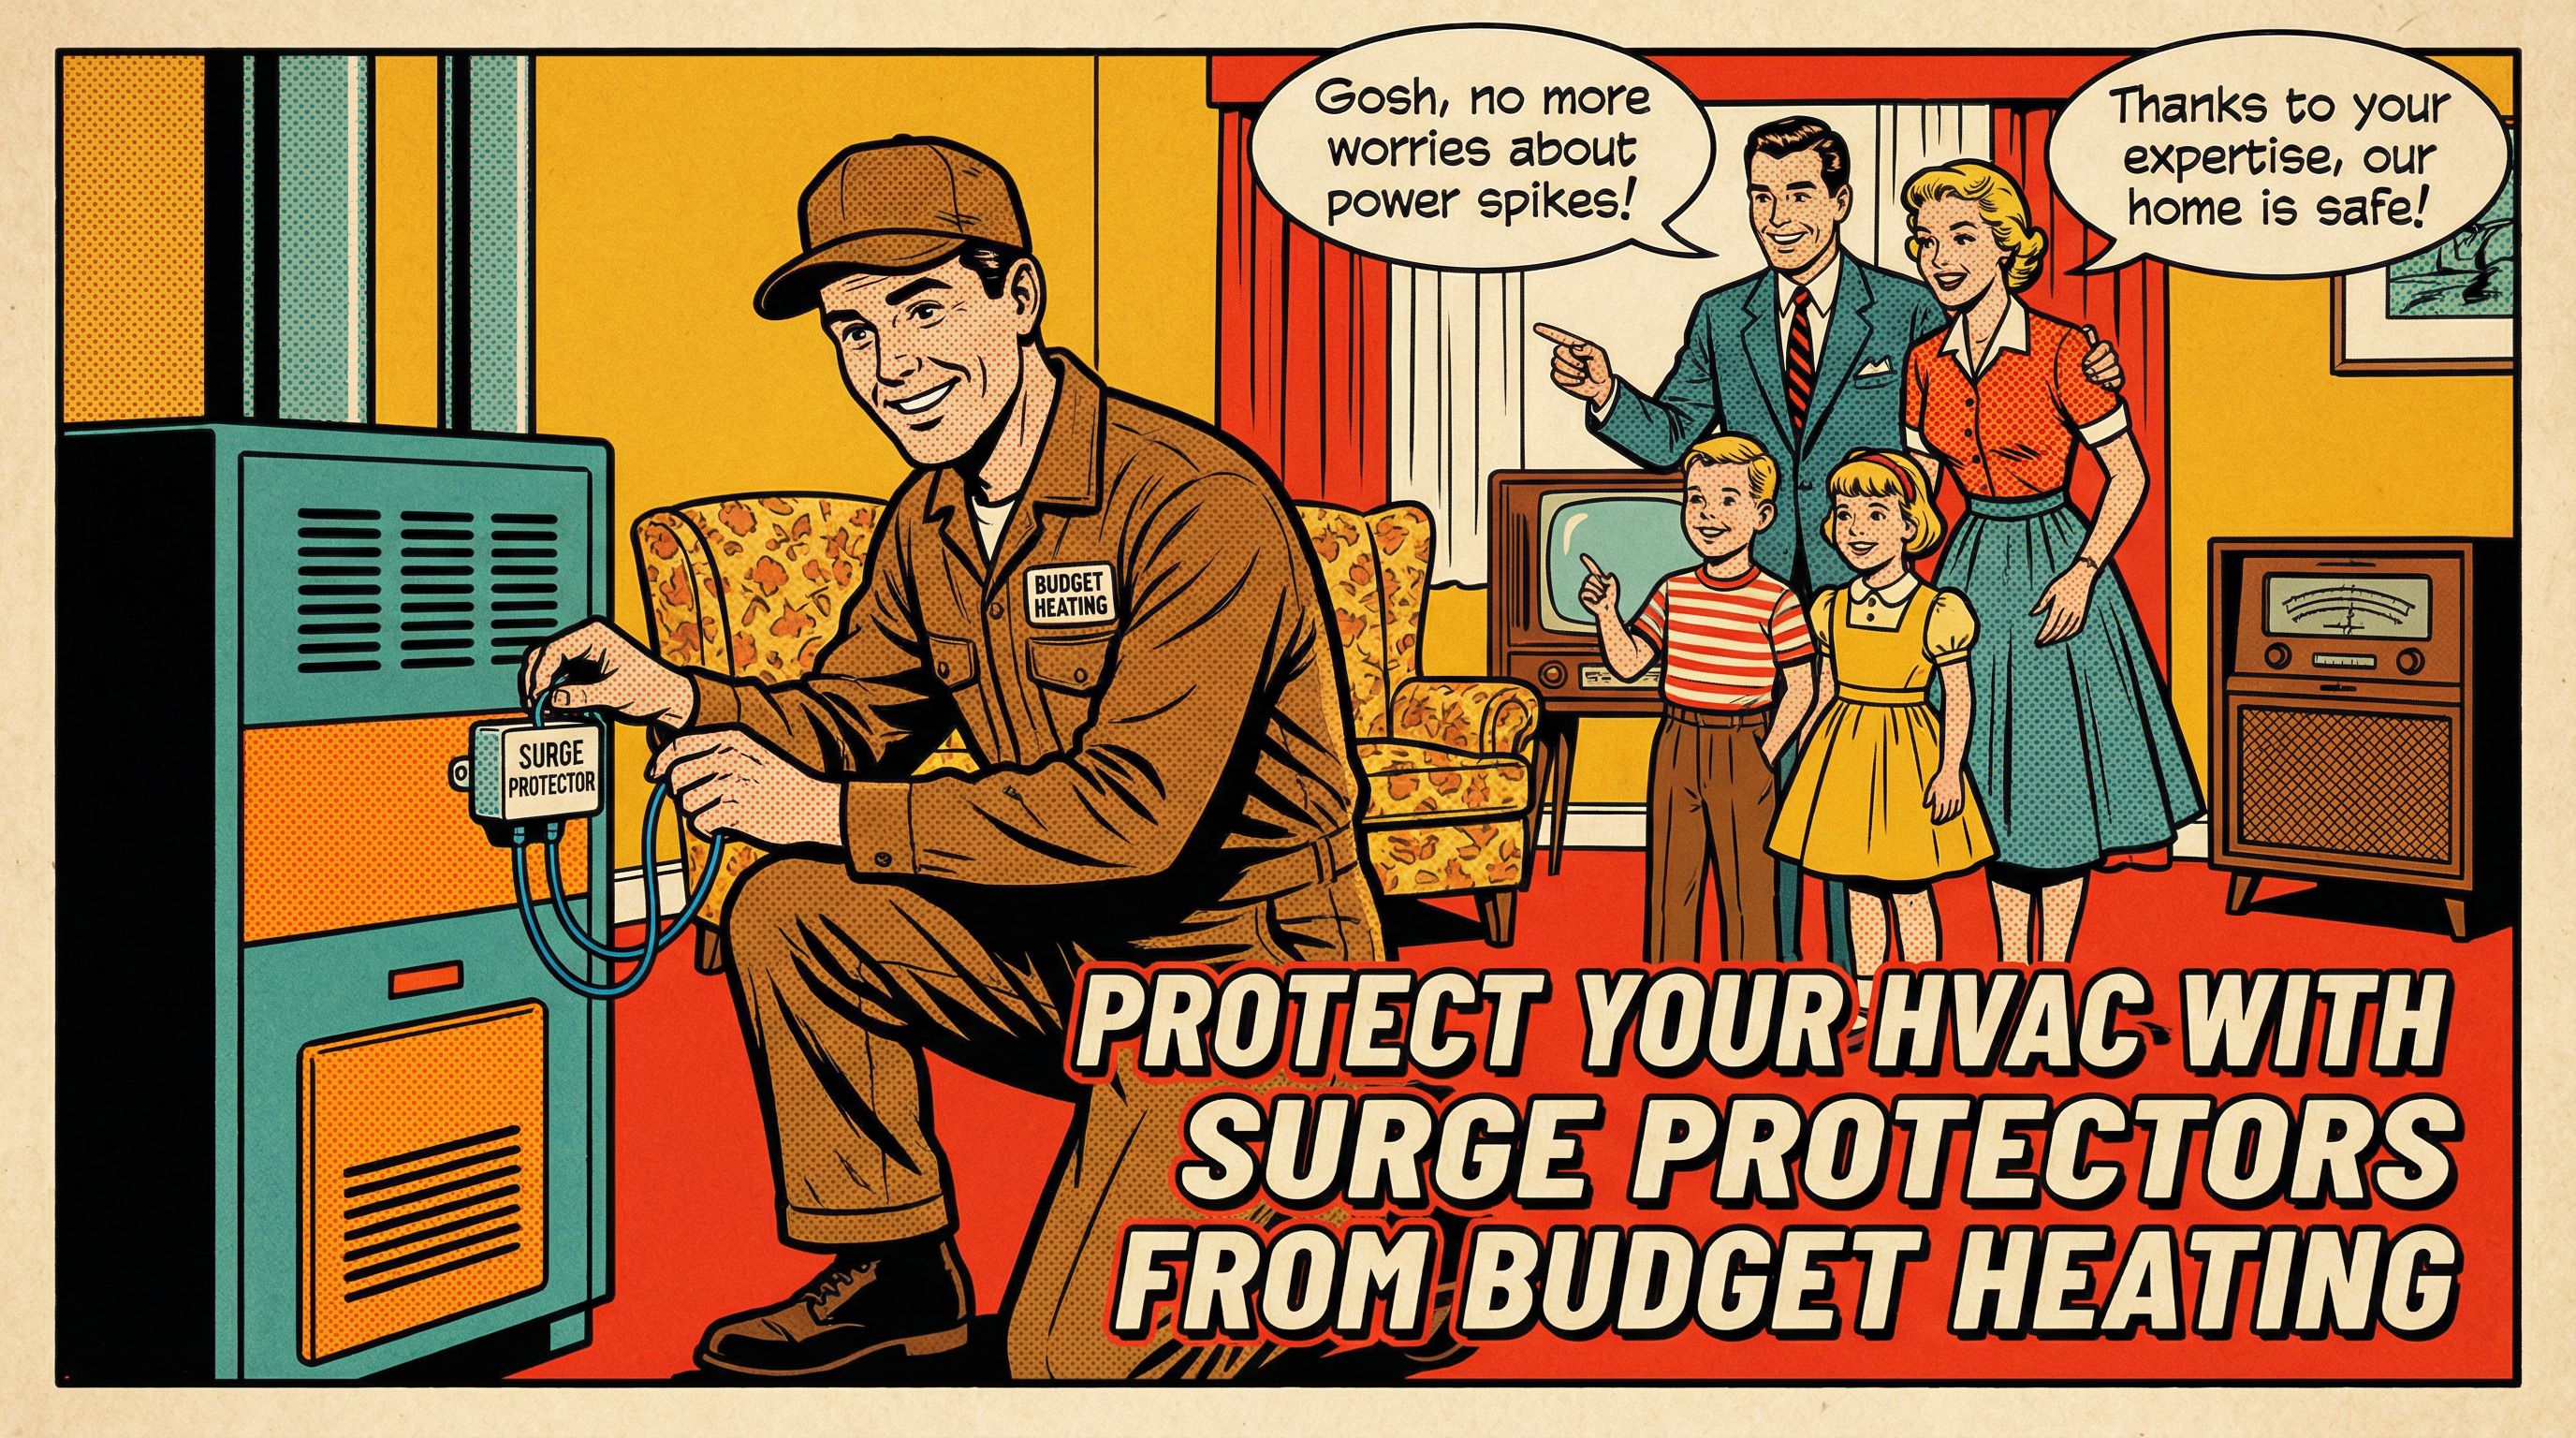
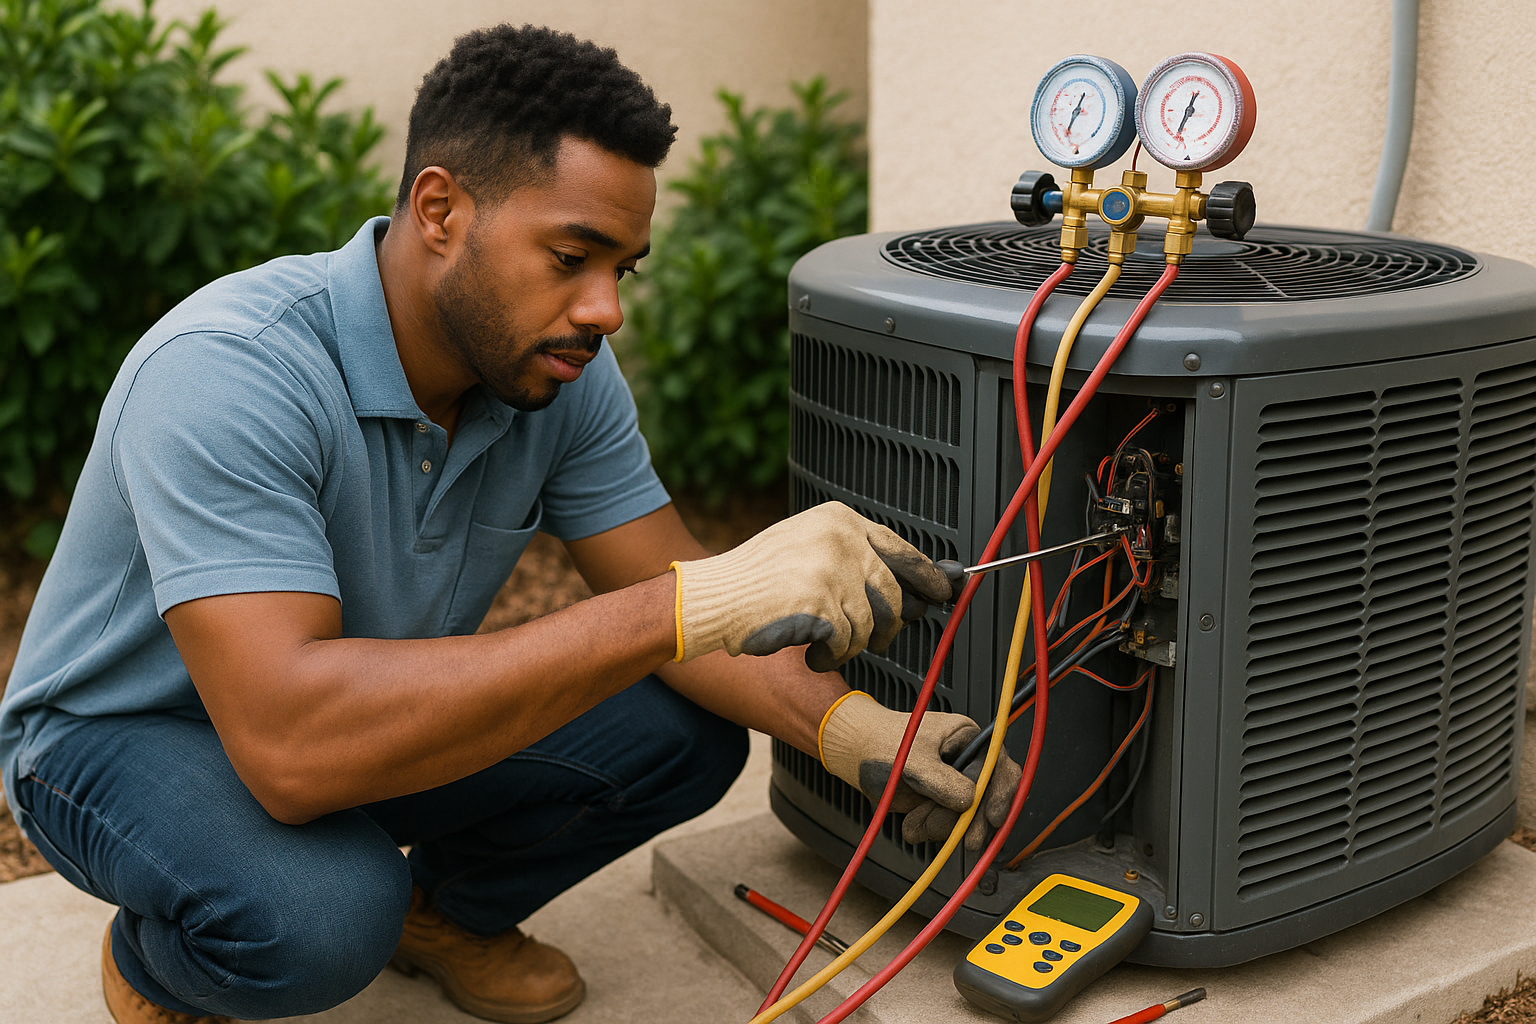
Some maintenance requires specialized tools and training. Refrigerant work needs EPA certification and gauges costing $400-$800. Duct testing and balancing requires manometers and flow hoods. Electrical testing needs multimeters and specific knowledge. These tasks belong to professionals.
Refrigerant level checking and adjustment prevents expensive damage. Low refrigerant causes low-pressure operation, potentially damaging the compressor. Too much refrigerant creates high pressure, triggering safety shutoffs. Correct charge is critical and impossible to verify without gauges.
Electrical connections loosen over time from thermal cycling. Loose connections create resistance, generating heat that damages components. Technicians tighten connections, test capacitors, check amperage draw, and verify proper voltage. These checks prevent mid-summer failures.
Duct inspection finds leaks that waste 20-40% of cooling capacity. Disconnected joints, damaged flex duct, and missing insulation all sap efficiency. Technicians use pressure testing to quantify leaks and infrared cameras to find them. Sealing ducts improves comfort and cuts bills by 15-30%.
Professional maintenance costs $120-$200 per visit. Annual service contracts run $180-$350 for two visits (spring and fall). These contracts typically include priority service during breakdowns and discounts on repairs. The investment pays for itself through prevented failures and improved efficiency.
Seasonal Preparation Tips
Spring startup begins 2-3 weeks before you need cooling. Turn the system on for a test run on a mild day. Listen for unusual noises (grinding, squealing, buzzing). Check that cold air flows from all vents. Verify the outdoor unit runs when the thermostat calls for cooling. Address any issues before the first 95°F day arrives.
Fall shutdown for AC-only systems involves covering the top of the outdoor unit. Use a piece of plywood, a tarp, or a commercial cover. This prevents leaves and debris from falling in during winter. But never cover the sides completely. Moisture trapped inside causes corrosion and invites rodents to nest. Leave the sides open for ventilation.
Winter covers aren't necessary for heat pumps since they run year-round. Skip the cover entirely. Instead, clear snow and ice buildup from around the unit. Maintain that 24-inch clearance even in winter. Heat pumps need airflow for efficient heating operation.
Recognizing Problems Early
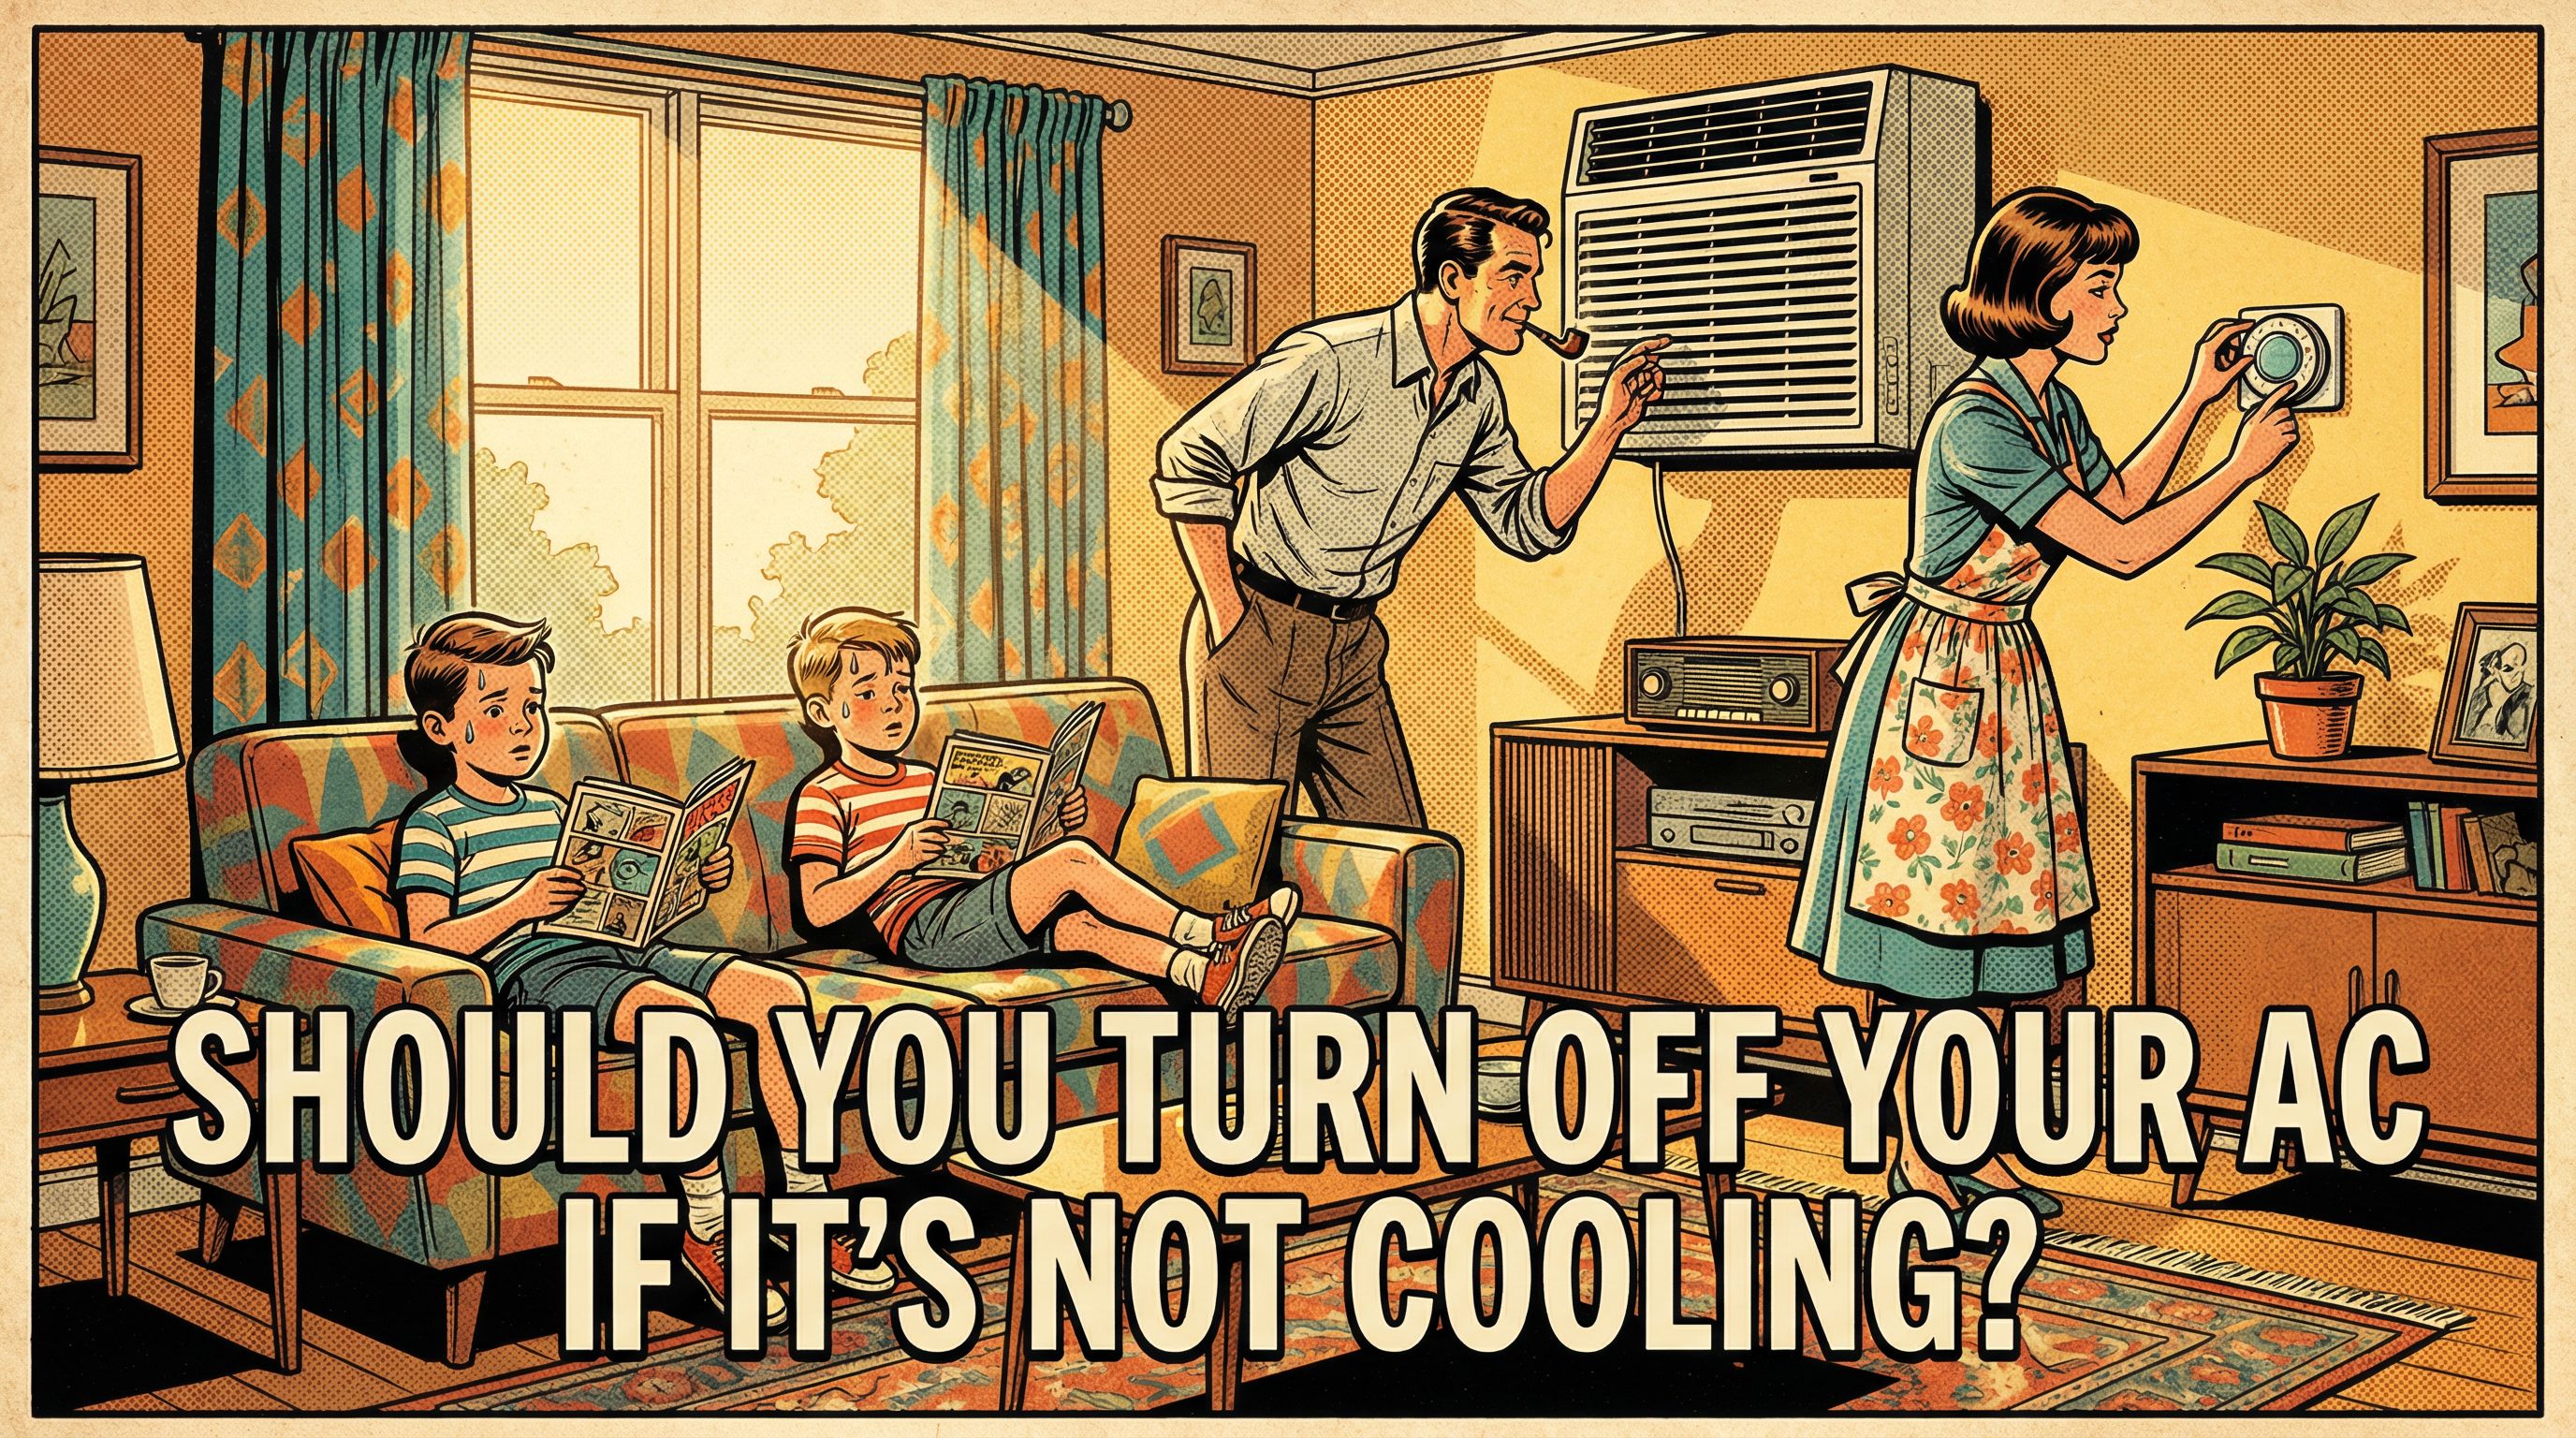
Reduced cooling means something's wrong. If your home takes longer to cool or never reaches the setpoint on hot days, investigate immediately. Common causes include dirty coils, low refrigerant, failing compressor capacitors, or blocked airflow. Catching problems early prevents complete failures.
Strange noises signal specific problems. Grinding indicates worn bearings. Squealing means belt issues (on older systems with belts). Buzzing suggests electrical problems. Hissing points to refrigerant leaks. Rattling means loose parts or debris in the unit. Each sound has a cause that worsens if ignored.
Higher electric bills without increased usage indicate efficiency loss. Compare bills to the same month last year. A 20-30% increase suggests your AC is working harder than it should. Dirty components, refrigerant problems, or duct leaks are typical culprits. Address efficiency loss quickly to avoid burning money all summer.
Water leaks near the indoor unit indicate drain problems or frozen coils. Standing water damages flooring, walls, and ceilings. It also creates mold growth conditions. Clear drains immediately. If water persists, the evaporator coil is freezing. Shut the system off and call a technician before the compressor gets damaged.
 Heating
 Learning Center
 Money Saving Tips
 Product and Brands Insights
 State by State