Why placement matters for your ductless mini split
Correct placement is as important as equipment quality. Poor siting hurts comfort, efficiency, and equipment life. We have seen high efficiency systems underperform simply because the indoor or outdoor unit was put in the wrong spot. Think of it like parking a race tuned bike in deep sand. The machine is capable, but the surface holds it back.
Placement affects how air moves, how sensors read room conditions, how often the system cycles, and how hard the compressor has to work. Bad locations can cause temperature swings, drafts, noisy operation, icing in winter, and grime buildup that shortens service intervals. Even service access matters, since a unit that is hard to reach often goes too long between cleanings and inspections.
This article focuses on where not to install a ductless mini split. We will flag indoor spots that choke airflow, sit in direct heat or sunlight, collect grease or dust, trap condensate, or transmit vibration into quiet rooms. We will also cover outdoor locations that recirculate hot exhaust, flood with leaves or snow, sit too close to dryer vents or chemicals, or lack the clearances your manufacturer requires.
Why proper placement matters: how location affects efficiency, comfort and equipment life
With decades in the field, we see poor placement makes a good system work harder. Direct sun or nearby heat sources confuse the sensor, causing overcooling, short cycling, longer run times and premature aging of plastics and electronics. Heat from TVs or AV racks also skews readings and pinches service access. Blocked supply or return, like behind furniture or in alcoves, creates hot and cold spots and speeds coil and filter fouling. Mounting over beds or seating drives drafts. Hallways trap conditioning. Persistent humidity or steam promotes corrosion, stresses controls and grows mold on coils.
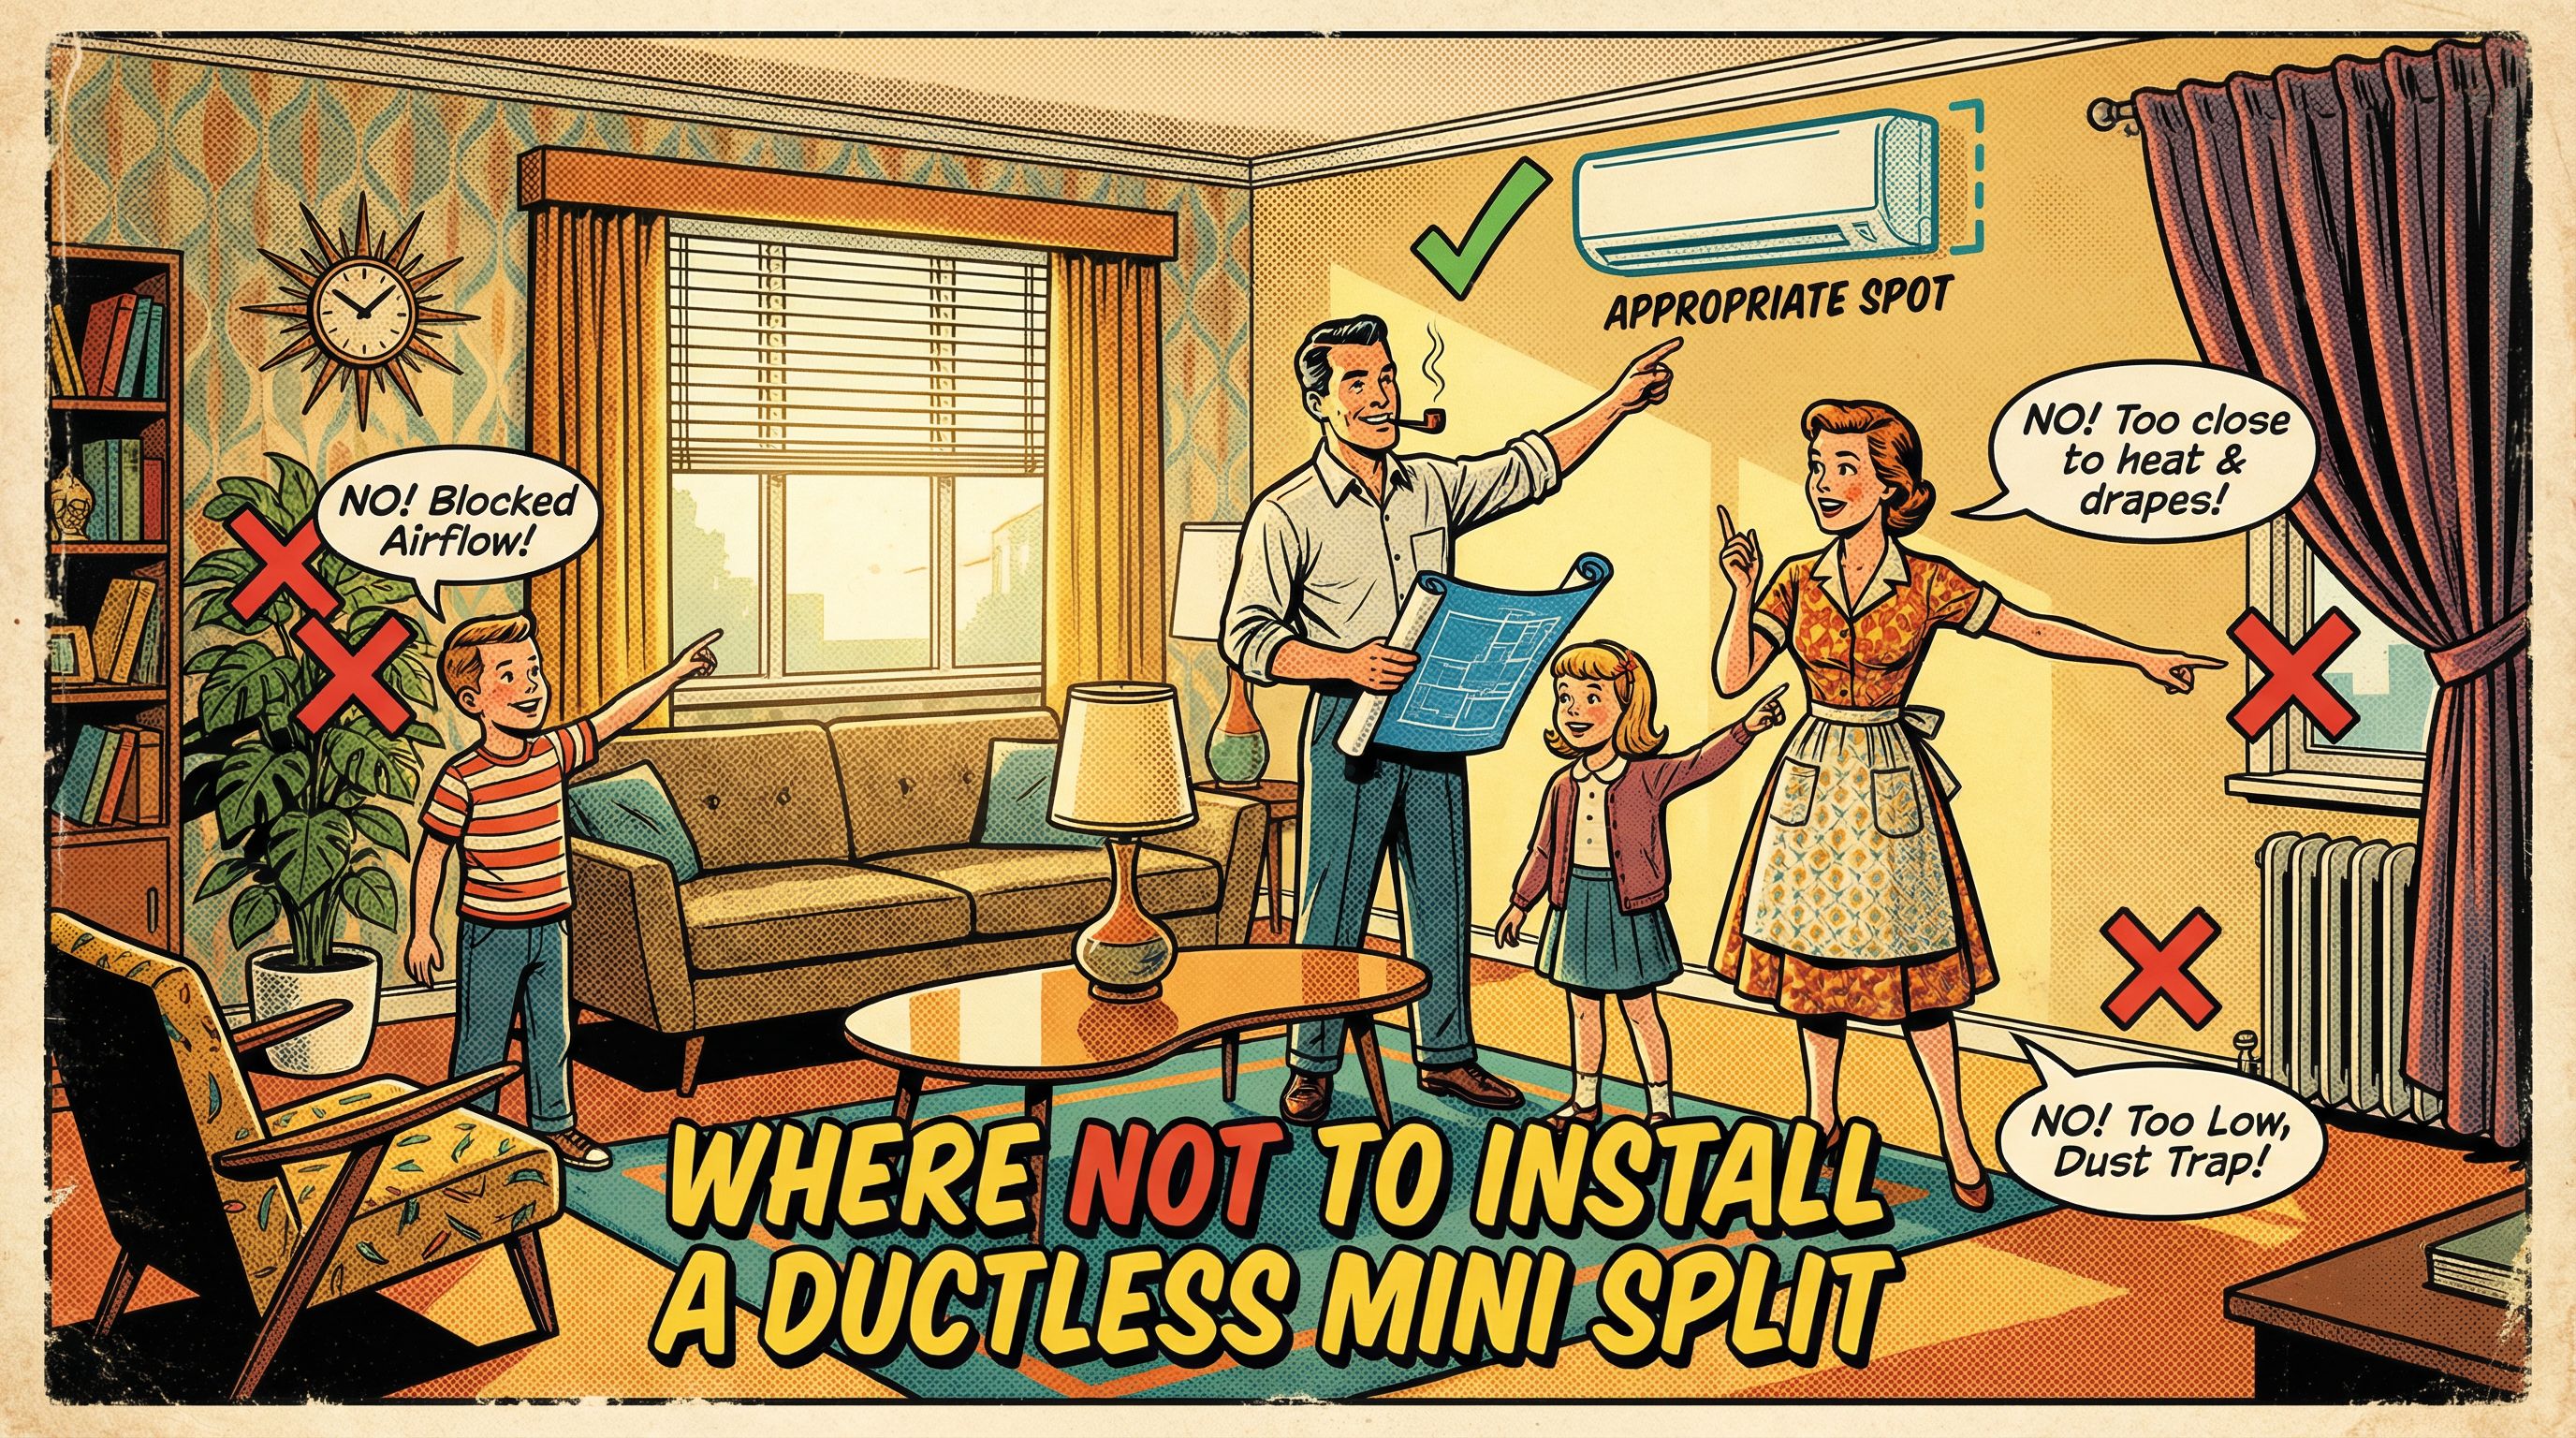
Indoor locations to avoid: specific places you should never mount an indoor head
Good placement is half the performance. Keep indoor heads out of the following spots to prevent the issues already discussed and to avoid nuisance service calls.
- Behind large furniture such as bookcases, tall cabinets or wall shelving. This creates obstructed airflow and makes maintenance access a headache.
- Extremely dusty, greasy or sooty areas like workshops or commercial kitchens. Fouled filters and coils lead to obstructed airflow and moisture damage.
- Near contaminant sources including dryer vents, range hoods, solvents or paint booths. These vapors accelerate coil fouling and cause moisture damage.
- Adjacent to TVs, AV racks or server gear. Local heat and tight cable clutter cause electronics heat effect and sensor confusion.
- Directly above or very close to stoves, ovens, fireplaces or other combustion sources. Heat plumes and grease cause sensor confusion and moisture damage.
- Directly over beds, primary seating or desks. In our experience at Budget Heating (BudgetHeating.com), this almost guarantees drafts over beds complaints.
- Spaces with poor airflow such as small closets, behind curtains or tight alcoves. The unit recirculates its own discharge, producing obstructed airflow and moisture damage.
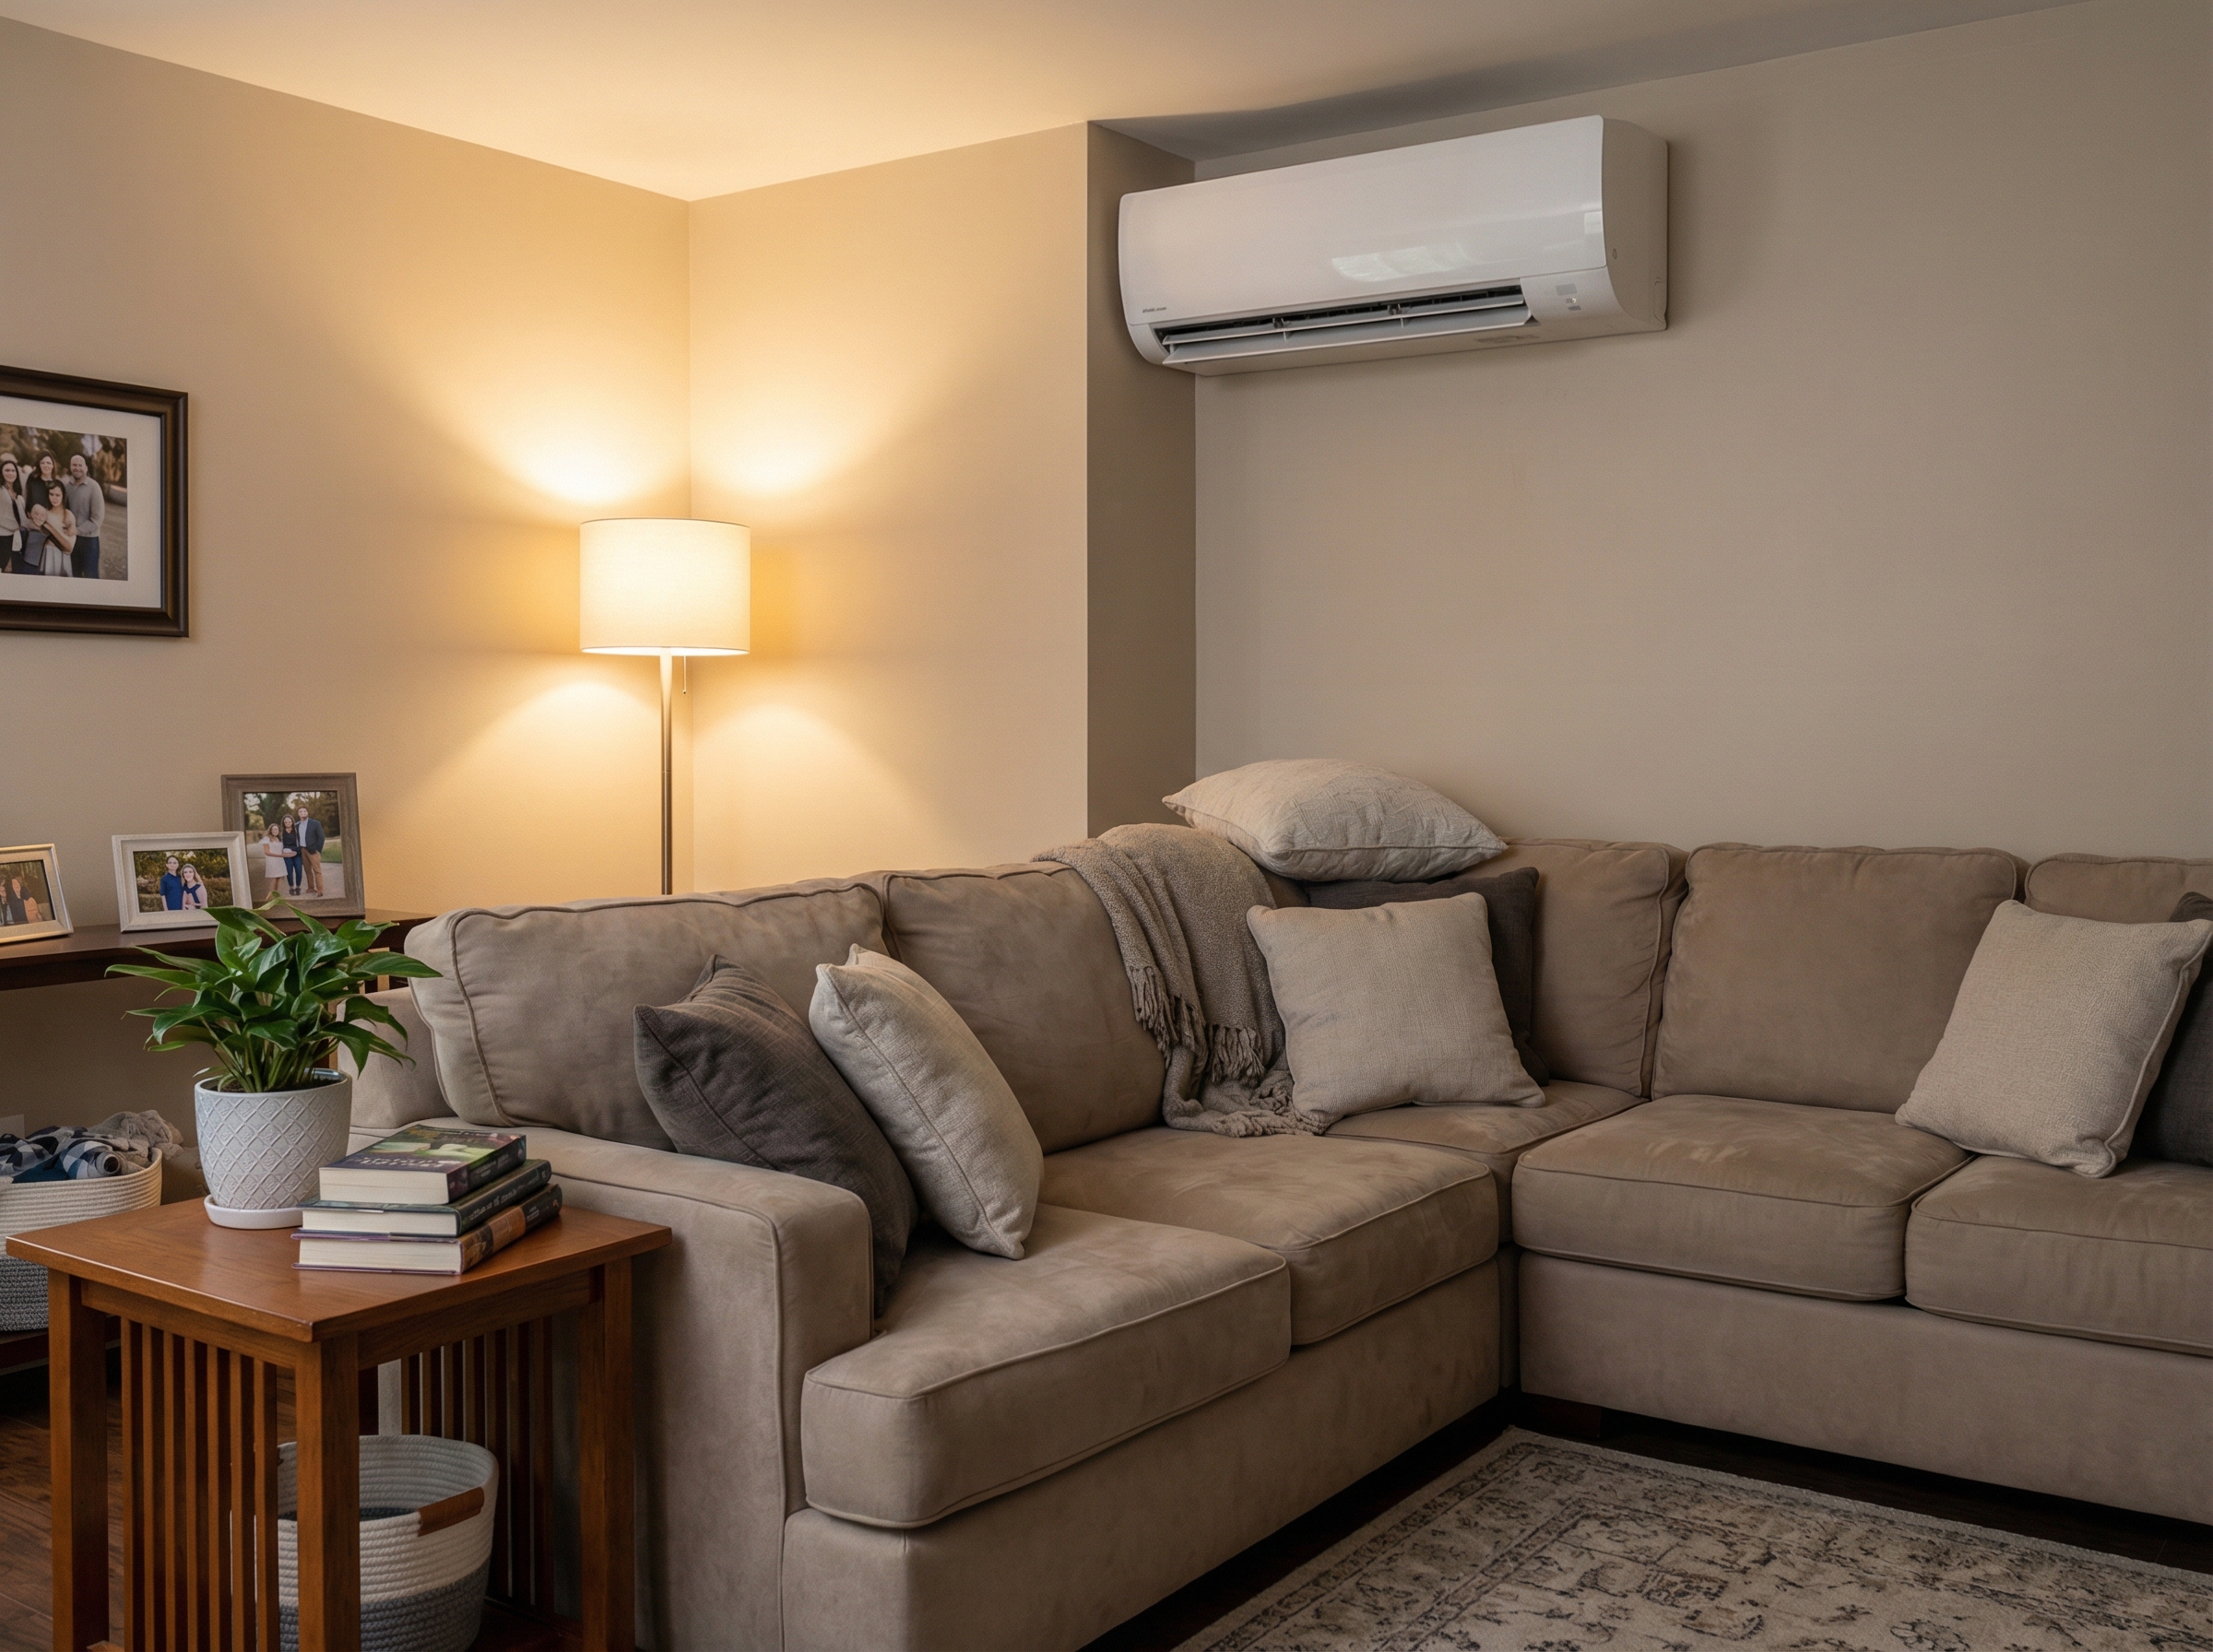
Choose open wall sections with clear return and discharge paths, away from localized heat or contaminants, to keep comfort even and service simple.
Outdoor condenser: where not to place the outdoor unit
Outdoor unit siting affects capacity, efficiency, and longevity. In our field work, the problem is rarely the equipment, it is where it sits. Avoid these locations and you prevent headaches before they start:
- Enclosed balconies, alcoves, or tight corners: the condenser needs to breathe. If discharge air recirculates, head pressure climbs and performance drops, like a box fan shoved against a wall.
- Under eaves or roof shed zones: falling ice and drifting snow can bury the unit. Keep it out of melt and drift paths.
- Cold and snow prone climates: elevate and shield so snow does not accumulate around the coil, while preserving free airflow on all sides.
- Corrosive environments: steer clear of pool chemical storage areas or coastal salt spray unless the model has corrosion protection.
- Too close to neighbors' windows or shared patios: noise, clearance, and service access issues are common.
- Unstable or unlevel surfaces: skip soft soil or loose gravel. Use a level concrete pad or sturdy, anchored brackets.
When to call a pro: structural, electrical, refrigerant and code issues
Some installation choices cross from DIY into licensed scope. Call a professional when any of the following apply:
- Structural support: the wall, ceiling, or pad cannot safely carry the unit, or required service clearances are not achievable. Structural reinforcement or alternate mounting is needed.
- Refrigerant lines: the route would exceed manufacturer limits for length or elevation, or needs brazing, pressure testing, evacuation, and charging. Long runs can cut performance and violate requirements.
- Electrical: a dedicated circuit, correct breaker sizing, disconnect, and surge protection are required. This work belongs to a licensed electrician.
- Condensate management: gravity drainage is impossible, discharge would end indoors, or the line could freeze. A pro can add a pump, heat trace, and safe termination.
- Refrigerant safety and code: A2L refrigerant rules introduce room volume, leak detection, and ventilation considerations. Homeowners should not handle refrigerant or high voltage.
- Permits and compliance: local permits, inspections, and federal efficiency minima, including SEER2 thresholds, must be met.
When a mini split may not be the best solution: basements, attics, garages and extreme climates
In our field work we see three situations where a ductless mini split can disappoint unless you plan around it.
- Unvented, damp basements or steam prone rooms: the latent load overwhelms comfort control. Use proper exhaust, then add a dedicated dehumidifier or choose a small ducted air handler that can serve adjacent areas.
- Attics, sunrooms, and garages with little insulation: these are high load spaces. Expect 10 to 20 percent capacity upsizing and envelope upgrades, like air sealing and added R value. If upgrades are not feasible, consider a small ducted system or a gas unit heater for heat only.
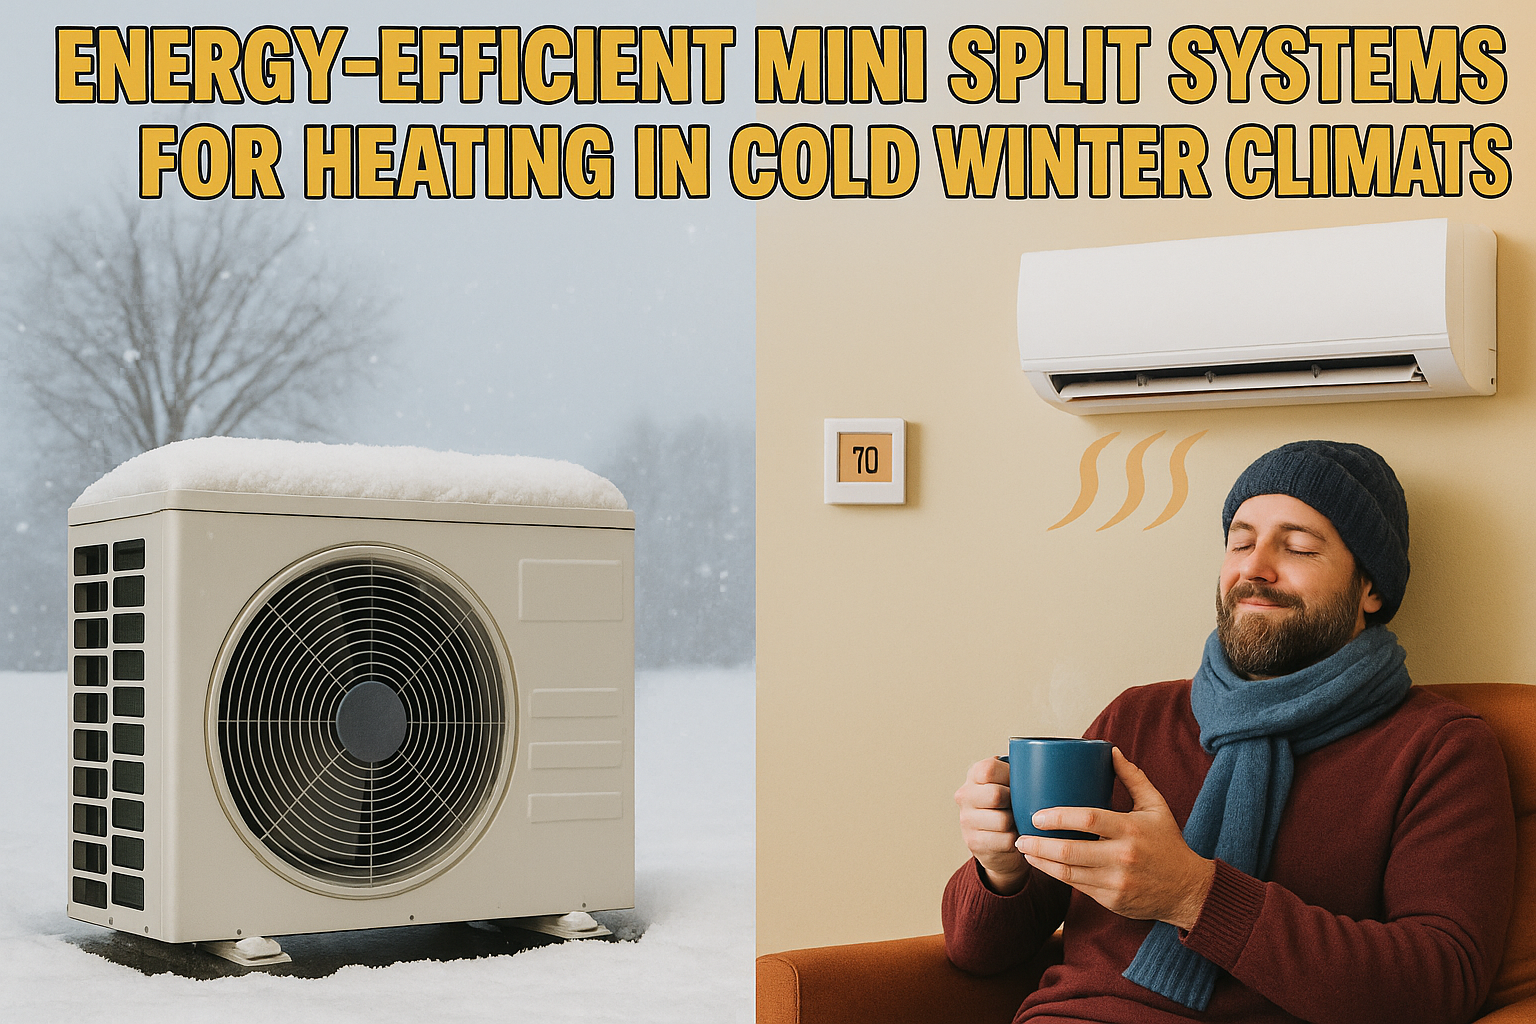
- Extreme climates: careful siting matters. Cold and snowy regions call for cold climate models, elevated wall brackets above the snow line, and clear defrost drainage. Very hot regions benefit from shaded placement. In subzero areas, a dual fuel setup with a furnace can be more dependable.
Consequences of poor placement: efficiency loss, damage and warranty risks
Poor placement quietly taxes a system. Obstructed airflow, direct sun and dirt on coils force longer runtimes, so the practical efficiency you feel is lower than the nameplate SEER or SEER2. SEER and SEER2 describe seasonal cooling efficiency. SEER2 is the updated rating method intended to reflect real-world conditions more closely than legacy SEER, but it still assumes proper install. Think of it like the highway mpg on a car sticker versus stop-and-go traffic. In our field experience, bad siting can drive up energy use, increase noise and heat, and accelerate wear on compressors and fan motors. It also invites fouling and moisture issues that lead to service calls. Many warranties require correct clearances and location, and improper placement can jeopardize coverage.
How to choose a better location: a practical homeowner checklist
Use this quick checklist to pick a spot that installs smoothly and runs efficiently.
In our experience at Budget Heating (BudgetHeating.com), a smart location up front makes installation faster and keeps service simple for years.
- Respect clearances: measure and mark manufacturer horizontal and vertical clearances for both indoor and outdoor units, including the service side.
- Pick a dry, well ventilated area away from moisture sources, heat sources, direct sun, and any obstructions that restrict airflow.
- Plan condensate routing: a drain works like a rain gutter, it needs continuous slope for gravity flow. If that is not possible, use a condensate pump. Keep the trap, cleanout, and pump easy to reach.
- Keep maintenance access: leave space to remove panels, clean coils, and change filters. Avoid lint and grease sources such as laundry rooms and kitchens that clog coils.
- Preserve service access: ensure a clear path for tools and gauges and set a level pad or bracket that stays above grade and out of splash zones.
A well planned spot stays cleaner, drains reliably, and is far easier to service over the equipment's life.
Common placement mistakes and misconceptions to avoid
We often see heads tucked where they cannot perform. The corrective principle is simple: place indoor heads in open, central locations with unobstructed airflow, and keep them away from local heat, moisture, and direct sun.
- Above TVs or consoles: added heat skews control.
- Next to stoves or radiators: short cycles result.
- In direct sun: solar gain tricks temperature.
- Hidden behind furniture or curtains: airflow chokes.
- In hallways to serve rooms: walls block coverage.
- Directly over beds: drafts bother sleepers.
Summary: where not to install a mini split and what to do next
Do not install a ductless mini split where poor airflow, tight clearances, corrosive air, or code conflicts will hurt performance, shorten lifespan, or create safety risks. Follow the manufacturer's placement and clearance rules. Before purchase or installation, confirm local code, check electrical capacity and line set path, plan reliable condensate routing, and have a qualified installer evaluate load, structure, and routing.
You are asking the right questions, and a little planning now prevents costly rework later. Our team pairs wholesale pricing with decades of hands-on HVAC experience to help you choose with confidence.
- Get a Custom Quote tailored to your space
- Talk to Our Team by phone for U.S.-based technical support
- Shop Mini Splits at wholesale pricing, many models ship free, financing with Affirm