Do You Need a Ductless Mini Split in Every Room? A Quick Overview
You do not always need a ductless mini split in every room, prioritize conditioning where you spend the most time. A ductless mini split is a heating and cooling system that delivers comfort without ductwork, using compact indoor air handlers paired to an outdoor unit. The key idea is zoning. Mini splits are inherently zoned systems: each indoor head is a separately controlled zone with its own settings.
In practice, an indoor air handler is required only in rooms you want actively heated or cooled with independent control. That lets you focus capacity on primary living areas, then decide case by case whether secondary rooms need their own head. Think of it like placing lamps, you put a lamp and a switch where you want light, not in every corner. This approach trims equipment count and keeps control simple while matching comfort to how the space is used. Over decades of installs, we have found that starting with the core zones and expanding only where needed delivers balanced comfort and avoids oversizing indoor equipment.
Short Answer: Do You Need a Mini Split in Every Room?
No. If the layout is open or rooms connect through large openings, a single well sized indoor head can often condition that shared area. We design around zones and real differences in load and schedule, not a rigid one per room rule.
Plan separate heads for spaces that are closed off or have different temperature needs or notably higher loads, such as:
- Bedrooms or a home office where doors stay closed
- Sunrooms and additions with heavy glass or solar gain
- Upper floors that tend to run warmer
Key Factors to Consider: Layout, Insulation, Use and Noise
Deciding if one indoor head can cover multiple areas comes down to how easily air can move, how well the home is insulated, how the spaces are used, and how quiet you need the system to be. Open concept or adjacent rooms where doors stay open can often share a single, well placed head. When doors are closed, especially in bedrooms at night, airflow is restricted, so separate heads or short ducted solutions are often the better fit. In our experience at Budget Heating (BudgetHeating.com), a single head can handle a living, dining and kitchen cluster if sight lines are open, while bedrooms typically need their own coverage.
- Layout and doors: Long hallways and closed doors block air. Plan for separate heads where privacy is routine.
- Insulation and solar gain: Poorly insulated rooms or sun heavy spaces usually need dedicated capacity to stay even.
- Usage patterns: Prioritize the rooms occupied most, and consider nighttime door habits when sizing and placing heads.
- Noise and aesthetics: Check decibel ratings and placement so the unit is not aimed at a bed or workspace.
- Regional climate: Colder regions often benefit from more distributed heads for even heat. Mild climates can share more easily.
- Electrical capacity and budget: Confirm panel space and circuit availability, then balance upfront cost against comfort control.
- Duct losses: Going ductless avoids duct losses, and poorly performing ducts can waste up to about 30% of conditioned air.
Multi Zone Systems: How They Work and When They Make Sense
Multi zone outdoor condensers are built to serve several indoor heads at once. Think of one outdoor unit as a power strip for comfort, a single source feeding multiple rooms so each space can be controlled independently without installing several outdoor units.
Mechanically, the outdoor unit shares total capacity across the connected heads. This is where turndown matters. Choose equipment with a low minimum output so it can modulate gently at light loads instead of short cycling. Good turndown keeps rooms steady, reduces noise from frequent starts, and helps efficiency.
Right sizing is critical in multi zone designs. Balance the expected loads and the head capacities so the outdoor unit and the indoor heads operate in their efficient ranges. We often see issues when a large head is placed in a small room. Oversized heads satisfy the thermostat too quickly, then short cycle, which wastes energy and feels uneven. Proper sizing and placement, matching each head to its zone's load, prevents that.
Choose a multi zone system when several rooms need independent control and you prefer one outdoor unit instead of many. It makes sense when the combined and individual zone loads align with the outdoor unit's capacity and its turndown range.
When a Mini Split May Not Be the Best Choice (Tradeoffs and Common Mistakes)
Mini splits are powerful tools, but they are not a cure all. After decades of field work, we see the same pitfalls: oversizing by adding too many heads or oversized heads. That leads to short cycling, like flicking a light on and off repeatedly, which hurts efficiency and humidity control.
- Myth: one head per room. Reality: this often inflates cost and oversizes the system.
- Mistake: choosing between extremes, a head in every room or a single head for the whole house, instead of zoning by how spaces are actually used.
- Mistake: assuming one indoor unit can serve a compartmentalized, multi level home. Closed doors and floors usually need separate zones.
- Mistake: ignoring aesthetics and noise. Multiple wall cassettes can clutter sightlines and bother quiet spaces.
Scenarios where a mini split may not be the best fit: tightly closed layouts with many small rooms that already have ductwork may be better served by a central ducted system. Spaces with strict architectural aesthetics may favor concealed or ducted options. Large, open commercial areas can be simpler with a single central system.
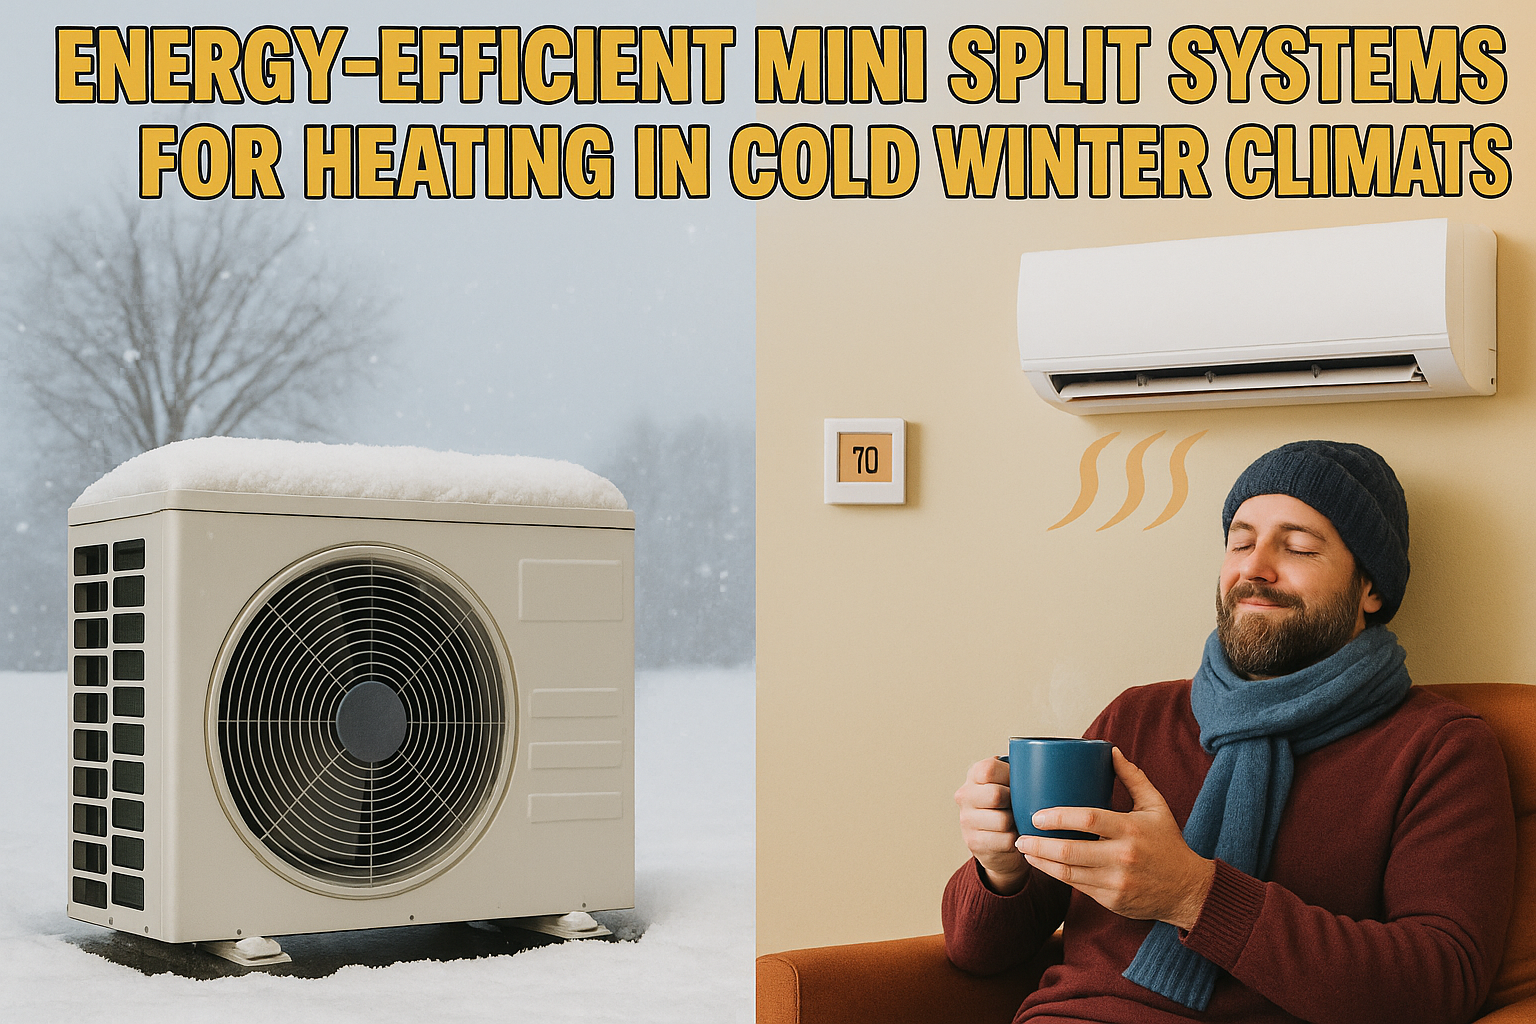
Cold climate note: in very cold regions, programs often discourage a head per room plan and favor grouped zones or cold climate models with proven low temperature capacity.

Open Plan vs Closed Rooms: When One Unit Can Serve Multiple Areas
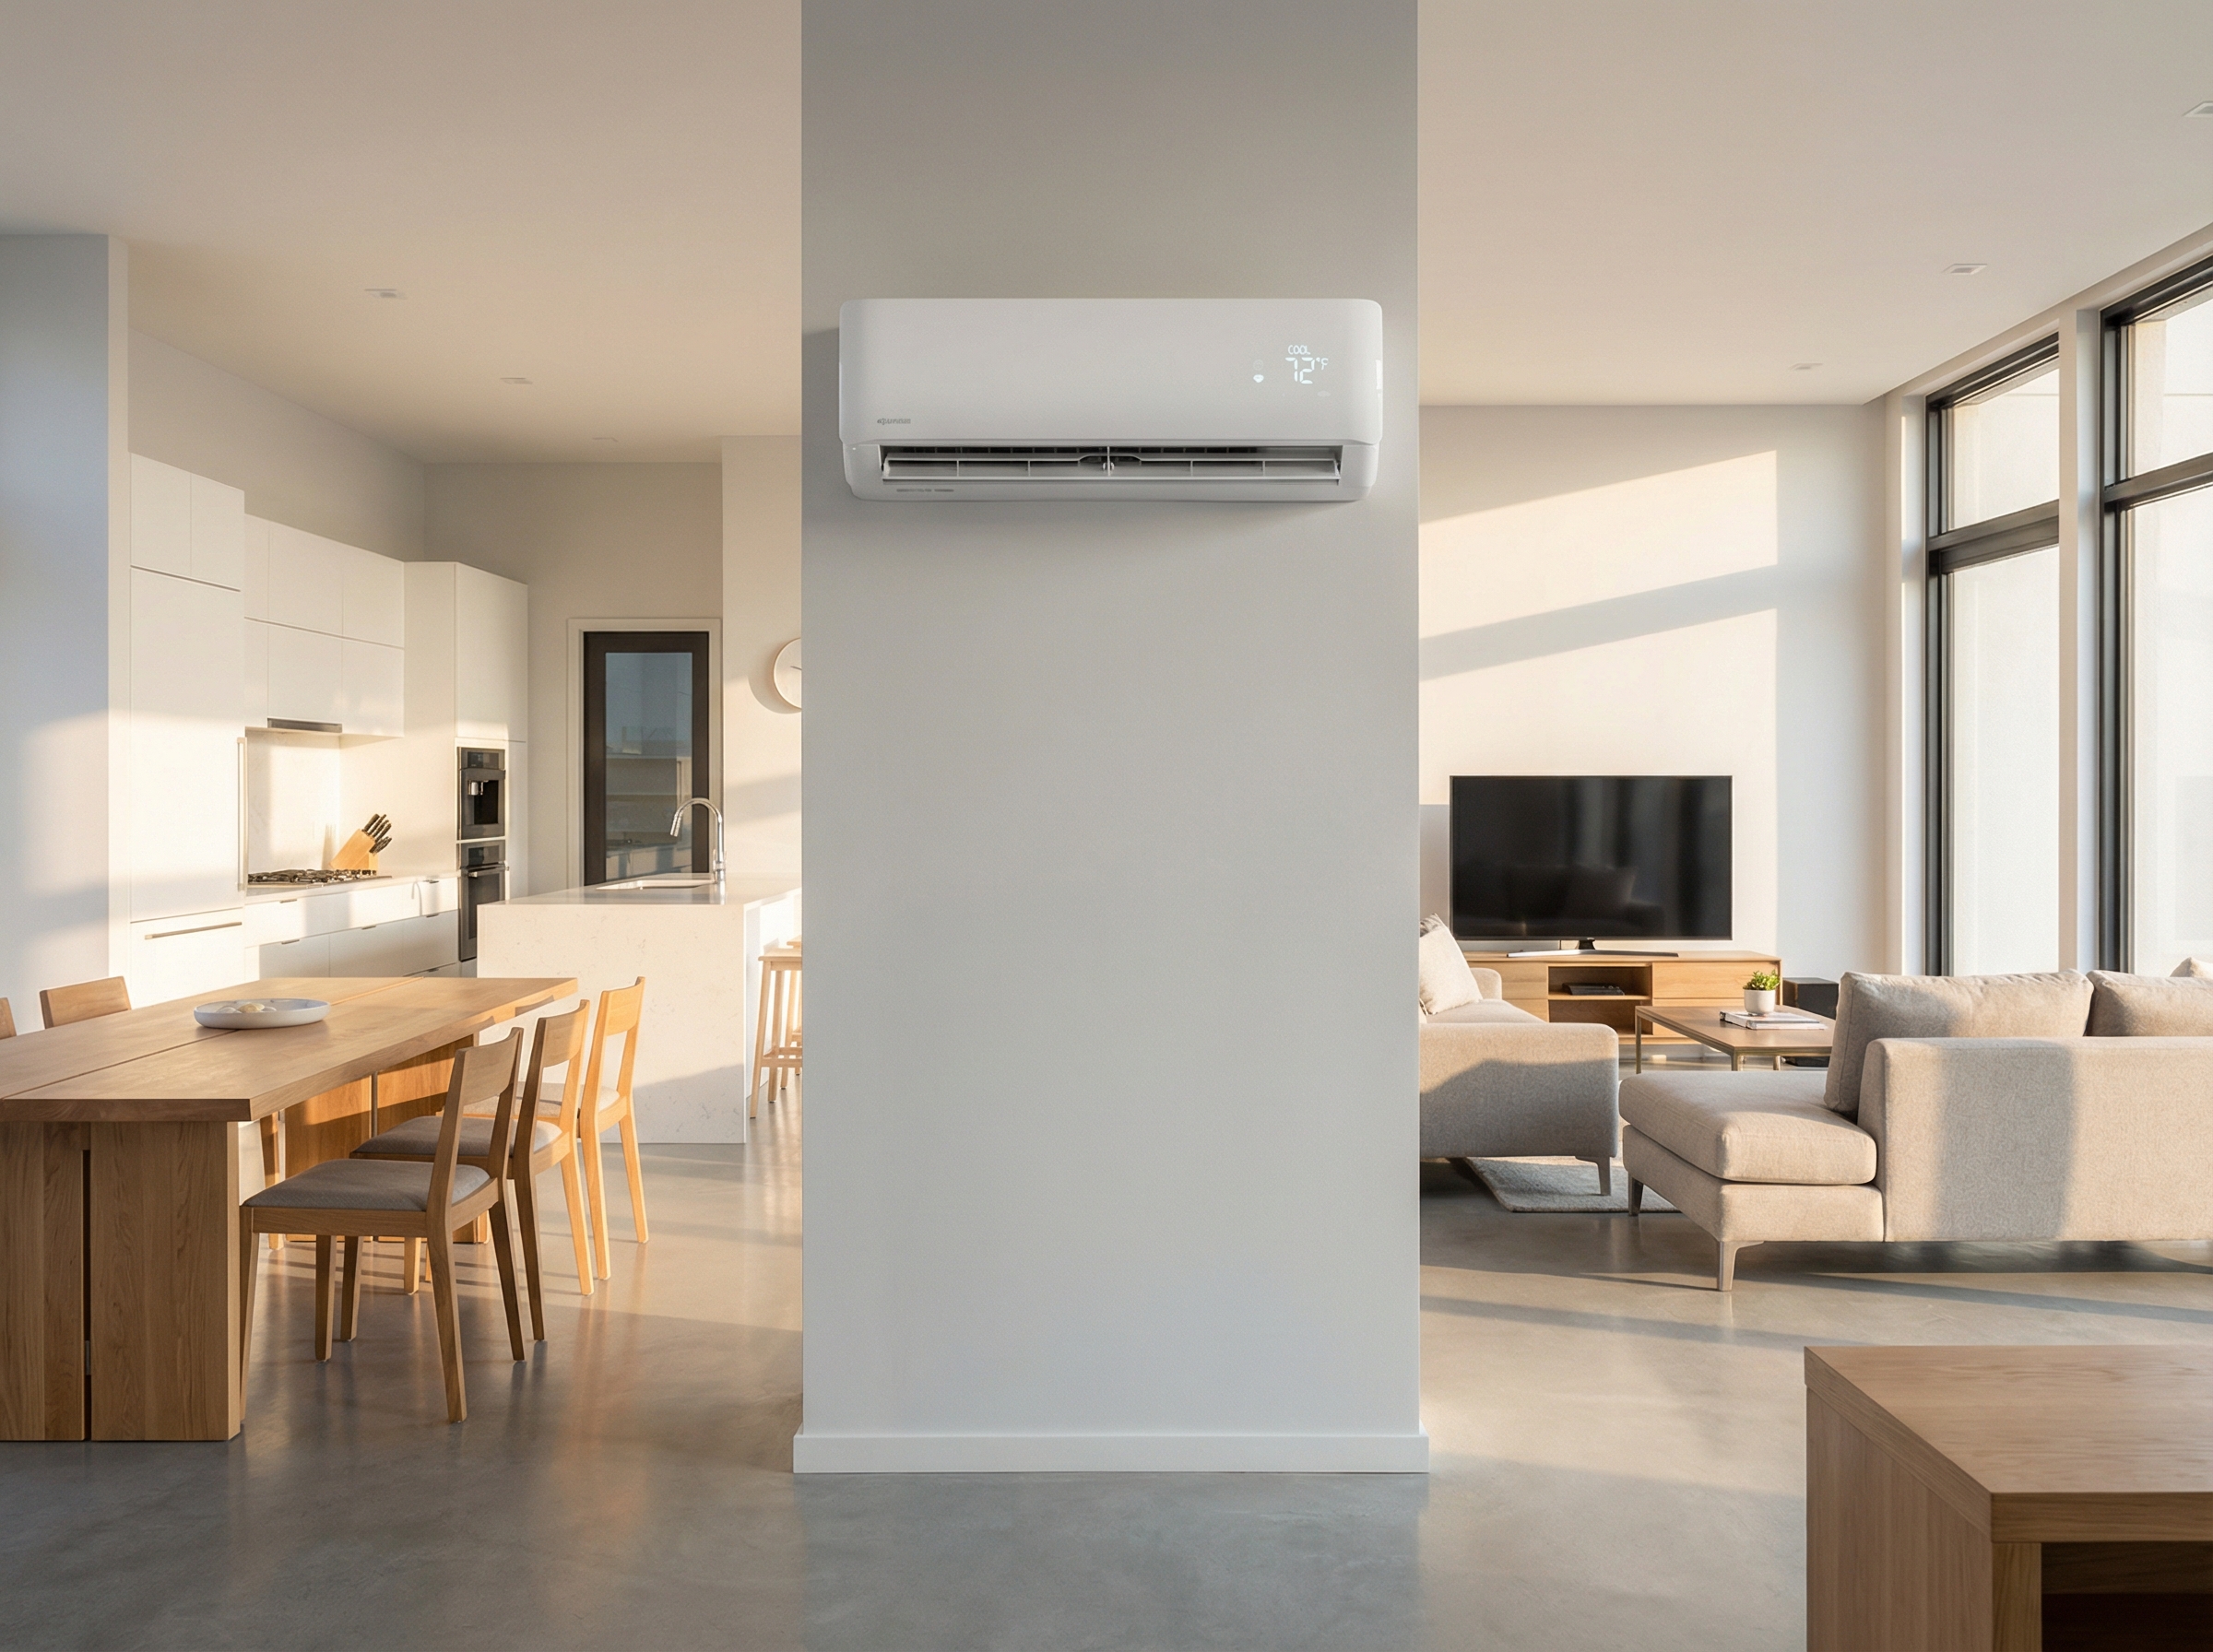
In open layouts, you can often cover a kitchen, dining, and living area with a single indoor unit, since those spaces share similar loads and schedules. Define zones by how you use them and when, not just by walls. For example, day-use areas belong together, while bedrooms can share a night schedule.
Pick the indoor style to match the layout and look. Wall-mounted heads throw air across open rooms efficiently. A 4-way ceiling cassette sits near the center and distributes air evenly, helpful when furniture or sightlines limit wall space. Short-ducted concealed units are great for closed plans: install one in a hall ceiling or closet, then run short runs to a bath, small office, or two kids' bedrooms, so one unit serves multiple rooms without a head in each space. In our experience at Budget Heating (BudgetHeating.com), a single short-ducted unit can comfortably handle two or three adjacent small rooms when sized correctly.
Keep like-with-like: group spaces with similar schedules and loads to keep comfort steady and equipment efficient.
Alternatives to Putting a Mini Split in Every Room
In many homes, the simplest path is not one head per room. If you already have good ductwork, it often makes more sense to improve or replace the central HVAC system rather than add multiple mini split heads. A well sized central heat pump or AC and furnace using existing ducts, plus proper balancing, can deliver even comfort with fewer wall units.
Ductless shines where ducts are missing or impractical: additions, finished attics, basements, and garages. In those cases, serving only the new or hard to reach spaces with one or two heads can be cleaner and cost effective, while the central system handles the core rooms. This hybrid approach keeps equipment count down and preserves the zoning you need without placing a head in every bedroom.
Sizing & Placement: BTUs, Manual J and Ideal Head Locations
Start with a room-by-room load calculation. A proper Manual J or equivalent accounts for square footage, insulation, window area, orientation, air leakage, and occupancy. We size heads from that plan, not from crude BTU-per-square-foot rules. Think of BTUs like a budget for each room, and overspending in one room rarely helps the next.
Place heads high on walls with a clear throw across the space. Aim airflow across seating or beds, not directly at people. Keep heads in the rooms that carry the load, not in hallways hoping air will bend around corners. Consider noise-sensitive spaces like nurseries and home offices, and provide return or transfer paths for closed-door bedrooms.
Check feasibility early. Respect manufacturer limits on line-set length and elevation, plan condensate routing with gravity when possible or a pump if needed, and verify outdoor clearances and service access. Verify the proposed model's heating capacity at your local design temperature and confirm dehumidification performance is suited to your climate.
Confirm electrical readiness by checking panel capacity and required circuits, and hire a licensed electrician for high-voltage work.
DIY vs Hiring a Pro: Safety, Warranty and Maintenance Responsibilities
DIY can trim labor costs, but refrigeration and high voltage are not hobby projects. In our experience over 30+ years, the best path is a hybrid setup: homeowners handle planning and mounting, licensed pros handle electrical, refrigerant and commissioning. That keeps you safe, meets permit and code requirements, and preserves manufacturer warranty.
What owners can safely handle:
- Plan equipment locations and clearances, avoid hidden utilities.
- Install wall or pad mounts, brackets and vibration isolators where structure allows.
- Run a sleeve or chase for line set and condensate without connecting refrigerant.
- Set the outdoor unit in place without opening the circuit.
- Routine care: clean filters, wipe louvers, clear debris, flush condensate.
Tasks for licensed professionals:
- Pull permits and meet local code requirements.
- High voltage wiring, breaker sizing and disconnects.
- Refrigerant brazing or flaring, evacuation and precision charging.
- Pressure and leak testing.
- Startup commissioning: verify charge, airflow, defrost or drain function.
- Diagnostics and repairs for leaks, compressor or electrical faults.
Safety matters: 240 V shock risk, high pressure refrigerant hazards and moisture left in lines that causes long term damage. Maintenance cadence: homeowners check and clean monthly, while a professional tune up each year covers coil cleaning, electrical torque and refrigerant performance checks, like an annual checkup that can prevent a $2,000 failure.
How to Decide: Smart Zoning, Right Sized Units, and Next Steps
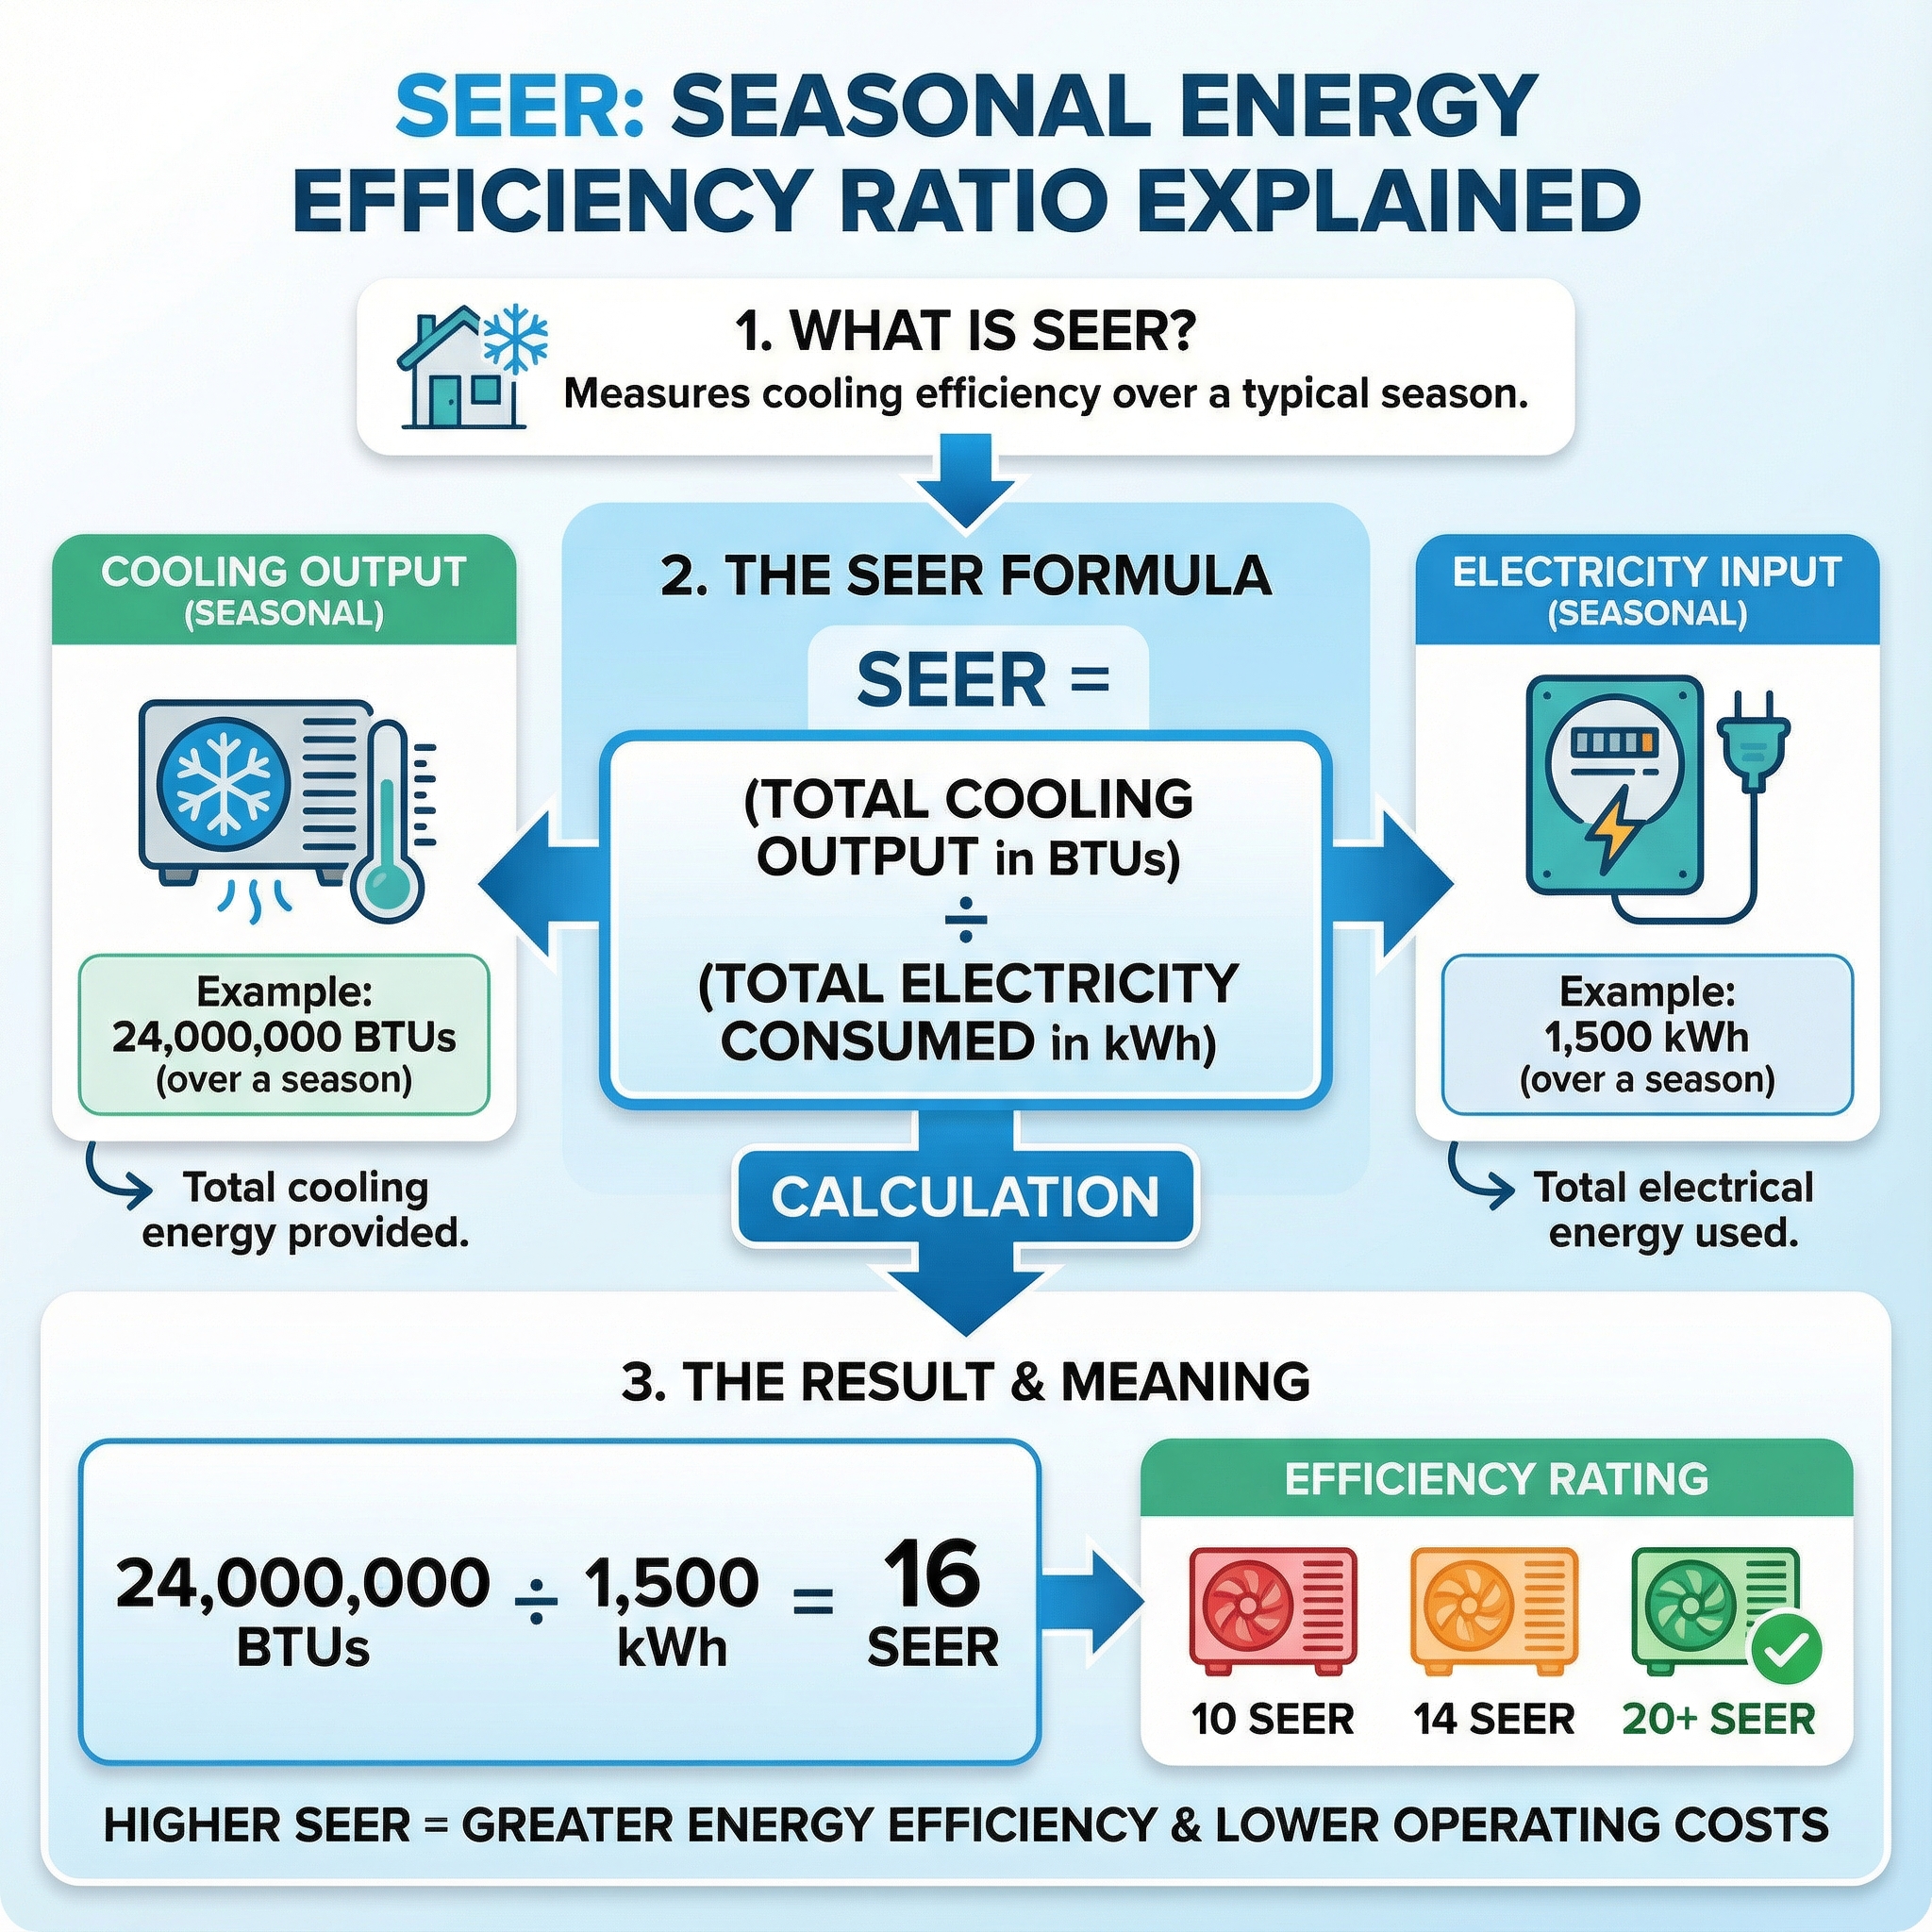
Design by zone, not by room. Each added indoor head brings equipment, line-set, electrical and labor cost, so group spaces with similar schedules and add heads only when comfort clearly improves. Before you buy, get a professional load calculation, compare SEER2, EER2, HSPF2 plus low-ambient heating, dehumidification, sound and controls, and confirm line-set limits, condensate routing, electrical capacity and commissioning. Ductless avoids duct losses and rebates may offset upfront cost. Ask for the Manual J, heating capacity at your design temperature and warranty terms.
SEER2 matters. In 2023 DOE moved to SEER2, EER2 and HSPF2, and minimums changed. Rough minimums: Northern split AC 13.4 SEER2, Southeast and Southwest ACs under 45,000 Btu 14.3 SEER2 and 11.7 EER2, split heat pumps 14.3 SEER2 and 7.5 HSPF2 nationwide. Ensure your matched indoor heads and outdoor unit meet your region's thresholds before purchase.
Bottom line: choose the fewest zones that deliver comfort and equipment that meets current SEER2 and HSPF2 requirements. With 30+ years in HVAC and 200,000+ orders, our U.S.-based team can right-size a code-ready package at wholesale pricing.
- Get a Custom Quote
- Talk to Our Team by phone for U.S.-based support
- Shop Ductless Mini Splits