how to guide
 learning center
How to Choose the Right Mini Split Size for 1,200-3,000 Sq Ft Homes: What this Guide Covers
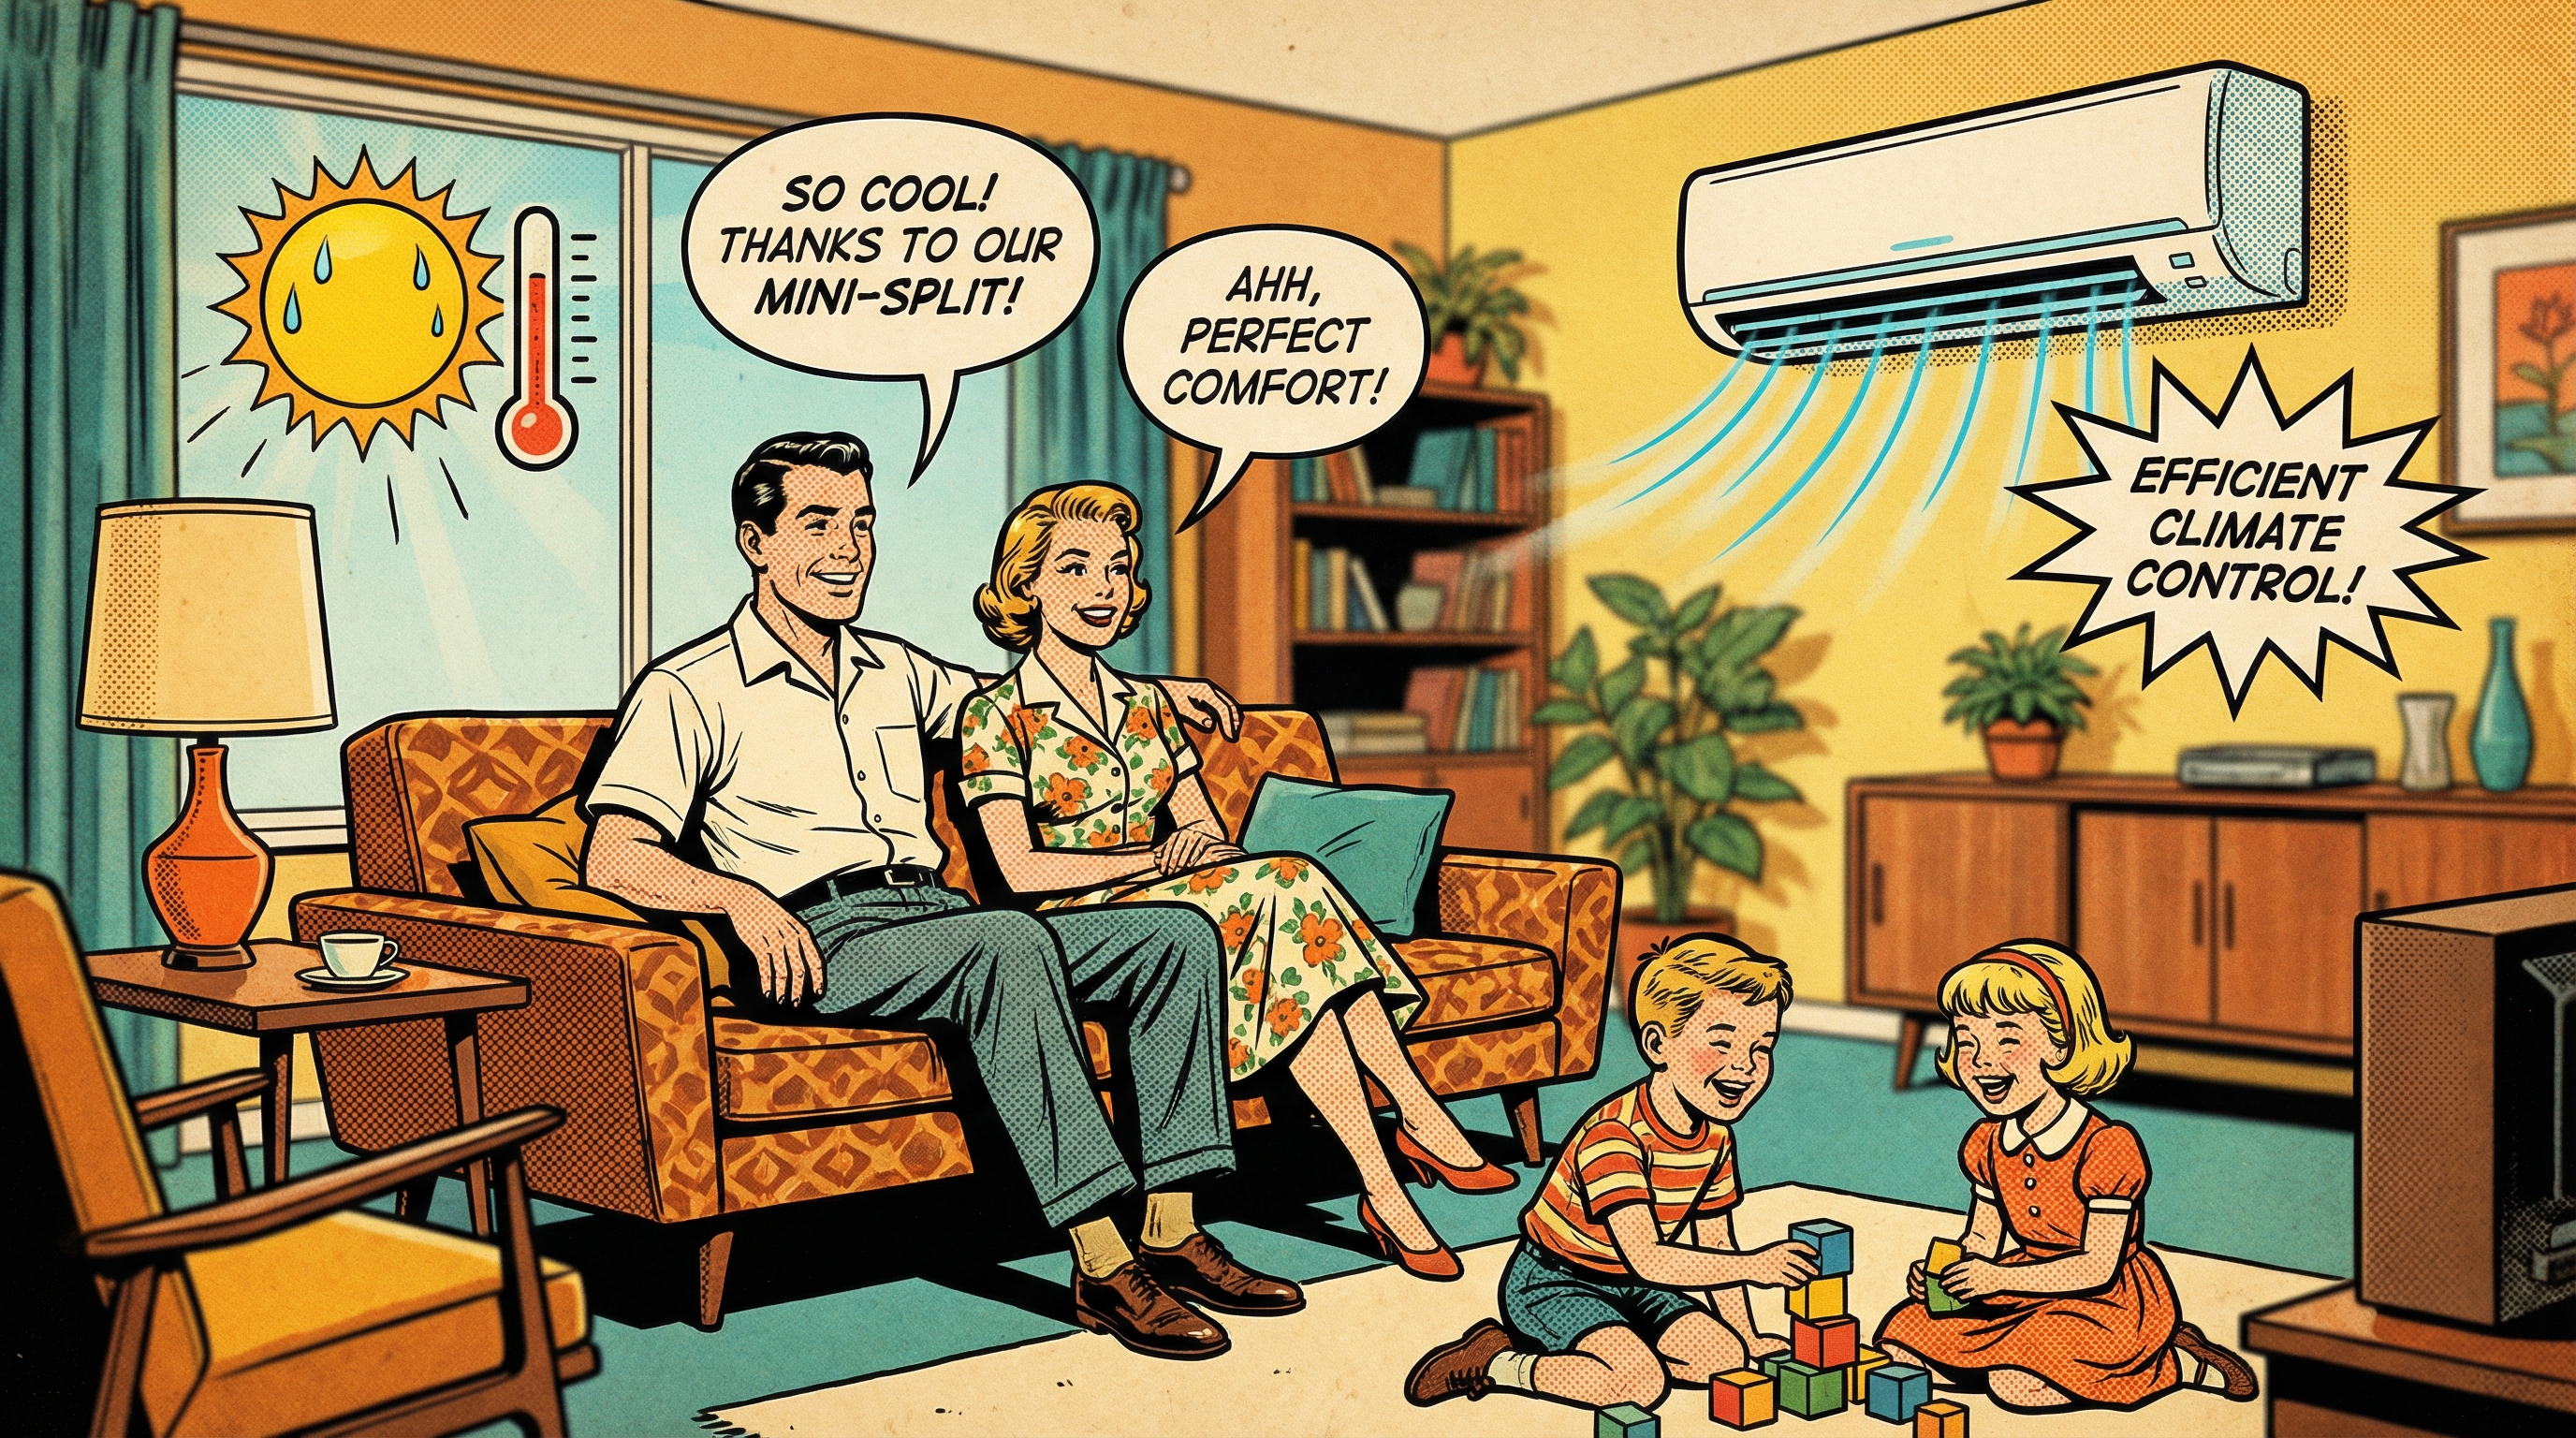
Choosing the right mini split capacity is the difference between steady whole home comfort and costly problems. For 1,200-3,000 sq ft homes, most fall in the 24,000 to 60,000 BTU range, often delivered by a multi zone system. We outline how square footage, climate, insulation quality, ceiling height, window area, air leakage, and layout drive the load, and why oversizing leads to short cycling and poor humidity control while undersizing causes nonstop run time and uneven rooms. This guide is built for owners of mid size to larger homes who want a practical starting range, then a clear way to refine it using the factors that matter most.
Capacity Chart: Suggested BTU and Tonnage Ranges for 1,200-3,000 Sq Ft Homes
Use these whole home benchmarks to screen options: 1,200-1,500 sq ft: 30k-36k BTU (2.5-3 ton). 1,600-2,000: 36k-48k (3-4 ton). 2,100-2,500: 48k-60k (4-5 ton). 2,600-3,000: 60k-72k (5-6 ton). Larger homes are often best with multi zone systems that divide capacity by room.
- 6k: small bedrooms or offices
- 9k: average bedrooms or dens
- 12k: larger bedrooms or small living areas
- 18k: big living rooms or open zones
- 24k: large open areas or combined spaces
Interpret the chart like a budget: set the total BTU, then pick indoor heads that fit each room so their sum hits the target tonnage.
Common Mistakes and Myths That Lead to Bad Sizing Decisions
We routinely see comfort and cost problems trace back to a few sizing shortcuts. Avoid these traps:
- Using square-footage charts alone: they ignore insulation, windows, orientation, and air leakage.
- Thinking bigger is safer: oversized systems short cycle, waste energy, and leave humidity high.
- Undersizing to cut upfront cost: units run nonstop, struggle on peak days, and wear out faster.
- Ignoring ceiling height and room volume: load follows cubic feet, not just floor area.
- Skipping a professional load assessment: rules of thumb miss duct losses and local conditions.
- Confusing efficiency with capacity: higher SEER or AFUE is not more tons or BTUs, just less energy per output.
- Using averages instead of design temperatures: sizing to mild weather guarantees poor performance in extremes.
Right sizing is like buying shoes, fit matters more than the number on the box.
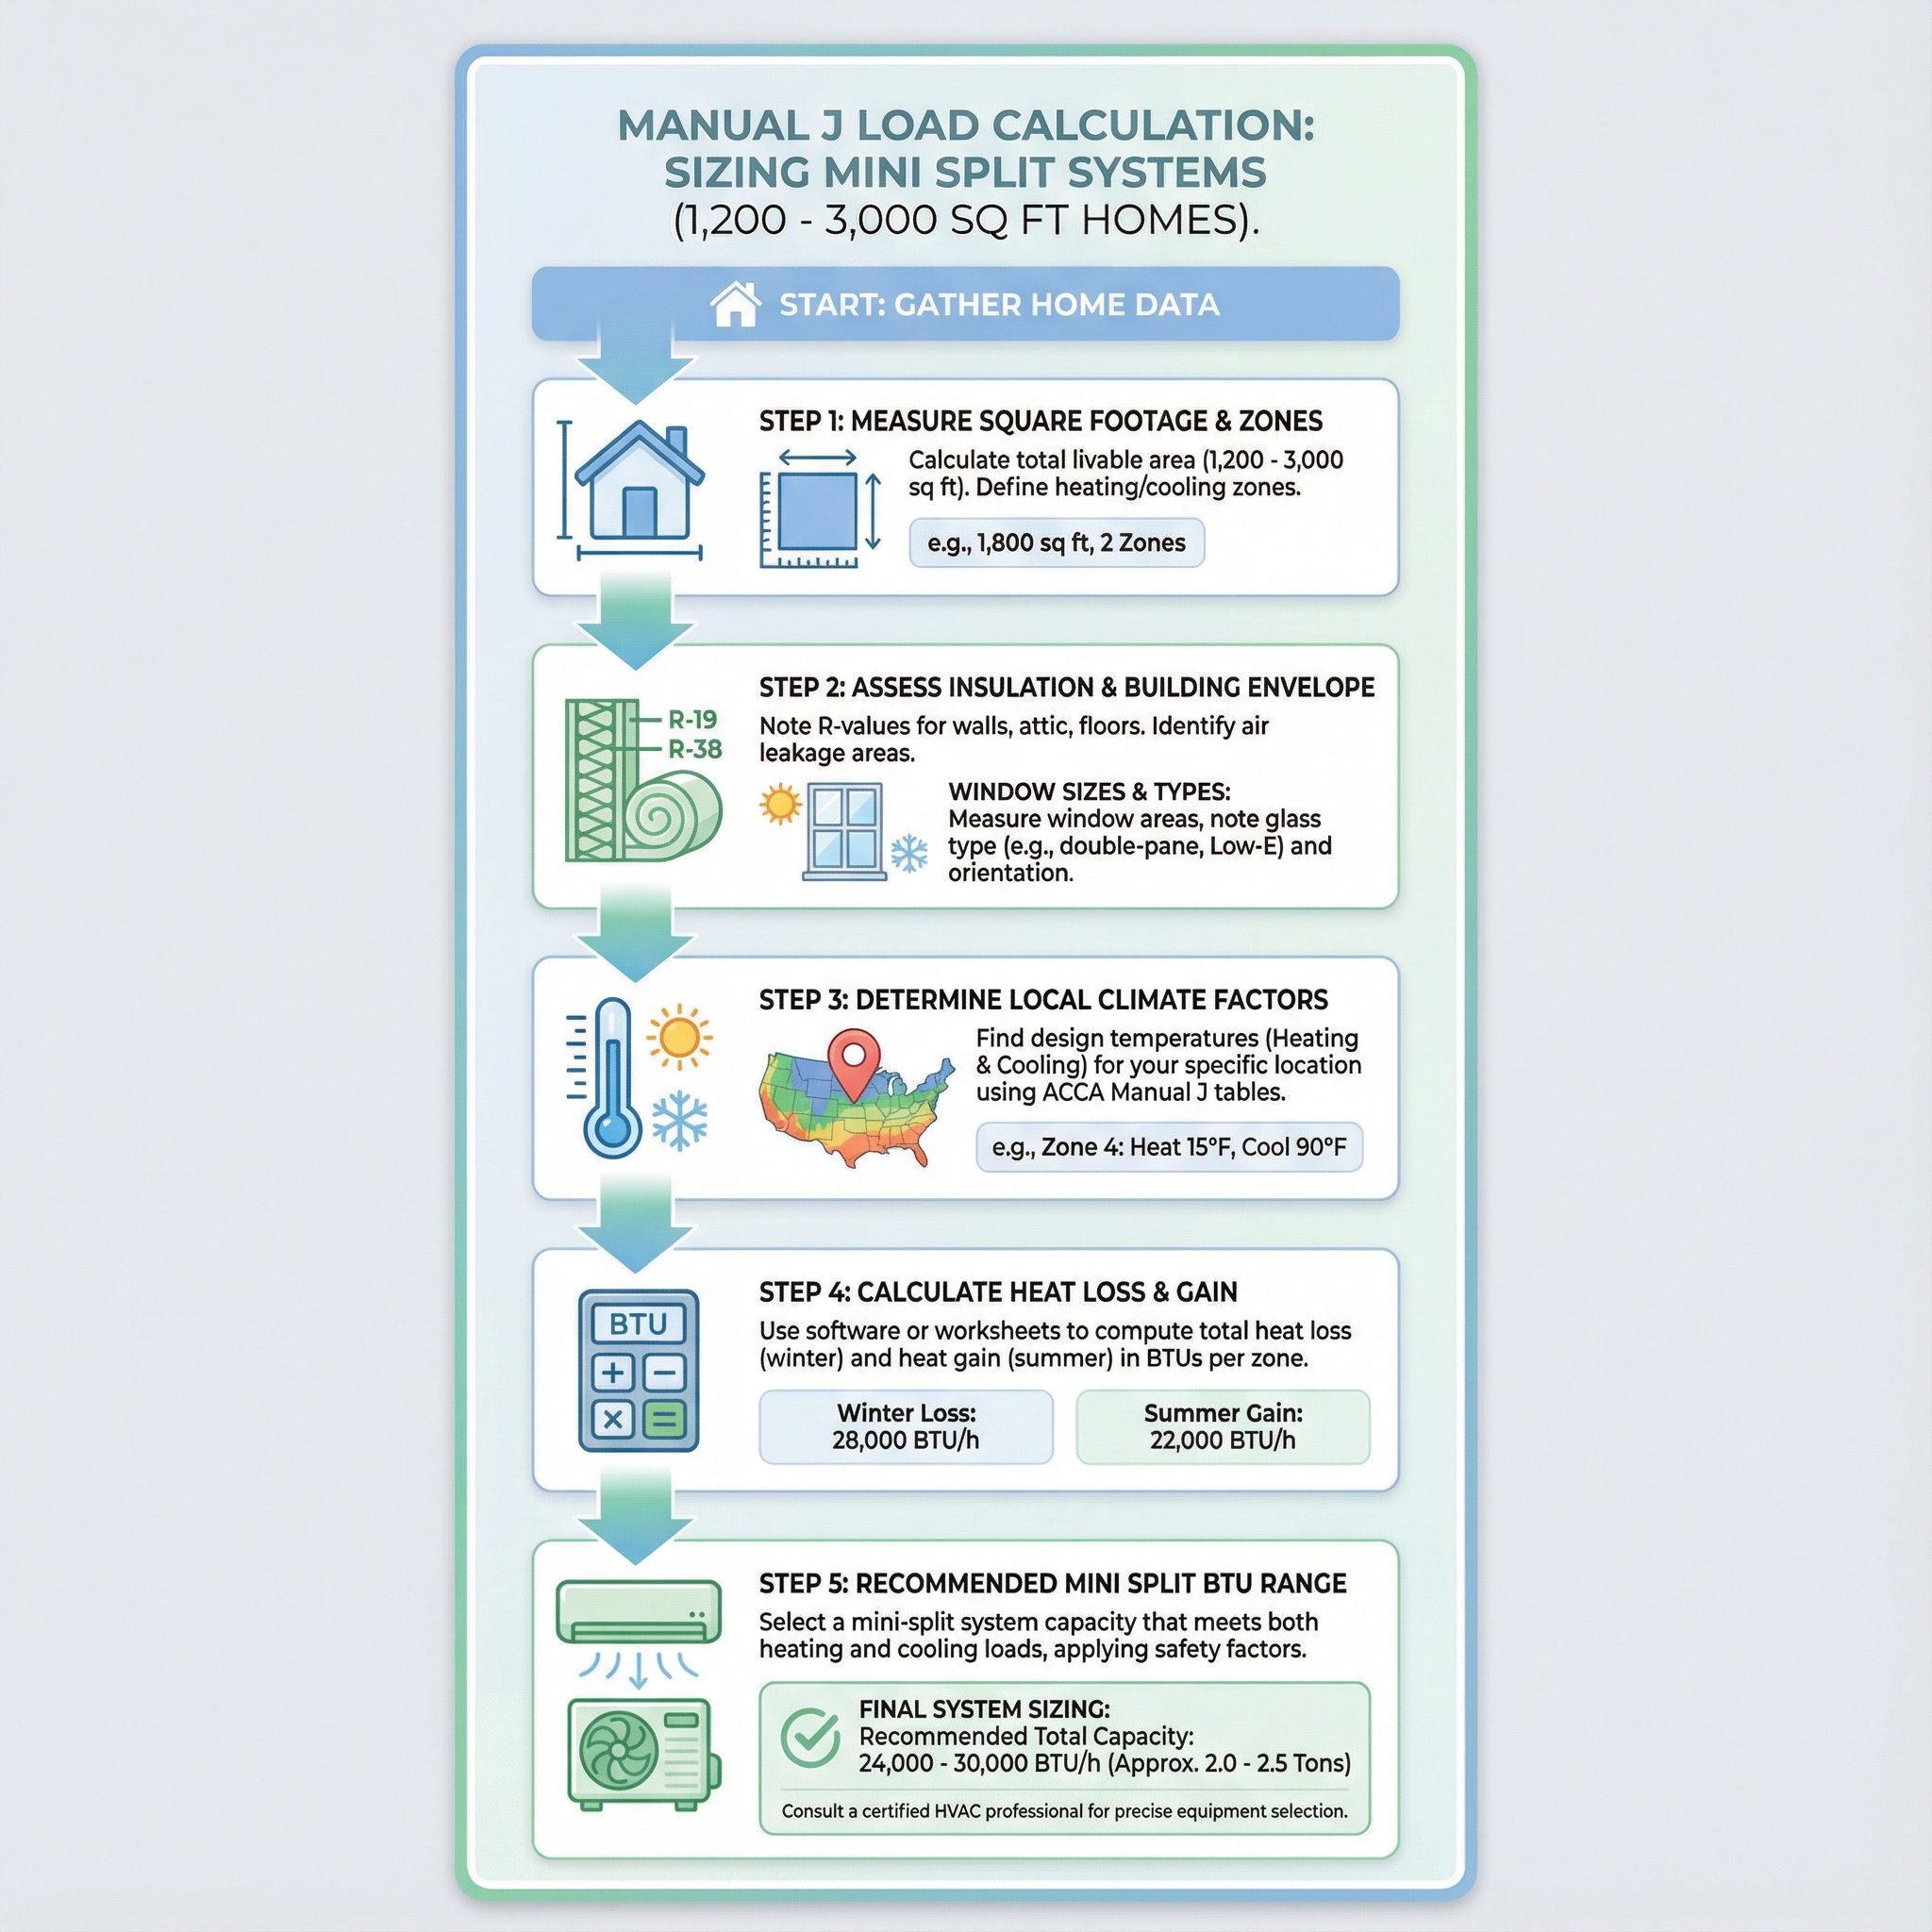
Step by Step: How to Size a Mini Split for Each Zone (Simple Method + Efficiency Factors)
Use this quick workflow to get close on sizing, then confirm against the manufacturer capacity chart for your design temperatures.
- Map zones: doors or distinct usage usually equals a zone. Open concept areas often share one zone. Sunrooms or large window walls deserve their own.
- Estimate load per zone: start at 20 BTU per sq ft in mixed climates. Adjust for factors that move the needle: add 10 percent per foot above 8 ft ceilings, add 15 to 25 percent for poor insulation, add 10 to 20 percent for heavy south or west glazing or harsh orientation. Very hot or very cold climates add roughly 10 to 20 percent.
- Select capacities: round up to the nearest 6k, 9k, 12k, 18k, or 24k BTU head. For multi zone systems, sum the heads and ensure the outdoor unit can support them at your design temps.
- Check efficiency: SEER and SEER2 rate seasonal cooling efficiency, HSPF and HSPF2 rate seasonal heating. New regulations use SEER2 and HSPF2 with higher regional minimums, so today's baselines are stricter. Higher ratings typically cut bills 15 to 25 percent in cooling and 10 to 20 percent in heating over the life of the system.
In our experience at Budget Heating (BudgetHeating.com), this simple method gets you close, then the capacity chart confirms you will not end up with hot or cold spots.
Buyer Checklist: Measure, Plan Zones, and Questions to Ask Your Installer
We recommend this quick prep list for accurate quotes and a clean install.
- Decide coverage: single zone or multi-zone.
- Measure each room, note ceiling height.
- Note insulation, window size, and sun exposure.
- Plan indoor head locations and clearances.
- Choose inverter features needed: quiet, dry, cold-climate.
- Validate sizing with a Manual J.
- Confirm panel space, breaker size, and wiring route.
- Check warranties and local rebates.
Questions to ask your installer:
- What are the Manual J BTUs per zone?
- How will heads be placed and sized?
- Is electrical sized to code, and what warranties are registered?
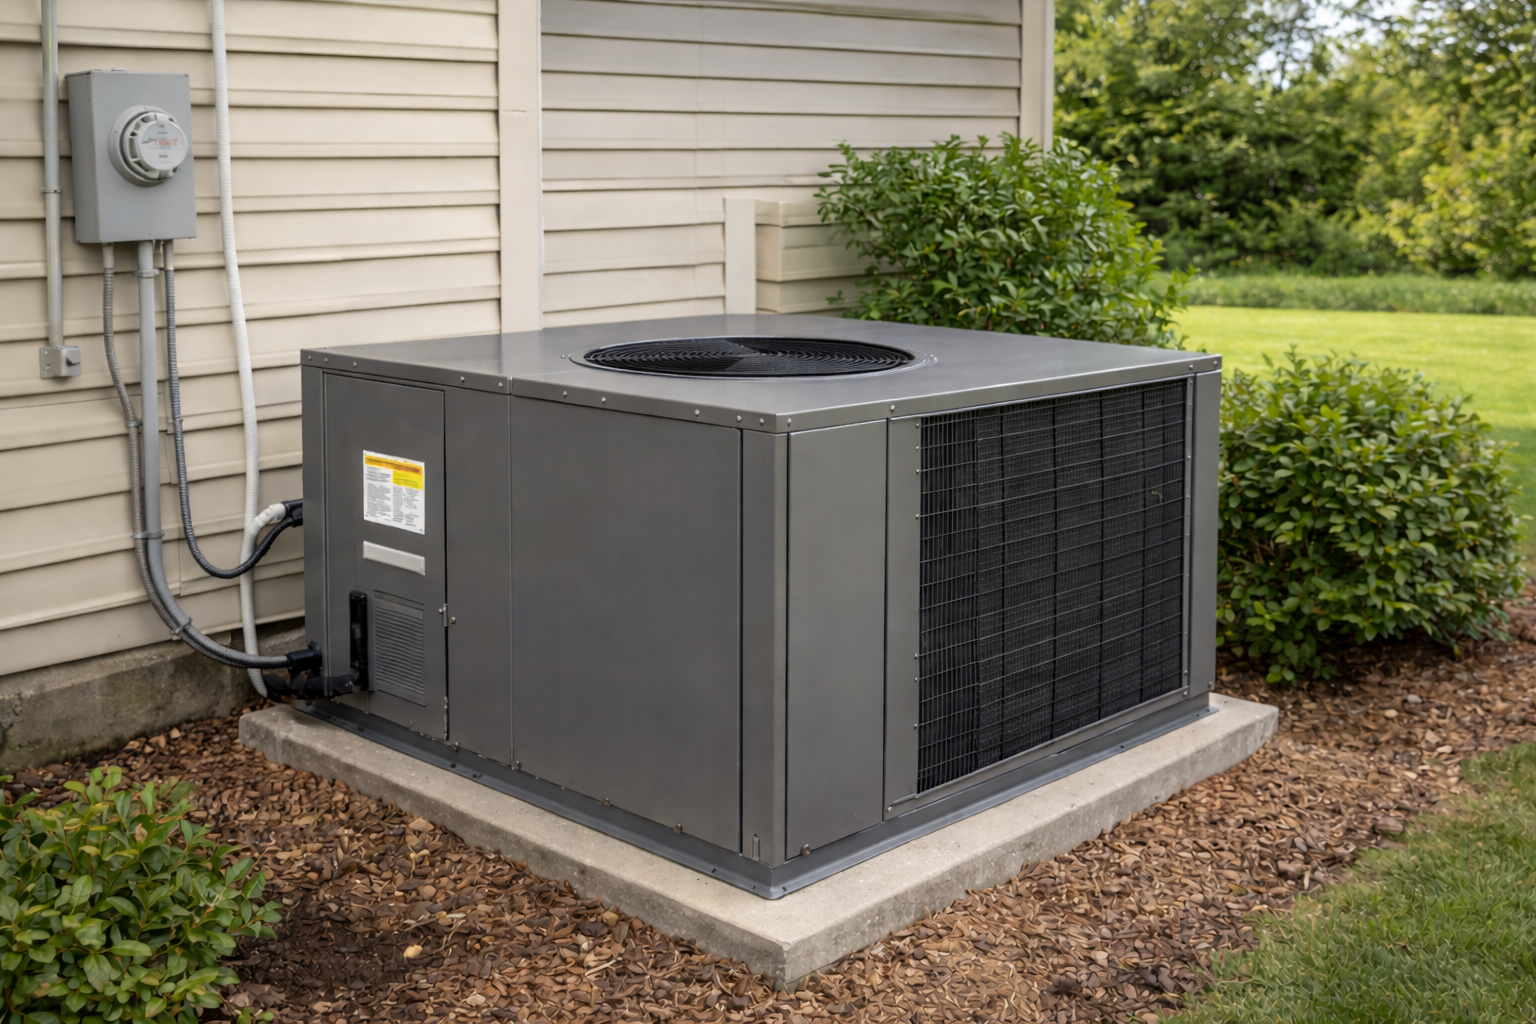
When Mini Splits May Not Be the Best Choice: Tradeoffs, Limits, and Better Alternatives
Mini splits shine in many projects, but they are not universal fixes. In our field experience, these are the common cases where another approach wins.
- Extreme cold or heat: Standard models can lose capacity in subfreezing weather or during long heat waves. In those regions, cold climate mini splits or supplemental heat are required. If you want one primary system with steady output in deep winter, a ducted cold climate heat pump or a gas furnace with a matched AC can be a better fit.
- Large, compartmentalized homes: A single wall head in an eight room house is like using one lamp to light every room. Comfort suffers and closed doors create pressure and temperature swings. Use multi zone mini splits with correctly placed heads, multiple single zone systems, or a central ducted system that can serve all rooms.
- Regulatory or code constraints: Local rules tied to system capacity, refrigerant type, or wall penetrations can tilt the choice. Where capacity thresholds trigger added permits or low GWP refrigerants are mandated, a central ducted heat pump or packaged unit may simplify compliance.
Match the system to the climate, layout, and code, not the other way around.
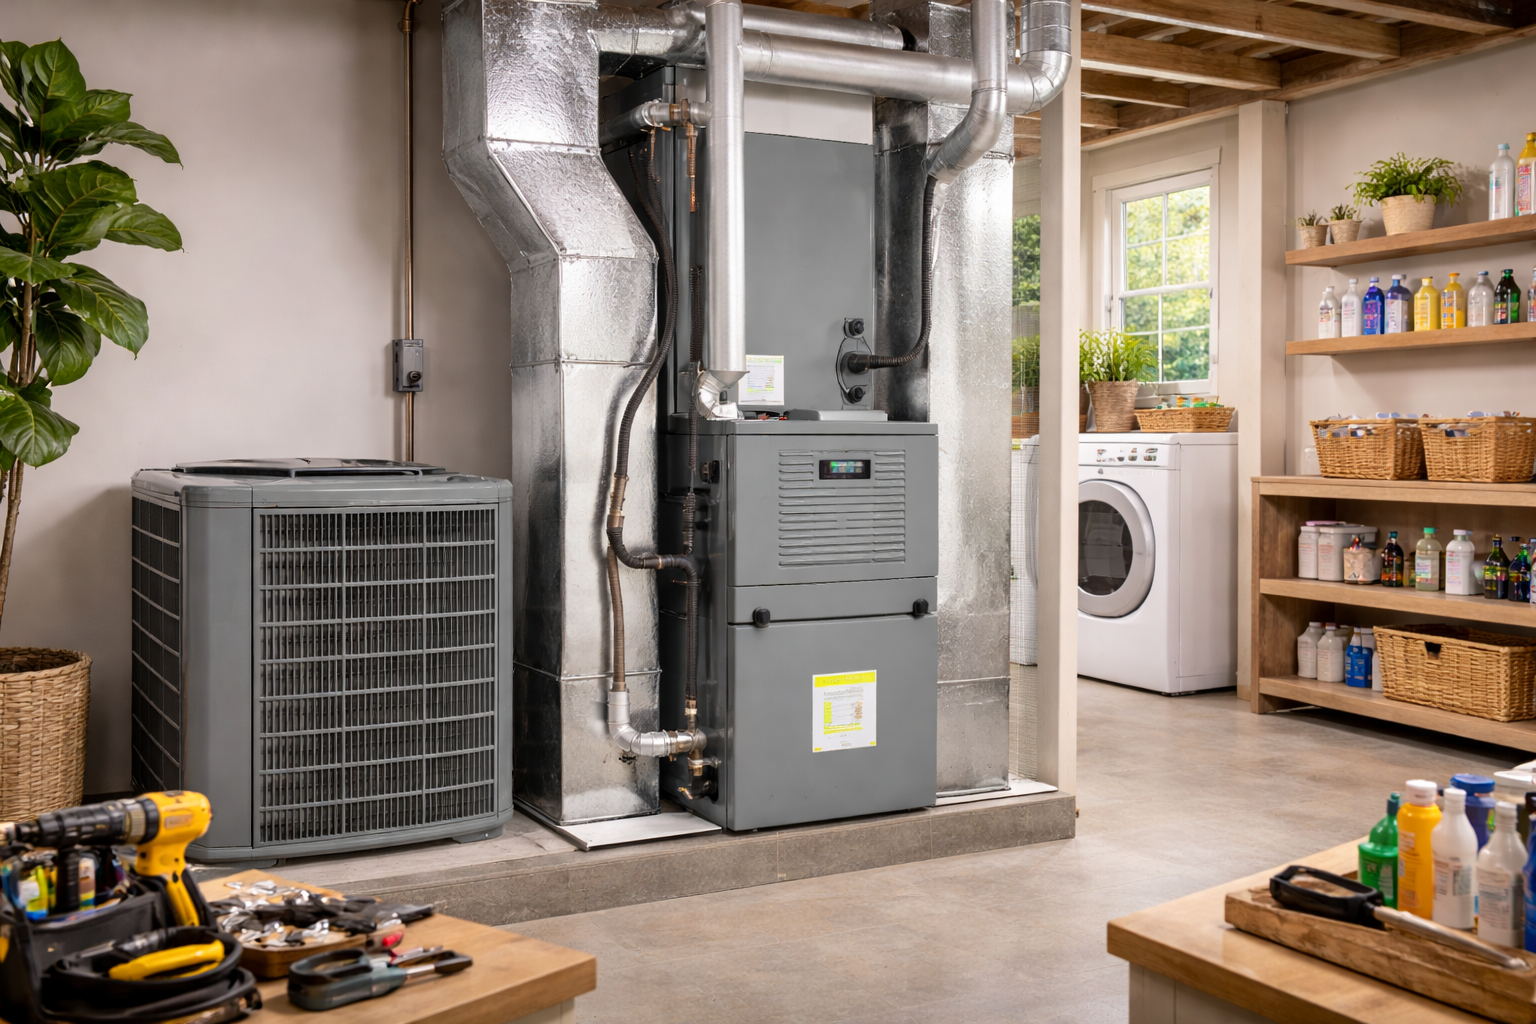
Installation, Placement, Safety and Maintenance: What Homeowners Need to Know
In our experience, homeowners can handle prep and upkeep, while licensed technicians should perform all sealed-system and electrical work. Think of it as building the stage at home and letting a pro run the show.
- Homeowner friendly: measure spaces, prepare a level pad, plan a clear line set path, keep the outdoor coil area free of vegetation and clutter, and clean or replace air filters regularly during the season.
- Professional only: refrigerant piping and handling, pressure testing, system evacuation, accurate refrigerant charging, and high-voltage connections.
Improper evacuation or charge hurts efficiency and can shorten compressor life. Many modern refrigerants are A2L, which are mildly flammable, so leak checks and ignition control belong to trained techs. Always shut off breakers before opening panels. Staying within these roles protects safety and preserves warranties.
Costs, Savings, and How Efficiency Choice Affects Your Bill
For most homes needing 18,000 to 48,000 BTU, installed costs typically run $3,500 to $7,500 for a single-zone and $8,000 to $18,000 for multi-zone whole-home systems. Price is driven by capacity, number of zones, line-set length, electrical work, mounting, and efficiency rating. In our experience at Budget Heating (BudgetHeating.com), moving from SEER 13-14 to about 20 can cut cooling energy around 30%, lowering lifetime energy cost and often paying back in long cooling seasons. Correct sizing and installation are essential or savings drop.
About This Guide: What ‘How to Choose the Right Mini Split Size' Covers
We wrote “How to Choose the Right Mini Split Size for 1,200 to 3,000 Sq Ft Homes” as a practical screening and planning tool. Use it to understand capacity ranges, shape sensible zone layouts, and narrow your short list before any quotes. Work through the recommendations, note what fits your home, then use the homeowner checklist to capture the inputs. With that organized, hire a qualified professional to verify sizing and finalize the equipment and layout.
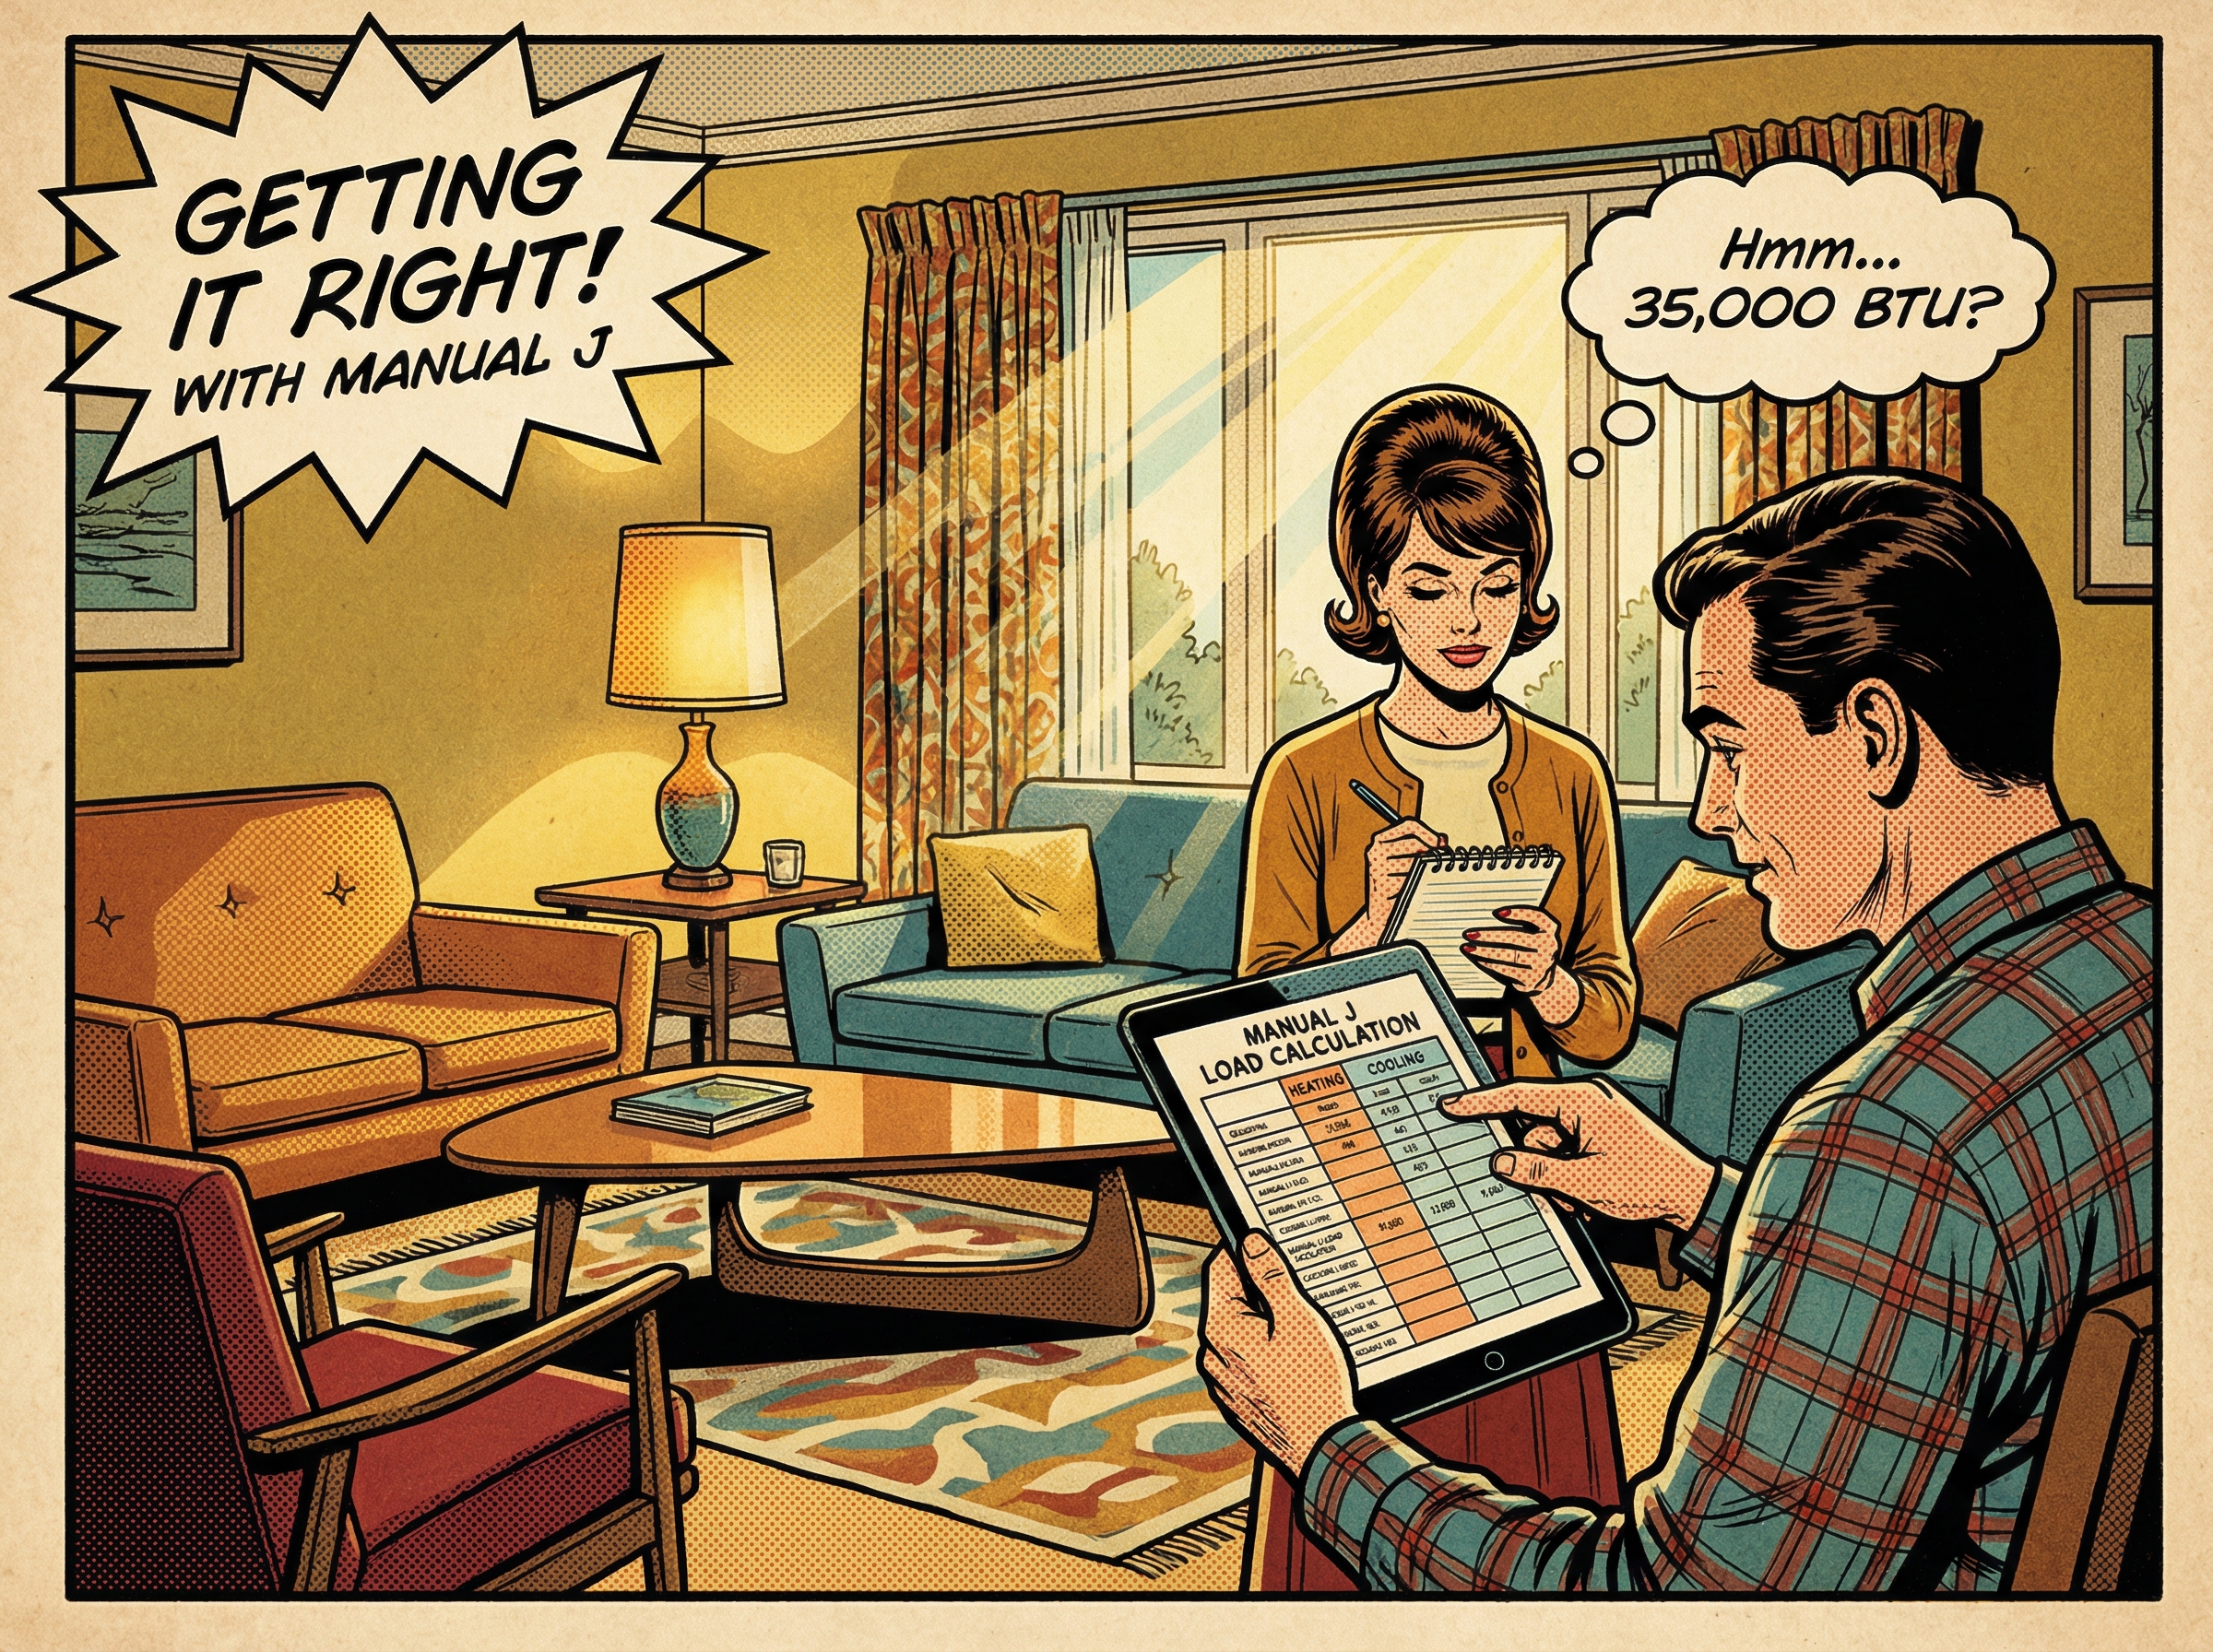
Final Recommendation: Start with a Manual J, Use Multi Zone Design, and Avoid Oversizing
Begin with a professional Manual J, then choose inverter-driven equipment that matches room-by-room loads. Use rules of thumb only as a screen, roughly 20 to 35 BTU per square foot. For 1,200 to 3,000 sq ft homes, a multi-zone layout with multiple indoor heads is typically the most comfortable and efficient. Avoid oversizing, and plan electrical capacity, line sets, and stubs for future expansion.
Every home is different, so right-sizing beats guesswork. Our team has 30+ years matching loads to equipment at wholesale pricing.
- Get a Custom Quote tailored to your home
- Talk to Our Team by phone for real sizing help, U.S.-based support
- Shop Ductless Mini Splits, Heat Pumps, and Multi-zone Systems with free shipping and Affirm financing
 Cooling
 Heating
 Money Saving Tips
 Product and Brands Insights
 Buying Guides
 State by State
 HVAC Systems