Mastering HVAC Efficiency: Why the TXV (Thermostatic Expansion Valve) Matters
Hot and cold spots, sticky indoor air, and rising energy bills often trace back to poor refrigerant control. The thermostatic expansion valve is the small part that makes a big difference. By metering refrigerant into the evaporator and holding a steady superheat, a TXV helps the coil absorb heat and moisture efficiently, keeps suction pressure stable, and shields the compressor from floodback.
Think of it as a smart faucet that opens just enough for the load at that moment. Proper metering matters because an underfed coil wastes capacity and comfort, while an overfed coil risks liquid returning to the compressor and shortens equipment life.
In this guide we draw on field-proven practices with clear, technician-grade steps. We cover what a TXV does, how it works, the benefits you can expect, how to select the right tonnage and refrigerant match, installation basics, superheat setting, plus troubleshooting and maintenance so homeowners and technicians can get reliable results.

What Is a TXV? Definition, Key Parts and the Superheat Concept
A TXV is a thermostatic expansion valve that meters refrigerant into the evaporator based on the conditions it senses. Think of it like a faucet that opens or closes to keep the coil properly fed.
Key parts include the valve body, a sensing bulb with capillary, an internal power element and diaphragm, and, when required, an external equalizer connection for accurate outlet pressure reference.
The TXV targets superheat, the temperature of refrigerant vapor above its saturation point at the evaporator outlet. Holding correct superheat protects the compressor and maintains coil capacity.


How a TXV Works: Metering Refrigerant, Modulating Flow, and Protecting the Compressor
The TXV meters refrigerant by balancing three forces: pressure from the sensing bulb that reflects suction line temperature, evaporator pressure, and a spring setting. When the bulb sees warmer vapor, its pressure rises, the valve opens, and more refrigerant feeds the coil. When vapor cools, pressure drops and the valve pinches down. It is like nudging a faucet to keep the water comfortably warm, not hot or cold.
This continuous modulation targets stable evaporator superheat, so the coil stays in its sweet spot as loads and airflow change. In our experience at Budget Heating (BudgetHeating.com), that steadiness limits liquid floodback to the compressor and also prevents a starved coil that drives discharge temperatures too high. The result is smoother operation and better long term reliability, because the compressor is not hammered by liquid or excess heat.
TXV's Role in System Efficiency, Comfort and Capacity
With correct refrigerant metering, a TXV keeps the evaporator properly fed from end to end. That maximizes heat transfer, so the compressor does not have to work as hard to deliver the same cooling or heating. The cycle stays in its efficient range, which lowers energy use and helps the system maintain capacity as indoor loads and outdoor temperatures shift. By holding stable superheat, the coil remains fully active, not starved or flooded, and overall efficiency rises.
At part load, the valve modulates like a dimmer switch, matching coil feed to the actual load and avoiding short cycling. In our experience at Budget Heating (BudgetHeating.com), this steadier operation reduces temperature swings and hot or cold spots, and it removes more moisture for drier, less clammy air. The result is quiet, consistent comfort with capacity that holds up whether it is a mild morning or a sweltering afternoon.
When a TXV May Not Be the Best Choice: Honest Limits and Practical Alternatives
From years in the field, we see situations where a TXV is not the right fit. In very cold climates, capacity and comfort often drop as outdoor temperatures fall, so a gas furnace or a properly sized cold-climate heat pump is usually the better primary heat source. On simple, budget systems with steady loads, a fixed orifice or an EEV can be the smarter, lower cost match.
- Myth: TXVs fail often. Reality: they are not frequent wear items.
- Myth: more refrigerant means more cooling. Reality: overcharge cuts performance.
- Myth: the valve sets room temp. Reality: the thermostat does.
- Correct installation and airflow matter more than the valve alone.
TXV vs Fixed Orifice, Piston and Electronic Expansion Valves: Pros, Cons and When to Choose Each
In our field experience, TXVs deliver steadier evaporator performance across changing conditions because they modulate flow, while fixed orifice and piston devices are tuned for a narrow window. Swapping a fixed orifice for a TXV typically lifts seasonal efficiency by about 10 percent, with outsized gains in hot, humid regions. EEVs add even finer control, but extra cost, electronics, and commissioning can outweigh benefits in many residential or light commercial installs.
- Choose fixed orifice: lowest first cost, stable climates, simple single stage systems.
- Choose TXV: mixed weather, long line sets, tighter humidity targets, retrofit upgrades.
- Choose EEV: premium variable speed or high performance systems where precision is critical.
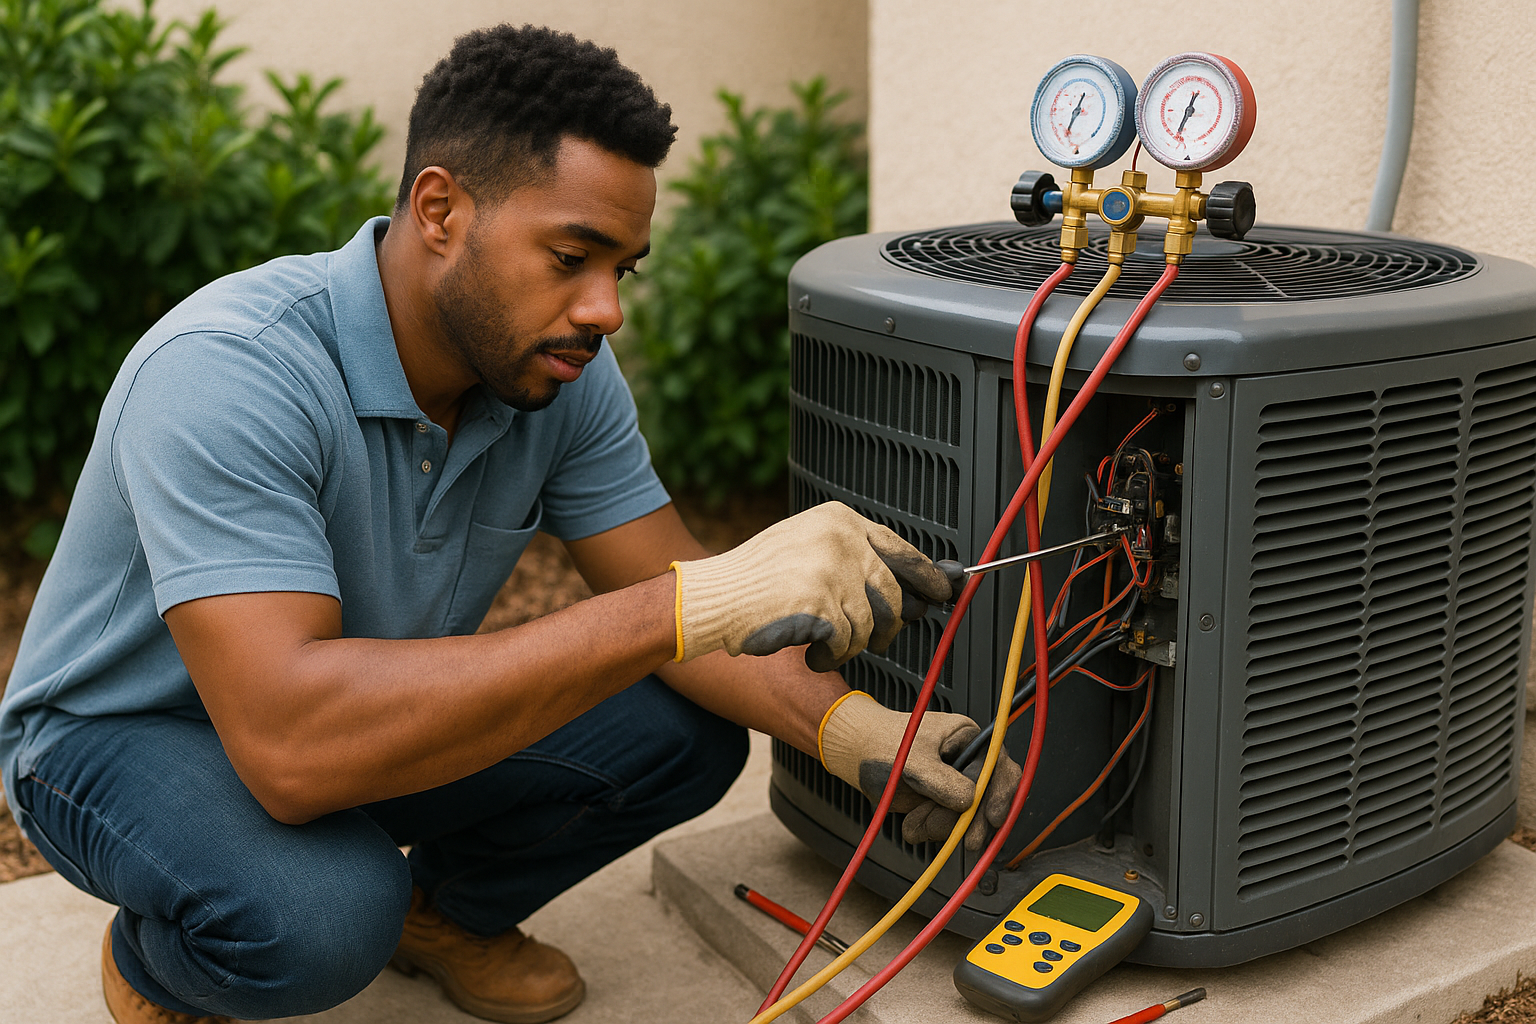
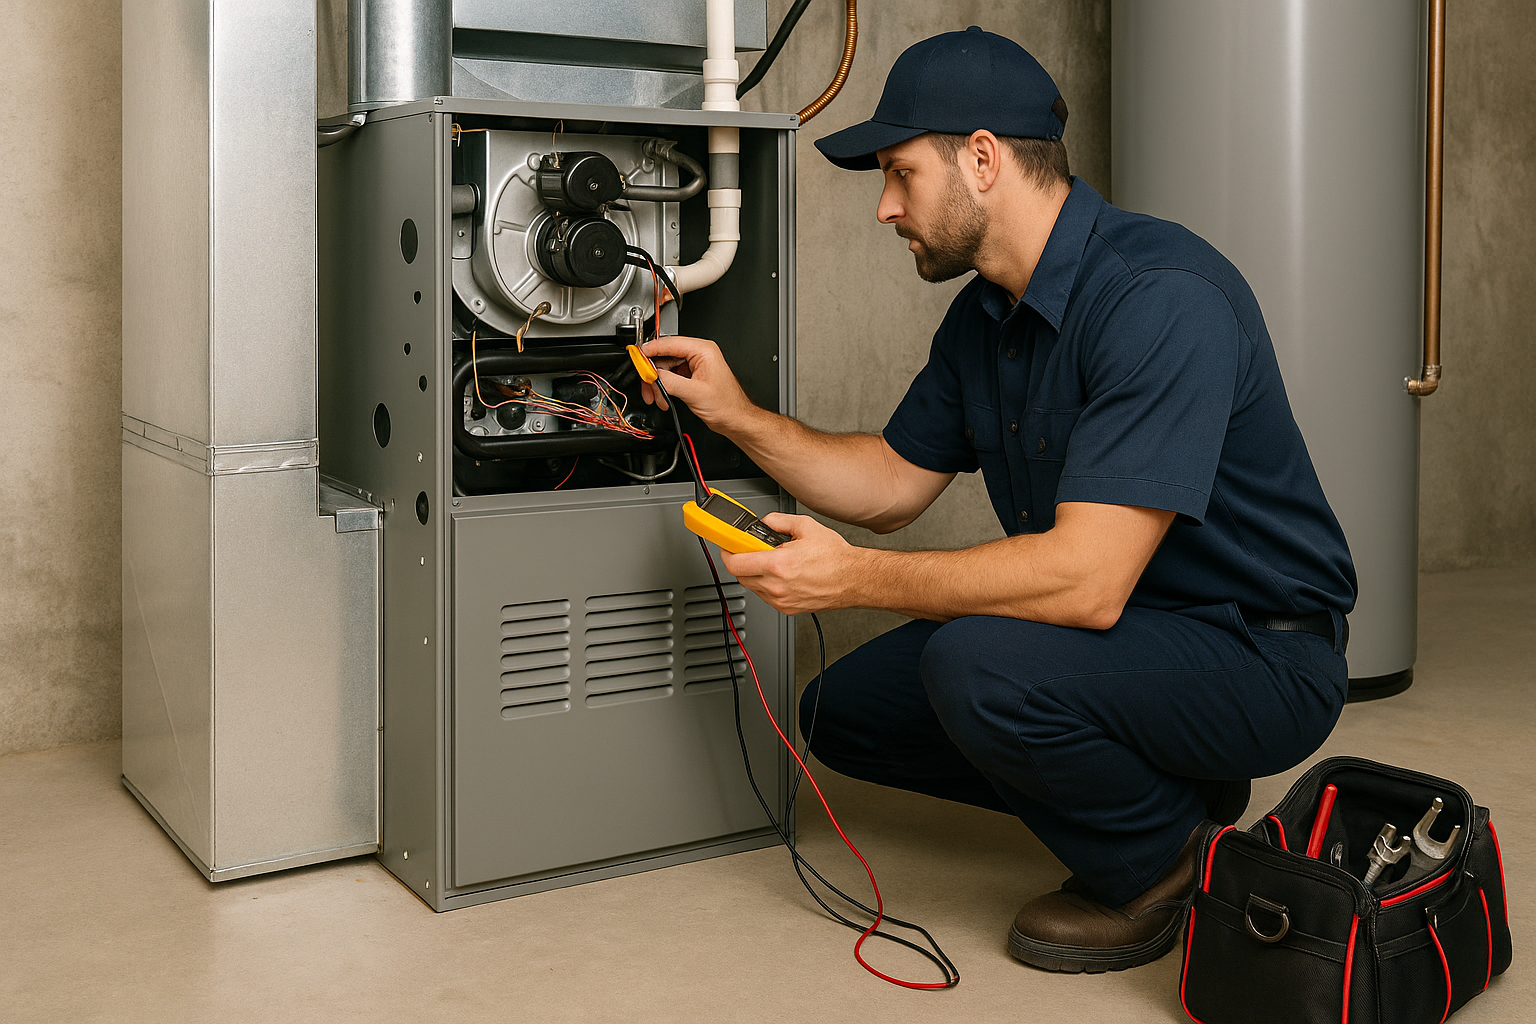
Installation Checklist: Best Practices, Commissioning Steps and Common Pitfalls
- Airflow first: set correct fan speed, clean filters and coils before commissioning. TXV control needs proper airflow.
- Valve selection: match refrigerant and capacity, choose external or internal equalization per OEM.
- Sensing bulb: tight contact on the suction line, firm clamp, secure capillary, insulate to prevent hunting.
- Refrigerant prep: recover, pressure test, evacuate to about 500 microns and hold.
- Charge and verify: weigh in the final charge, then record superheat and subcooling with indoor and outdoor conditions.
- Compliance and pitfalls: confirm OEM instructions, AHRI match and regional rules, some installs need a field installed TXV to preserve SEER2. Avoid guessing charge, weak vacuum, leaks, dirty coils, loose or uninsulated bulbs.
TXVs and SEER/SEER2: Regulatory Context and Real World Energy Impact
SEER is the seasonal efficiency label used for years. SEER2 is the post 2023 label created under the DOE M1 test. It uses higher external static pressure that mirrors real ducts, so numbers look lower but reflect performance more accurately. When DOE M1 took effect on Jan 1, 2023, manufacturers had to redesign matched systems. TXVs were widely adopted to meet the new constraints and preserve rated capacity and efficiency under SEER2.
Moving from 10 to 13 SEER yields about a 23% efficiency gain. Going from 13 to 16 adds roughly another 23%. In practice that means about 23% less kWh for the same cooling at each step, which reduces bills and helps equipment qualify for compliance thresholds. Some regions and incentive programs require or strongly recommend TXVs to achieve the labeled SEER2 or HSPF2 on the rating plate. We have seen that pairing the correct TXV with the rated coil and condenser is often the difference between passing and missing program criteria.
Homeowner & Contractor Checklist: Retrofit Decisions, Pre Visit Prep and Ongoing Care
- Decide TXV: better humidity, variable loads, hot or humid climate, or during coil or compressor replacement.
- Select: match refrigerant (R 410A or R 22), system tonnage, and whether the coil needs an externally equalized valve.
- Pre visit: clean or replace filters, open registers, clear the outdoor unit, note icing, poor humidity, uneven temps.
- Ask & accept: sensing bulb mounting, superheat target and proof, proper recovery/evac, weigh in charge, warranties; then verify bulb placement, superheat/subcooling in OEM range, no liquid floodback, charge documented.
- Care & value: filters regularly, coils yearly, documented superheat/subcooling checks. TXV cost is often repaid over seasons, with payback tied to climate and runtime.
Conclusion: Realizing Energy, Comfort and Reliability Gains with a Properly Selected and Installed TXV
A correctly chosen and installed TXV modulates flow to hold target superheat, boosting heat transfer, dehumidification, and compressor protection while adapting to load. With proper charge, airflow, and maintenance, it drives higher SEER and SEER2, trims operating cost, and lowers CO2 to align with stricter efficiency programs.
Whether you plan an audit, a retrofit, or a new install, and intend to monitor performance, the small details decide the gains.
Since 1992 our U.S.-based team has sized, supplied, and supported systems so the TXV performs as rated. Let us help you capture the efficiency you paid for.
- Get a Custom Quote for TXV upgrades or matched systems.
- Talk to Our Team by phone for sizing and setup.
- Shop TXVs and AC components at wholesale pricing.