HVAC Systems for High Altitude Homes: Why Altitude Matters
At higher elevations, air is thinner, daily temperatures swing wider, and humidity runs low. Conventional heating and cooling can work harder, and often less efficiently. This guide explains how elevation changes the playbook: how to choose the right equipment, size it correctly, install it for local conditions, maintain it through the seasons, and handle emergency service when weather turns fast. It is written for homeowners in mountain communities, vacation property owners, builders, and facility managers who operate above the plains, and for installers planning projects in those areas. We focus on practical, field tested considerations you can use to avoid comfort gaps, unnecessary energy use, and premature wear. Whether you are evaluating a new system, replacing an older one, or trying to get more from what you have, the sections ahead outline what matters most at altitude, and why it differs from the lowlands.
How High Elevation Affects HVAC Performance: Air Density, Combustion & Refrigerant Behavior
At higher elevations the air is thinner. Fans move the same volume, but less mass, so coils exchange less heat and rooms take longer to warm or cool. With less oxygen, gas combustion runs richer unless appliances are derated and tuned for altitude. Convection and conduction both drop, which lowers furnace and boiler output compared to sea level. Refrigeration circuits feel it too: lower ambient pressure reduces suction density and compressor mass flow, so capacity and COP decline. Cooler average temperatures, wider day to night swings, and lower absolute humidity add more variables for controls, defrost timing, and indoor comfort.
Ductwork and air distribution play a bigger role. To deliver the same Btus, plan for larger ducts or higher fan speeds, then balance static pressure to avoid noise and short cycling. Ventilation should not waste precious heat or moisture. HRVs recover sensible heat in cold, dry air and are a solid baseline. ERVs go further by transferring some moisture, which helps prevent over drying in winter and taming indoor swings during shoulder seasons. Filtration and frost control in the ventilator matter because outdoor air is colder and drier for longer periods.
- Derate and tune gas appliances, and verify proper combustion air and orifice sizing.
- Select heat pumps with cold climate ratings, larger coils, and variable speed capacity.
- Design ducts for lower static pressure with verified airflow at registers.
- Use HRV or ERV ventilation with balanced flows, defrost, and easy maintenance filters.
- Employ smart controls: outdoor reset, humidity targets, and staged or modulating operation.
- Leverage stronger solar radiation at altitude with winter glazing gains and PV or solar thermal support, while adding summer shading.
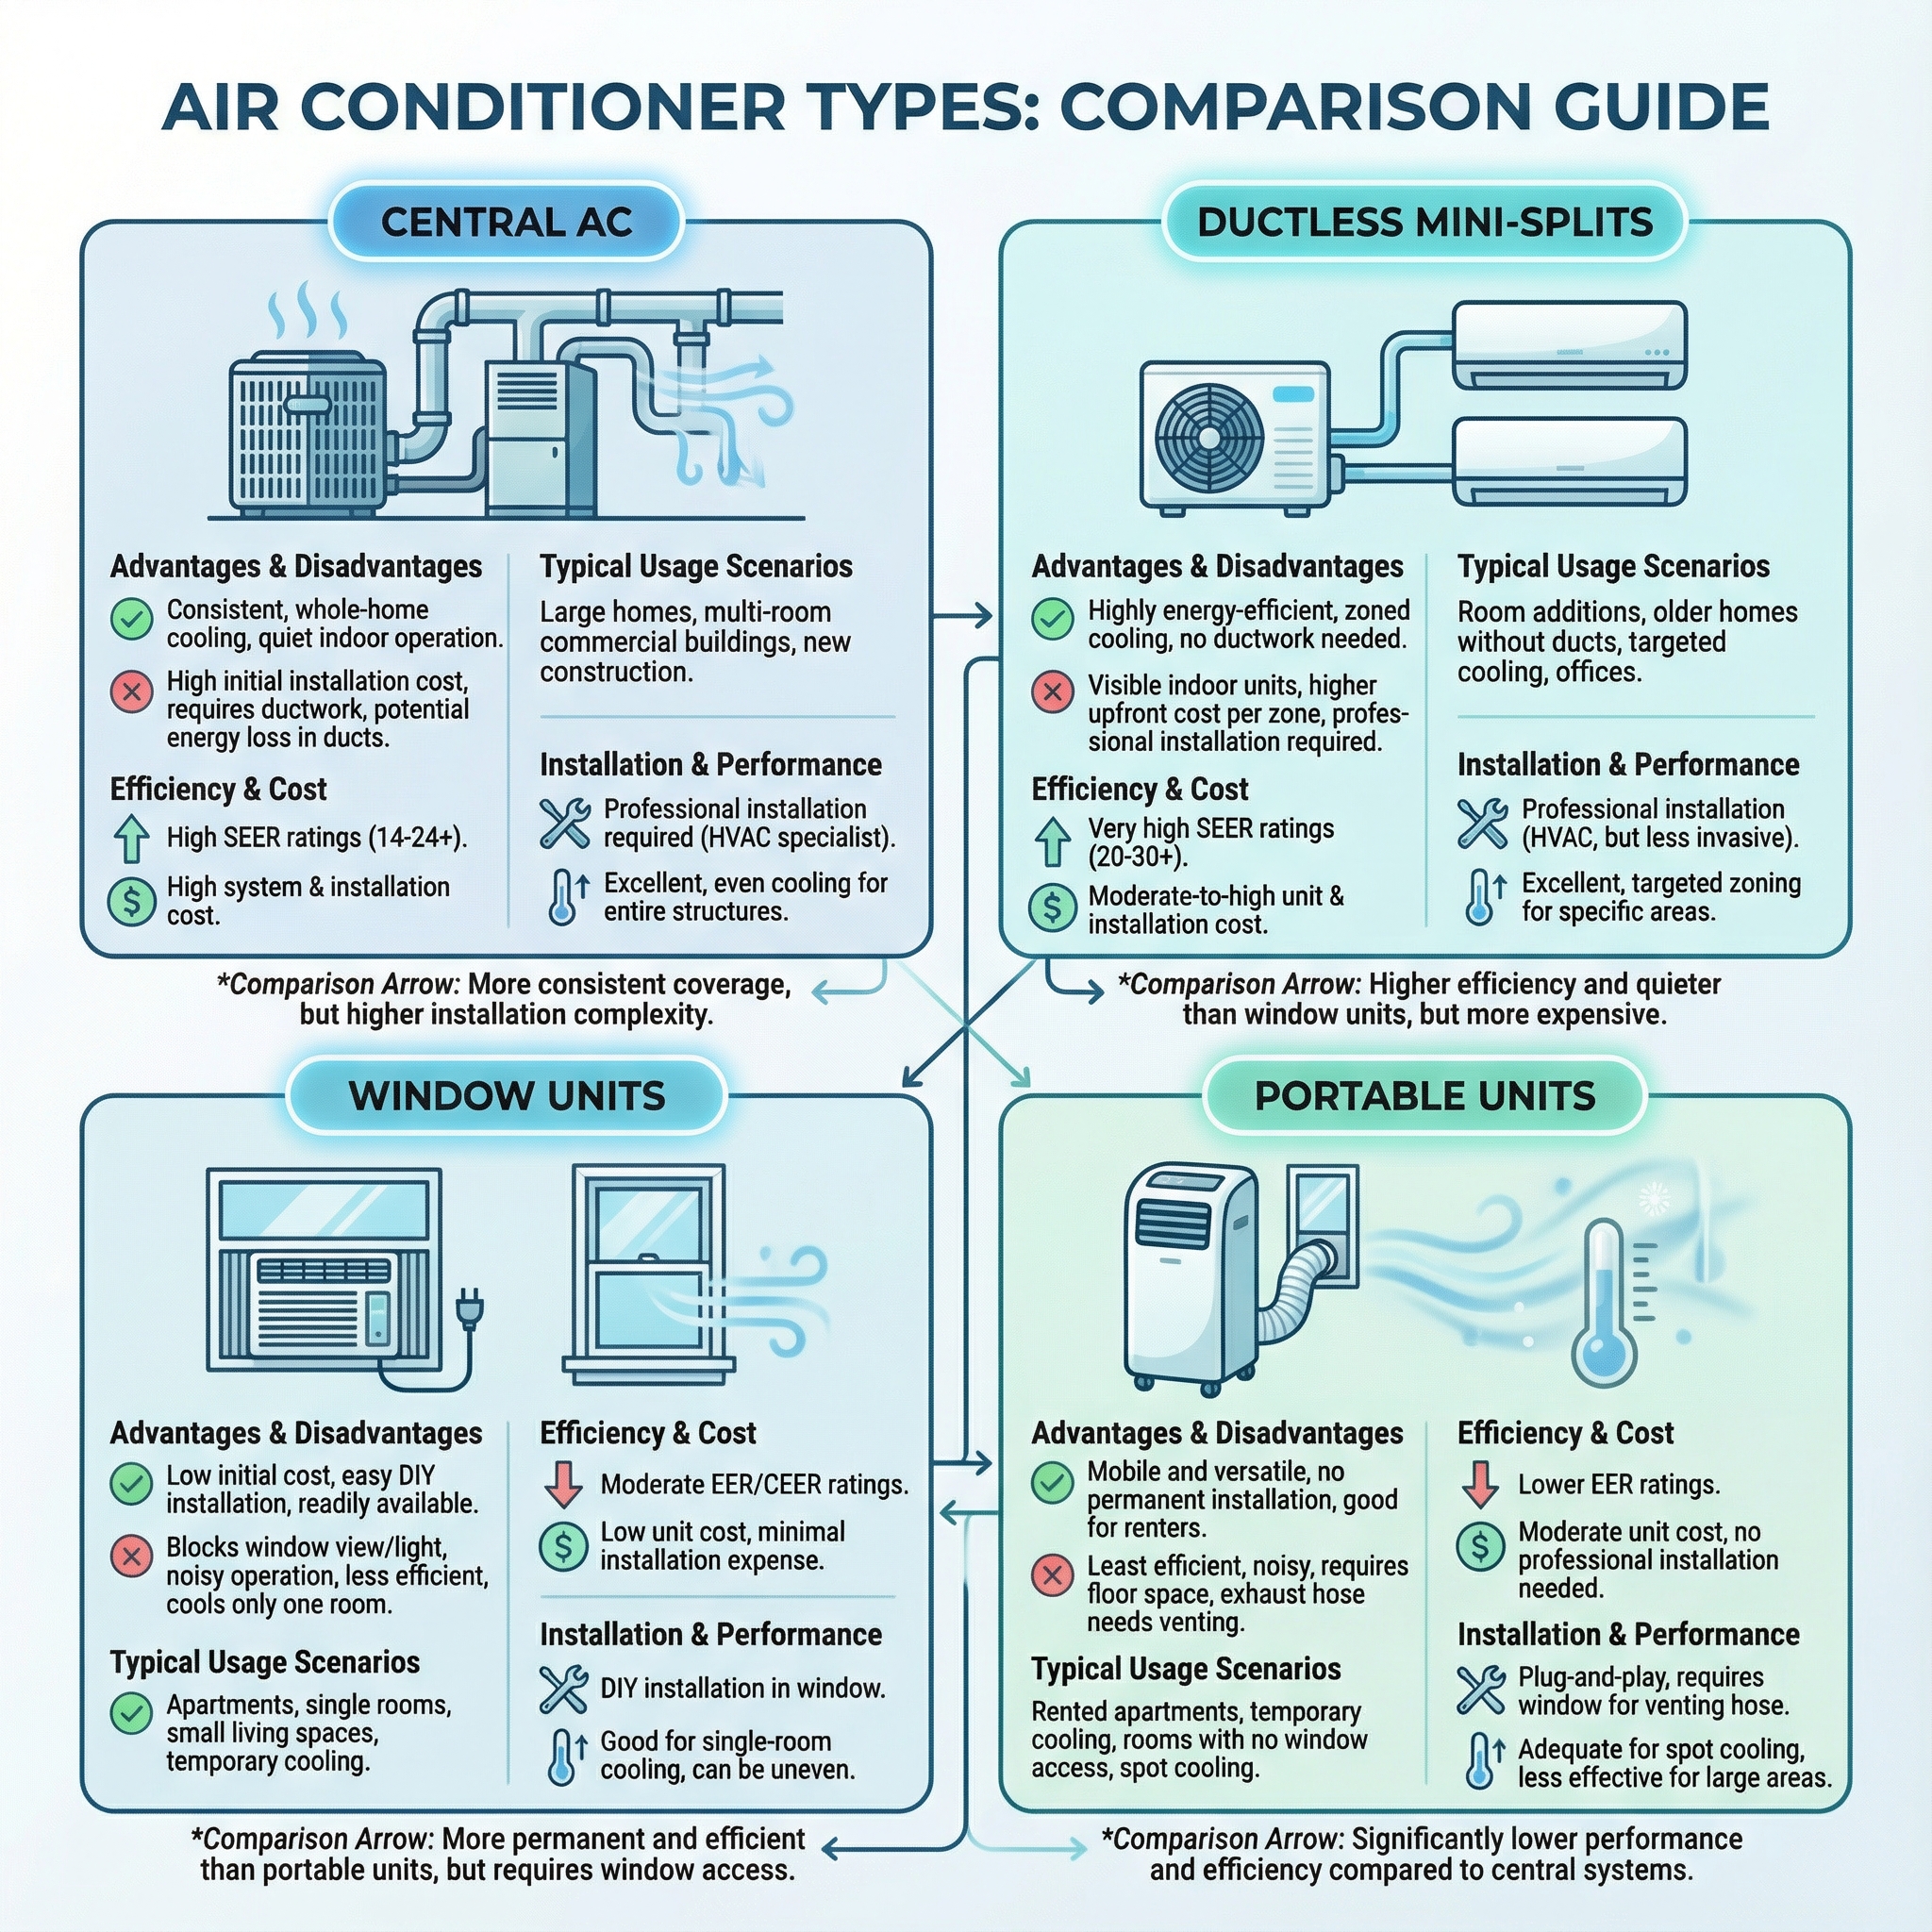
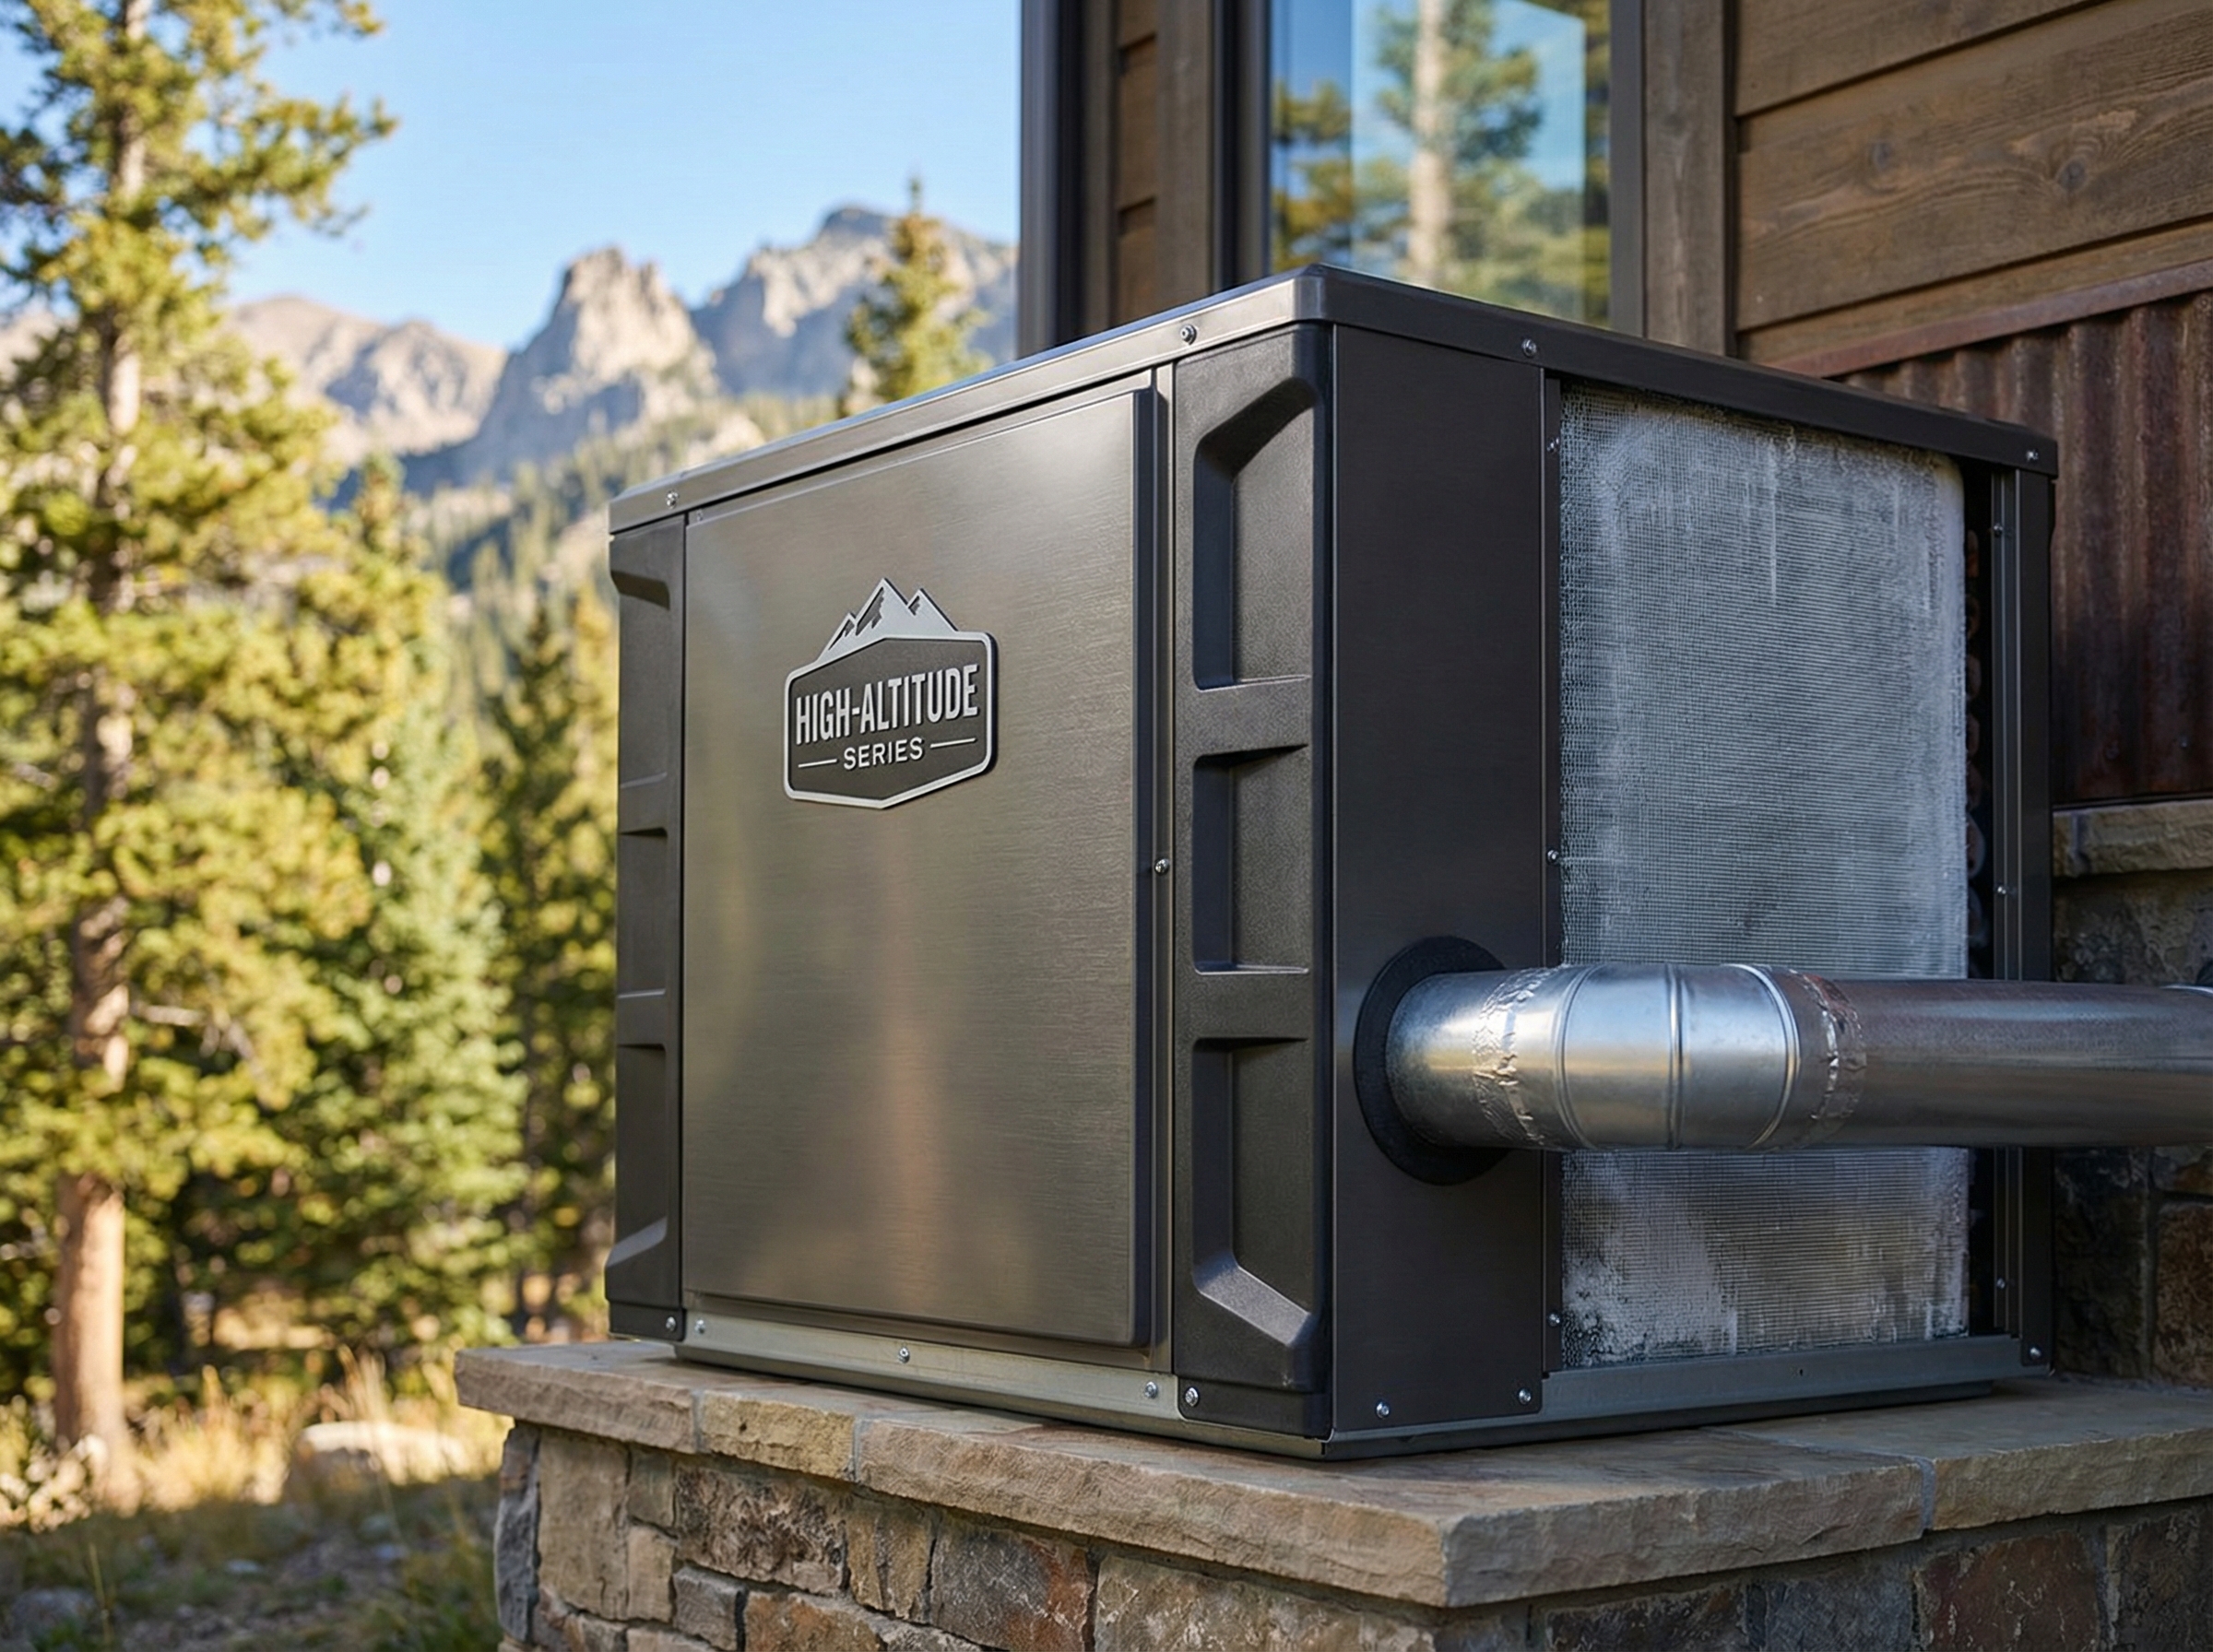
Common HVAC Types for Mountain Homes: Furnaces, Boilers, Heat Pumps, Mini Splits & Packaged Units
- Furnaces: Gas or propane forced air for cold climates. Confirm elevation rating, required high altitude orifice or kit, sealed combustion, and derate settings.
- Boilers: Hydronic heat for radiant floors or baseboard. Verify burner setup, vent sizing, and glycol for freeze protection.
- Heat pumps: Electric systems that move heat with refrigerant. Choose cold climate models with low ambient capacity at your altitude, and plan defrost and backup heat.
- Mini splits: Ductless heat pumps for zoned spaces or additions. Use cold climate outdoor units and add drain pan heat in deep cold.
- Packaged units: All in one rooftop or pad systems. For gas sections use altitude kits, for heat pump sections verify charge and airflow.
Homeowner checklist: in heating dominant mountain areas consider high efficiency furnaces or cold climate heat pumps, with dual fuel as an option. Always verify manufacturer elevation ratings and any required high altitude kits before purchase.

Sizing & Capacity at Altitude: Manual J, Derating & Why Oversizing Fails
Correct sizing in mountain climates starts with Manual J, not a square foot shortcut. We calculate room by room heating loss and cooling gain using local design temperatures for your elevation, construction details, window performance, orientation, infiltration, and internal loads. In our field experience, that load number is the only reliable target to match equipment against, because capacity needs at altitude differ from the same home at sea level.
Once the load is known, we apply manufacturer altitude derating. Heat pumps and air conditioners lose capacity as elevation rises, and gas furnaces require adjusted input and often specific high altitude kits above certain elevations. We size to the derated capacity on the submittal data, not the nameplate, so the delivered Btu and airflow will meet the Manual J load on the coldest and hottest design days. Selection also must respect regional codes and DOE SEER2 and HSPF2 standards to stay compliant in mountain regions.
Oversizing looks safe, but it usually backfires. It is like buying boots two sizes too big, you trip instead of walk. Typical results we see:
- Short cycling, temperature swings, and noisy starts
- Poor dehumidification in summer, clammy rooms
- Higher duct static, drafts, and comfort complaints
- Lower part load efficiency and unnecessary electric strip heat use
- Potential compliance issues with matched SEER2 or HSPF2 ratings
Right size, then select the model that delivers the derated capacity at your altitude.
When High Altitude HVAC Isn't the Best Choice: Myths, Tradeoffs & Alternatives
At altitude we see familiar pitfalls. Oversizing to compensate for thin air causes short cycling and uneven comfort. Run a Manual J load instead of guessing. Refrigerant is not consumable, if charge is low there is a leak, repair it and weigh in the charge. SEER is a lab rating, not an exact promise at elevation, use it only for comparisons and confirm manufacturer altitude limits for capacity and charging. Skip duct tape for sealing, it dries and lifts, use mastic or UL 181 foil tape.
When is conventional forced air not the best fit? At very high elevations near or beyond listed limits, or where winter lows are severe, a hybrid system with furnace backup or hydronic radiant heat is often more reliable. Homes with leaky or inaccessible ducts may be better served by radiant floors plus a wood stove for peak loads. Off grid or limited power sites tend to favor wood heat as primary, with a small hybrid setup for shoulder seasons.
Choosing the Best Residential HVAC System for High Altitude Properties
At elevation, selection is only half the story. The win comes from altitude savvy installation, setup, and controls that keep comfort steady despite thinner, drier air. Use these priorities to compare proposals and avoid common pitfalls.
- Prefer variable speed equipment. Variable speed compressors and blowers act like a dimmer switch, not a simple on or off. They run longer at lower capacity to smooth temperature swings, improve part load efficiency, and fine tune airflow for better comfort at altitude.
- Make humidity control part of the plan. Dry winters and big daytime swings call for a defined humidification and dehumidification strategy. Pair equipment with controls that can manage indoor moisture, coordinate fan speeds, and prevent over or under humidifying.
- Choose smart controls that manage staging and airflow. Look for thermostats that can schedule, monitor, and adjust fan profiles, as well as integrate humidity. This helps maintain set points and avoids short cycling.
- Check the efficiency metrics you are paying for. Match SEER2, HSPF2, and AFUE ratings to your climate and usage, then verify the proposal includes commissioning steps for your elevation and a proper load calculation.
In our experience at Budget Heating (BudgetHeating.com), variable speed systems paired with capable controls consistently deliver the most comfortable high altitude homes when commissioned for the site.
Protect the investment with twice yearly maintenance, and handle simple tasks like timely filter changes. Those small steps keep airflow on target and preserve the efficiency you selected on paper.
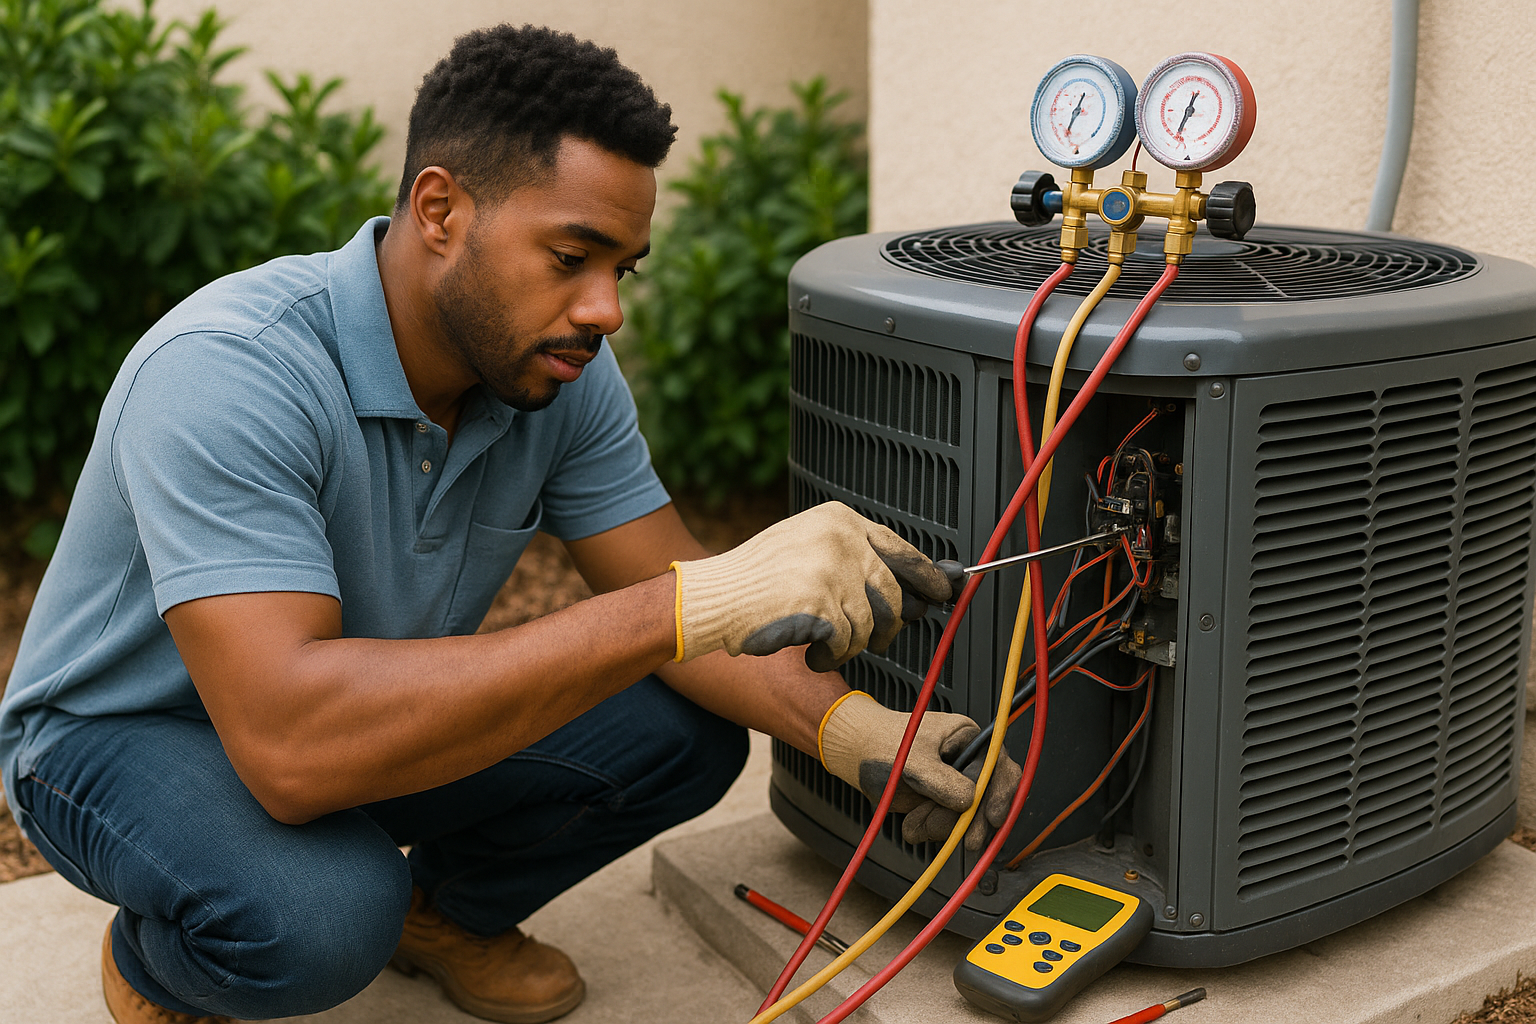
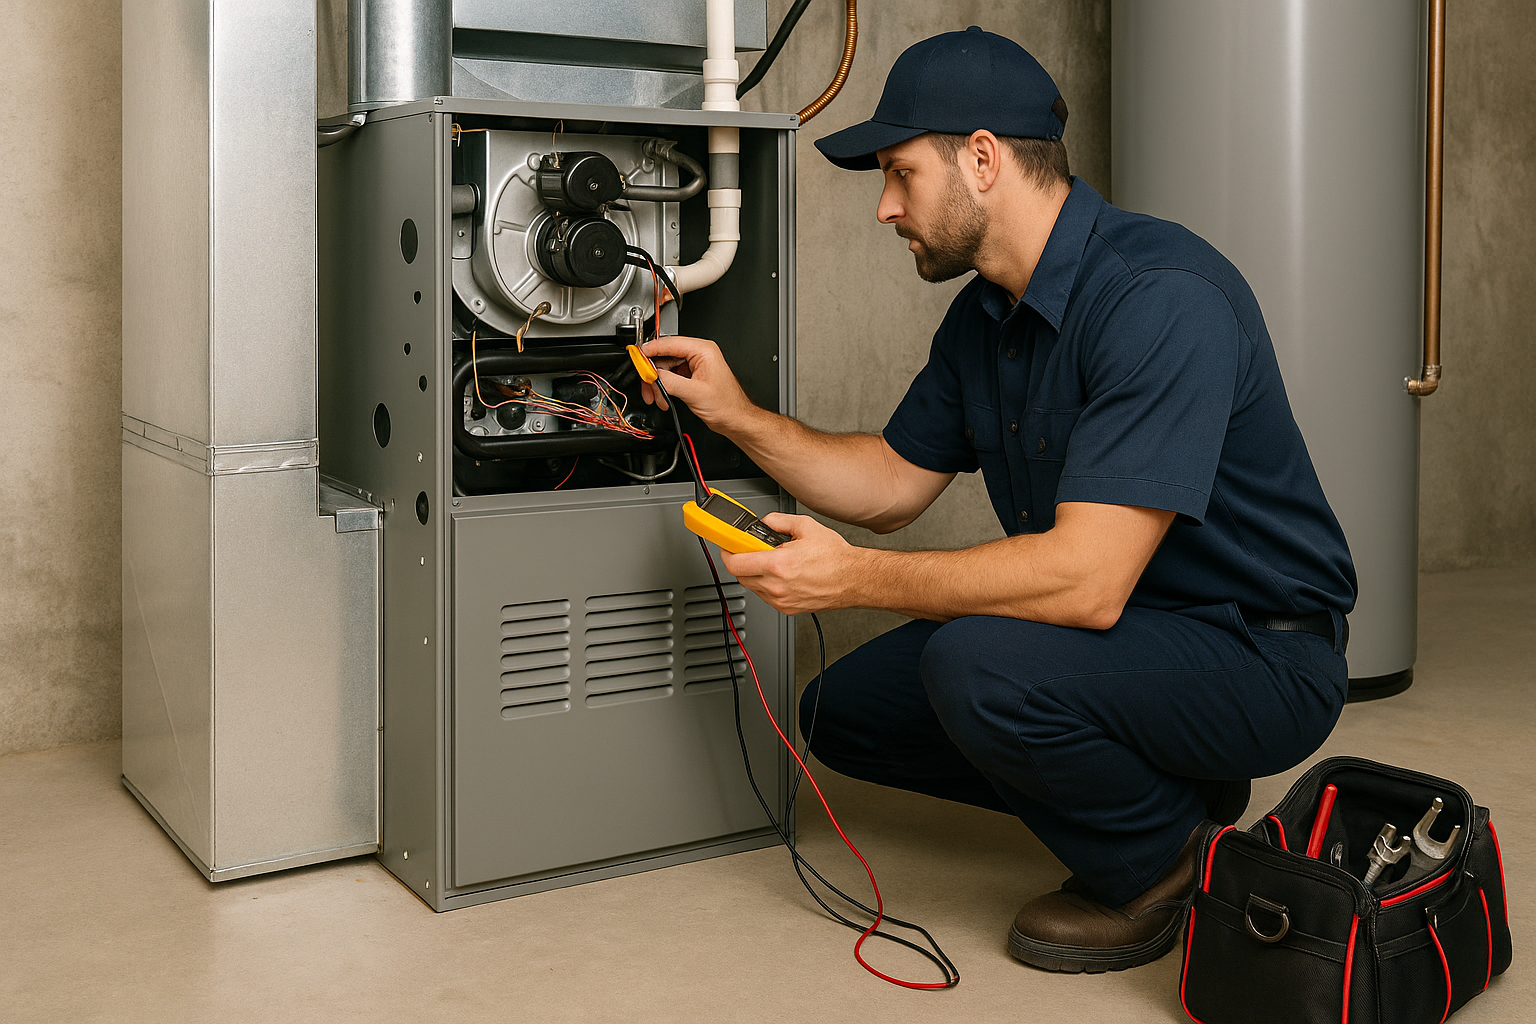
Fuel & Combustion Considerations: Gas, Propane & Sealed Combustion Choices at Elevation
Sealed-combustion/direct-vent systems draw combustion air from outdoors and send exhaust outdoors in a closed loop, so the burner is isolated from indoor air. Think of it as giving the appliance its own outside straw, which lowers backdraft risk and sharply reduces the chance of carbon monoxide entering living spaces. That is why we prefer these units at elevation. Power-venting provides controlled exhaust flow that is less sensitive to site conditions. Many gas and propane appliances carry altitude limits or require manufacturer kits and precise air-to-fuel calibration. Those steps are vital for stable ignition, clean flame, and nameplate output.
- Homeowner tasks: change or wash filters on schedule, and keep intake and exhaust terminals clear of snow, leaves, and ice. We recommend CO detection in the home.
- Licensed technician tasks: all electrical, refrigerant, and combustion adjustments, including installing altitude kits and calibrating air-to-fuel ratios with proper instruments. We recommend twice-yearly professional tune-ups.
Heat Pump Performance at Elevation & Cold Climate Solutions
Mountain altitude changes real-world capacity and run time, so expect less output and more run time. Cold-climate inverter heat pumps help by modulating speed to hold capacity in thin air and at low outdoor temps.
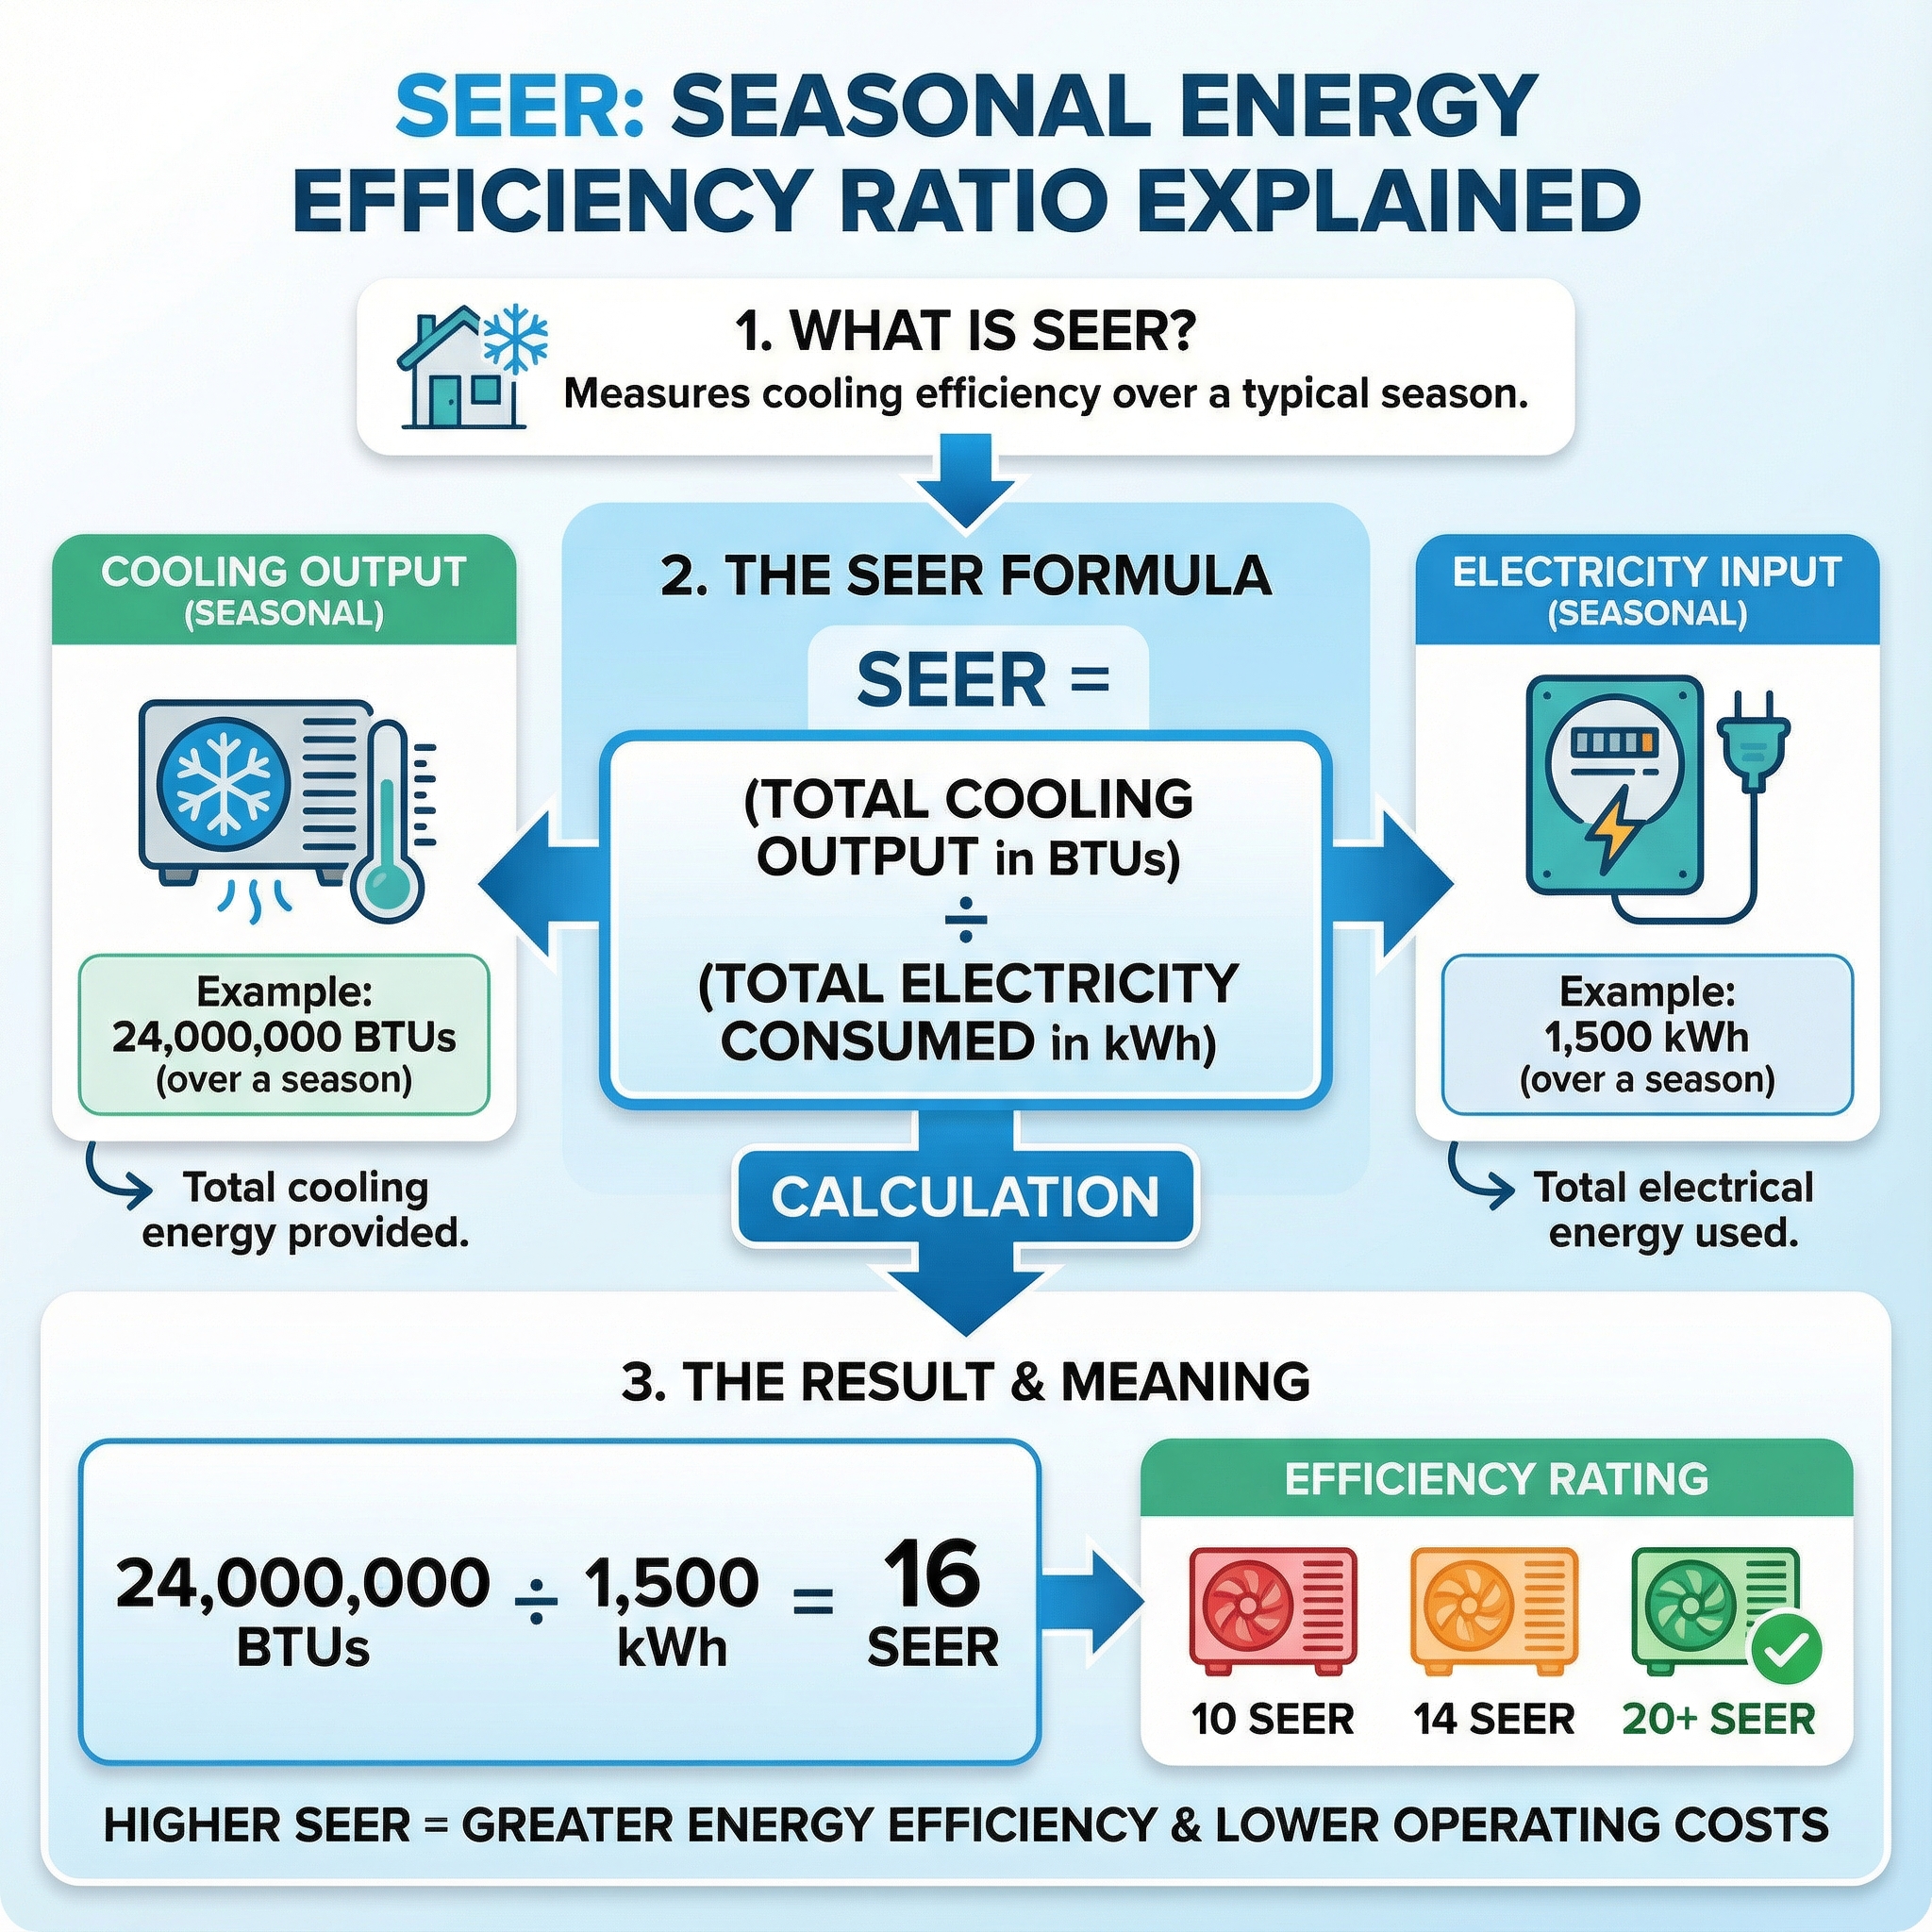
Know the ratings: SEER2 is the updated seasonal cooling metric that better reflects real ductwork and static pressure. SEER2 numbers run lower than old SEER for the same unit. Think of it like miles per gallon across a mixed route. EER2 is the single-point efficiency at a 95°F test, handy for hot, sunny afternoons at elevation. For heating, HSPF2 is the seasonal yardstick, but do not stop there, always review the manufacturer's low-ambient and altitude performance tables.
In our experience at Budget Heating (BudgetHeating.com), premium models on the ENERGY STAR Most Efficient list tend to keep stronger low-temp capacity. Match DOE SEER2/EER2/HSPF2 minimums, then select a cold-climate inverter with proven capacity at your site's altitude.
Costs, Energy Efficiency & Incentives for High Altitude HVAC Upgrades
In higher elevation markets, high efficiency equipment often carries a modest upfront premium, but operating savings usually outweigh it. Upgrading from an older low SEER system to a high SEER2 model typically trims cooling bills by about 300 to 900 dollars per year, depending on climate. Routine maintenance makes a measurable difference: clean filters and sealed ducts can cut HVAC energy use another 10 to 15 percent. To offset purchase price, check federal and state incentive portals, including Inflation Reduction Act tax credits. With 30+ years in HVAC, we see paybacks land faster in hotter summers or longer shoulder seasons, while high altitude simply heightens the value of right sized, efficient equipment.
Next Steps: Getting a High Altitude HVAC Assessment and Quote
Elevation changes how equipment breathes and moves heat, so your bid needs to prove it is sized and tuned for your address. Your checklist: verify every proposal lists your elevation and model compatibility, insist on a Manual J that includes altitude, request documentation for altitude kits and combustion tuning, schedule pre winter and pre summer service, and use CO detectors on each level.
We know this is a big decision and mountain climates add variables many bids skip. With 30+ years in HVAC, 200,000+ orders fulfilled, and U.S.-based technical support, we build altitude into every quote and back it with full manufacturer warranties.
Ready to move from guesswork to a plan that fits your home? Start with a quick site assessment and we will price, specify, and verify the right equipment and any required kits.
- Get a Custom Quote
- Talk to Our Team by phone for an altitude-ready assessment
- Shop Gas Furnaces
- Shop Heat Pumps