Common AC Problems: What to Watch For and Where to Start
Air conditioners usually hint at trouble before they quit. In our experience, early symptoms are your best clues and simple, safe checks often restore normal operation. Watch for weak or warm airflow, rooms that never cool, strange noises or musty smells, ice on coils or lines, water pooling, or sudden energy bill spikes. Ignoring these tends to raise costs and shorten component life.
- Weak or warm airflow
- Rooms that never cool or uneven temperatures
- Rattles, squeals, or grinding noises
- Musty odors at startup
- Ice on indoor or outdoor lines
- Water near the unit or inside a vehicle cabin
- Unexplained utility bill increases
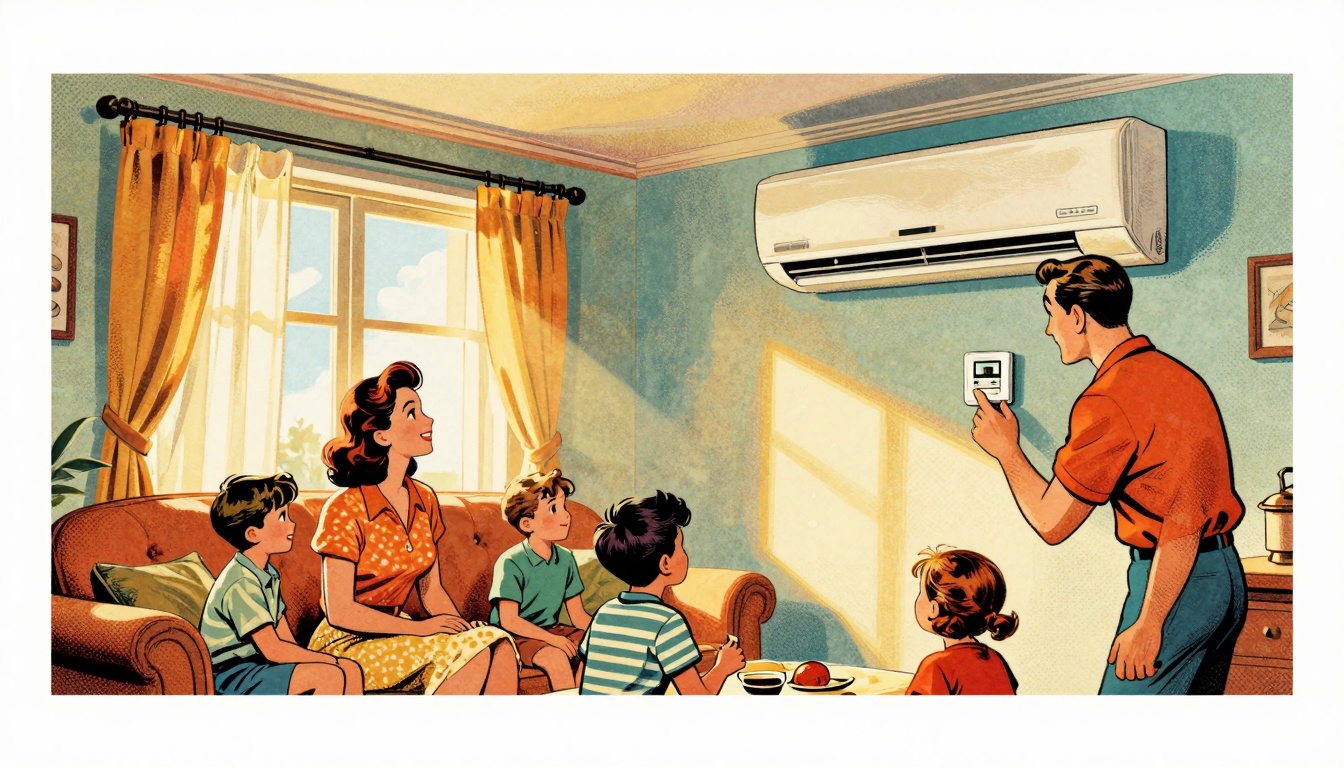
Home AC quick checks: confirm the thermostat is on Cool with a lower setpoint, replace a dirty air filter, verify breakers are on, clear leaves around the outdoor unit, make sure supply and return vents are open, and clear a clogged condensate drain. If you see ice, turn the system off and run the fan to thaw. A clogged filter feels like breathing through a scarf, airflow drops fast.
Vehicle AC quick checks: ensure the A/C button and fan speeds work, try Recirculate for faster cooling, replace the cabin air filter, clear debris from the front condenser, observe the compressor clutch engaging, and check related fuses. Water dripping under the passenger side is normal, water on the floor points to a blocked drain.
Quick overview: Easy DIY checks vs. problems that need a pro
Think triage: we start with low risk steps you can do in minutes. Confirm the thermostat is in the correct mode for the season and that the setpoint is actually calling for heating or cooling. Check the air filter, replace or inspect it, and if it is dirty replace it. Walk the space and make sure supply and return vents are open and not blocked by furniture or rugs.
If performance is still off after those basics, stop and bring in a licensed technician. That is the safer path if you encounter electrical faults, refrigerant concerns, repeated freezing, tripped breakers, burning smells, or large water leaks.
Top symptoms to watch for: No cold air, weak airflow, strange smells, noises and leaks
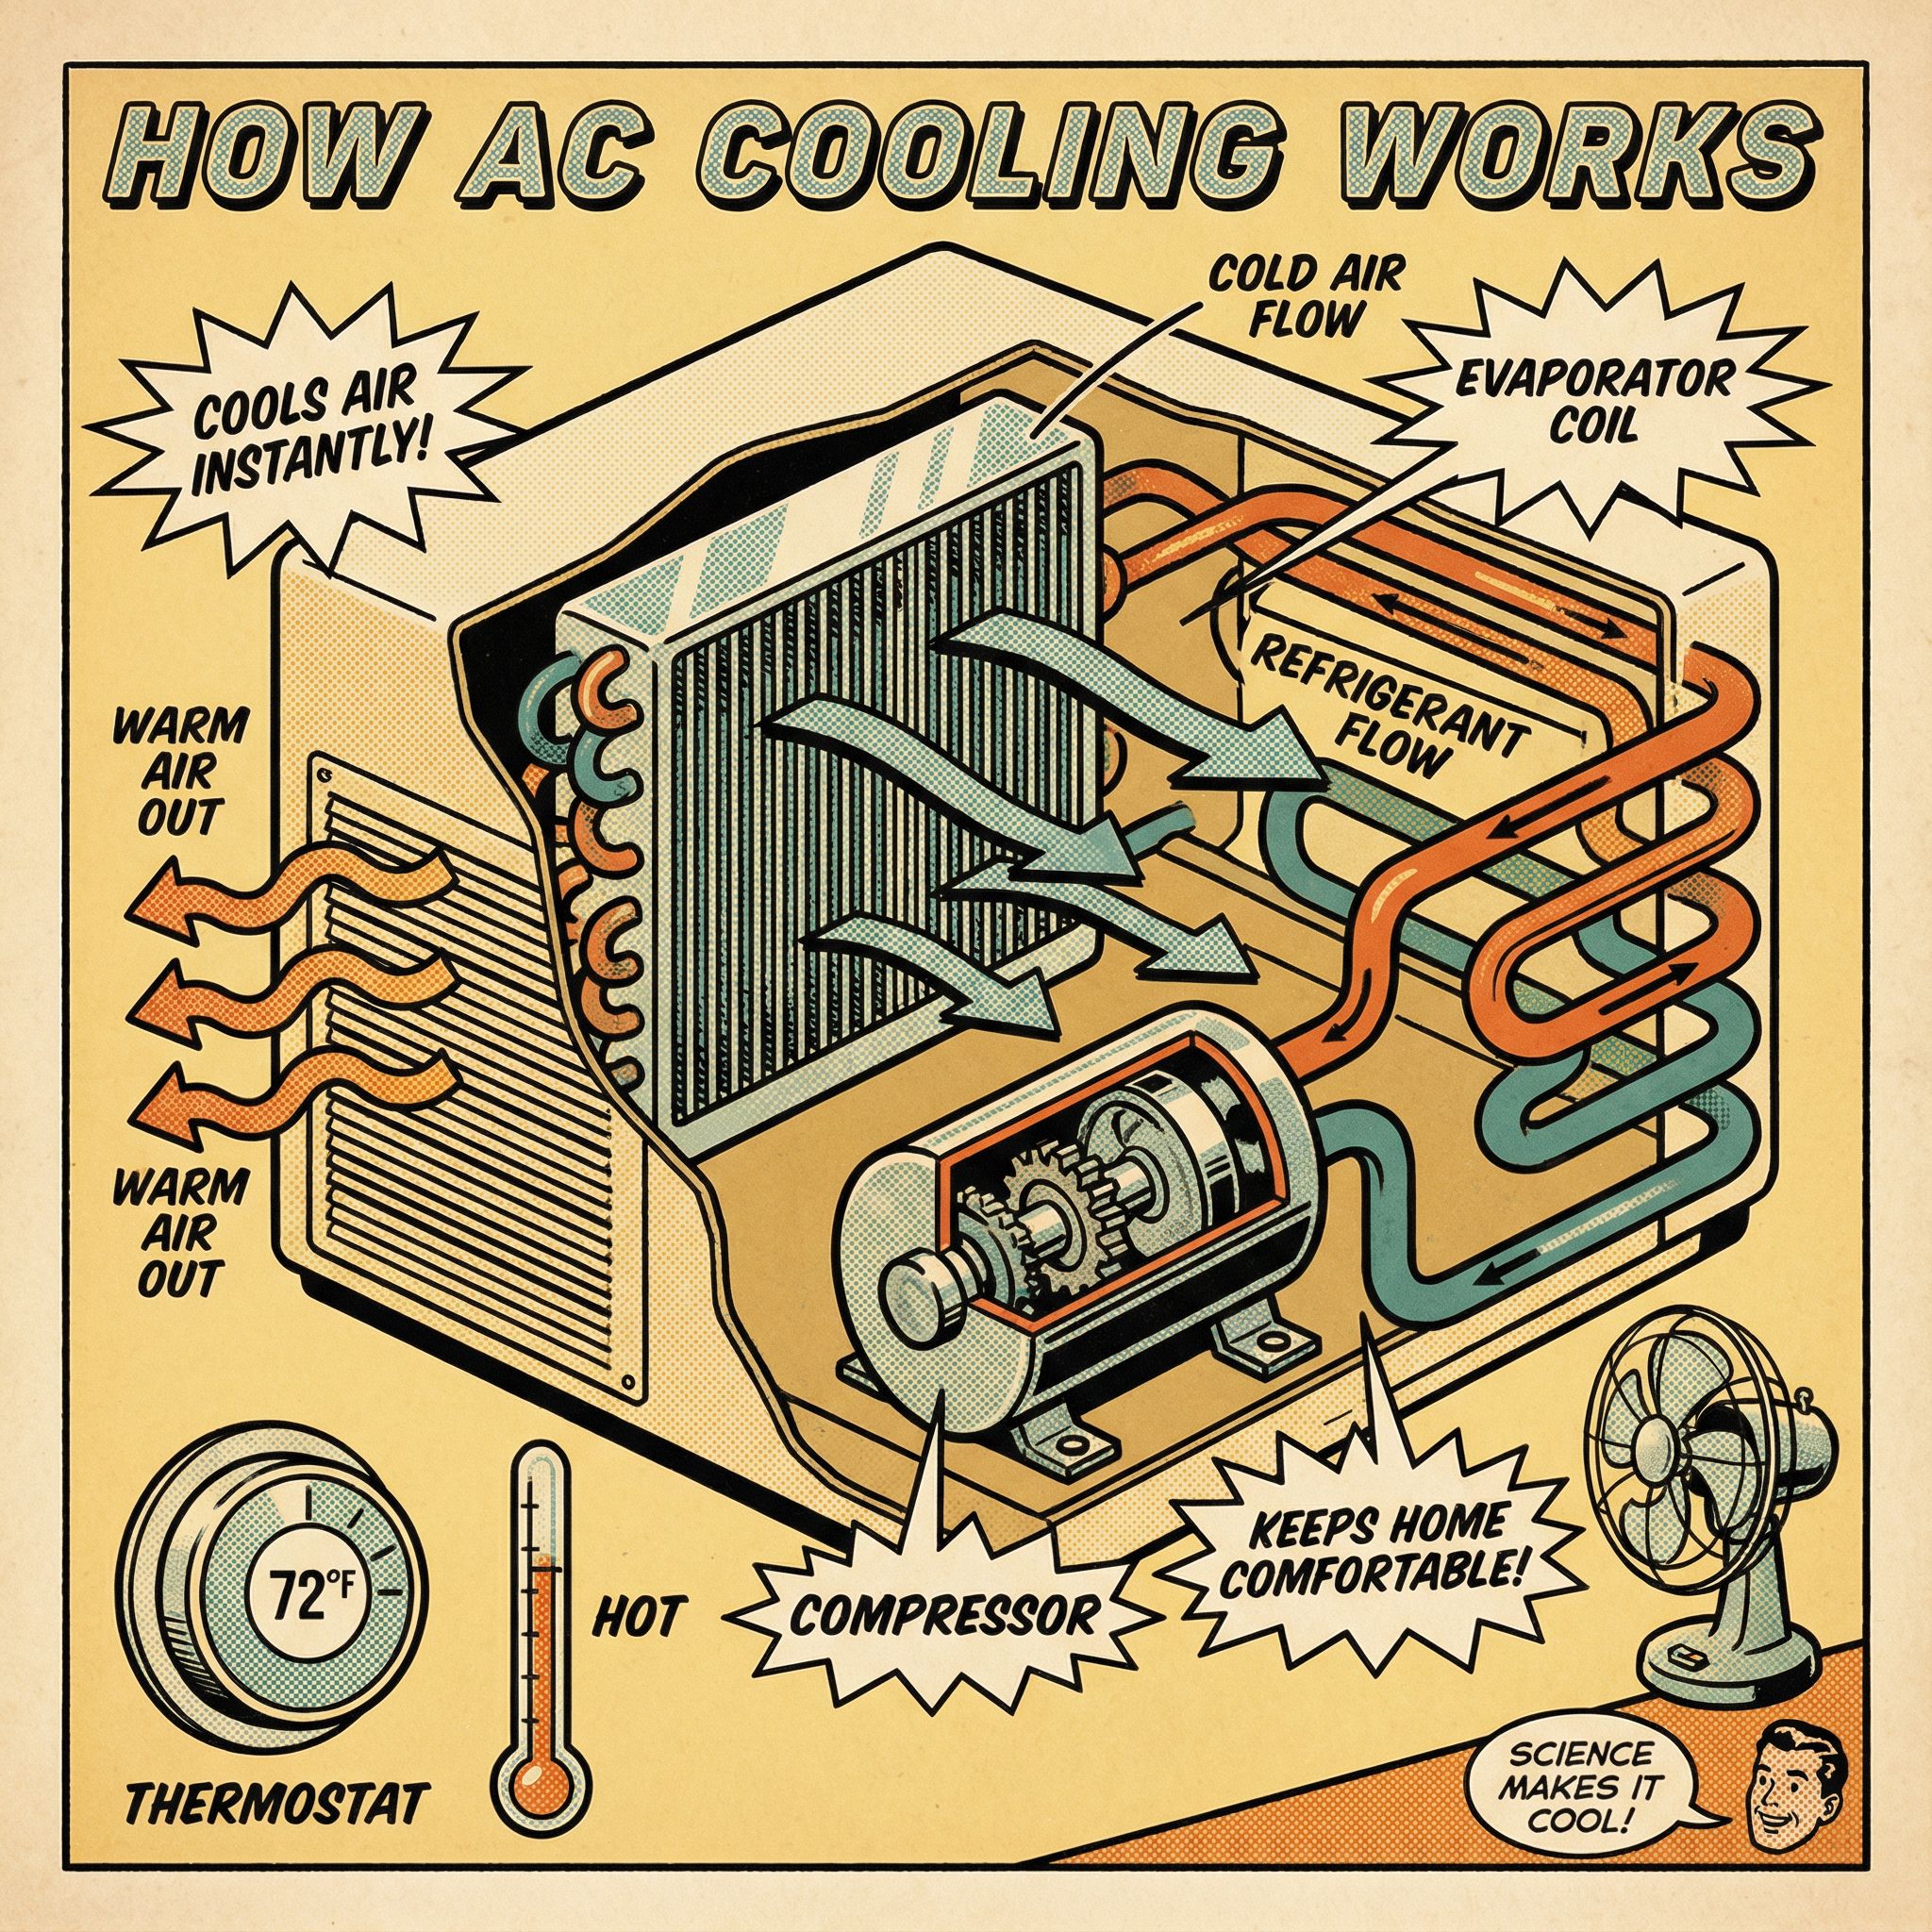
Triage by symptom and start with easy checks. Airflow dominates most AC issues. It is the system's breathing: if air is choked, cooling drops and other faults appear.
- No cold air: often low refrigerant or compressor trouble. First confirm airflow, replace filter, clear returns, check for coil ice.
- Weak airflow: usually a clogged filter, closed registers, dirty blower or duct restriction. It can freeze coils.
- Strange smells: musty or moldy points to a clogged drain, dirty coils or microbial growth. Burning suggests electrical issues, shut it off.
- Noises: banging or rattling means loose parts. Squealing points to worn bearings or a blower issue.
- Leaks: water near the air handler means a blocked drain or pan. Ice on lines points to restricted airflow or low refrigerant.
Higher energy bills often ride with these symptoms, as the system strains against airflow restriction or poor charge. In our experience at Budget Heating (BudgetHeating.com), clear symptom details speed diagnosis.
AC not cooling? A step by step homeowner troubleshooting checklist
Start with safety, then work methodically. In our experience at Budget Heating (BudgetHeating.com), most no cool calls trace back to simple power or airflow issues you can fix in minutes.
- Power and safety: set the thermostat to Off, then shut power at the breaker or outdoor disconnect. If the breaker is tripped, move it fully to Off, then to On once. If it trips again, stop and call a pro.
- Thermostat checks: confirm Cool mode, set the temperature 3 to 5 F below room, replace batteries if present. Basics were covered earlier.
- Restore airflow: open and clear all supply and return vents. Replace or clean filters every 1 to 3 months. Think of airflow like your home's lungs, a clogged filter suffocates cooling.
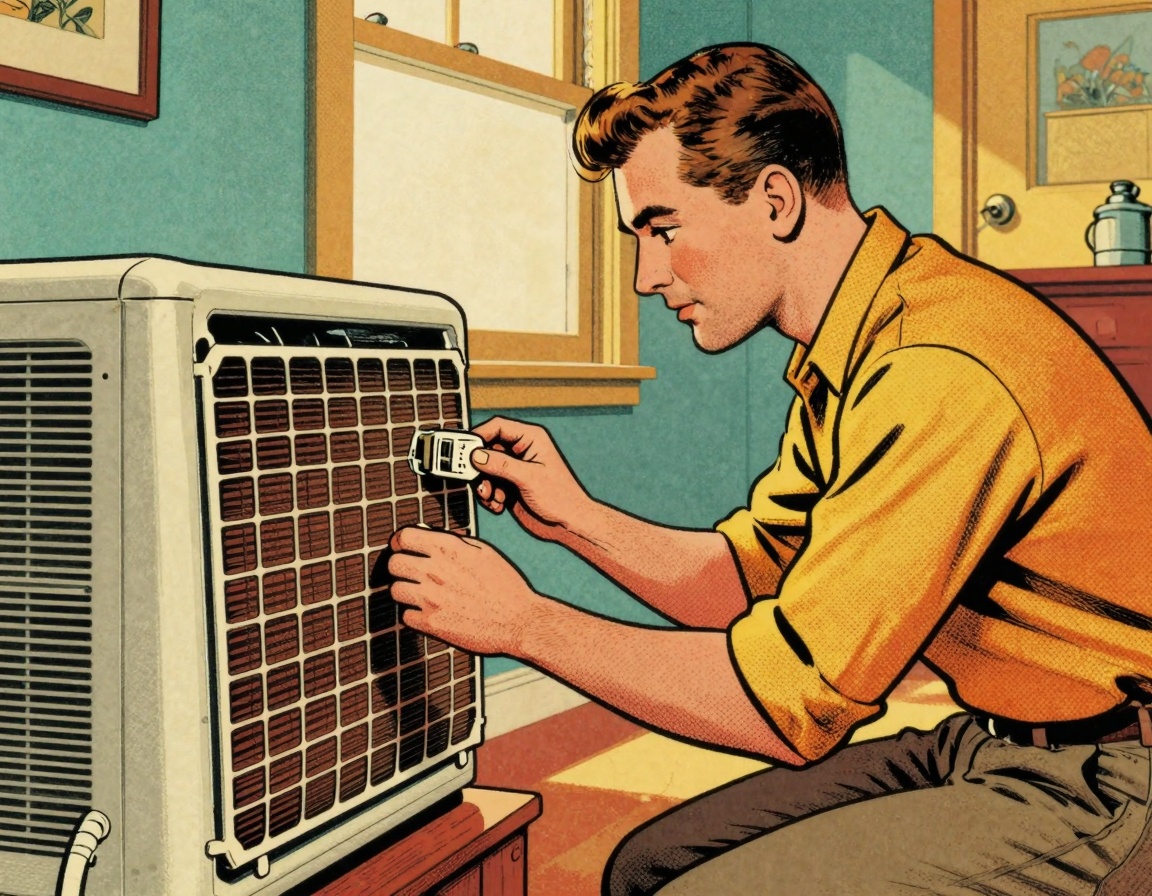
- Outdoor condenser: clear leaves and grass, keep 2 to 3 feet of clearance on all sides. With power off, gently hose the coil from top to bottom. Do not use a pressure washer.
- Indoor unit and coil: look for frost or ice. If present, turn cooling Off and the fan to On to thaw. Do not run a frozen coil repeatedly.
- Condensate drain: check the pan for pooling. Flush the drain line with vinegar or use a wet dry vacuum at the outside outlet to clear clogs.
- Coils and cleanliness: light dust can be brushed off carefully. Heavy buildup needs professional coil cleaning.
- Electrical visual check: with power off only, look for burned terminals or loose wiring. Do not touch components.
- Refrigerant red flags: hissing or bubbling, warm supply air, or ice on the lines means call an EPA certified technician.
- Ductwork and blower: inspect accessible ducts for gaps, seal with mastic or UL 181 foil tape. Squealing or grinding at the blower suggests motor or bearing issues.
- Odors and noises: musty smells, flush the drain and change filters. Burning smells, shut off power and call a pro.
- Performance check: measure temperature at a return grille and a nearby supply. A 15 to 20 F difference is typical.
- Preventive planning: schedule seasonal tune ups, and if problems keep returning or the system is near end of life, start planning for replacement.
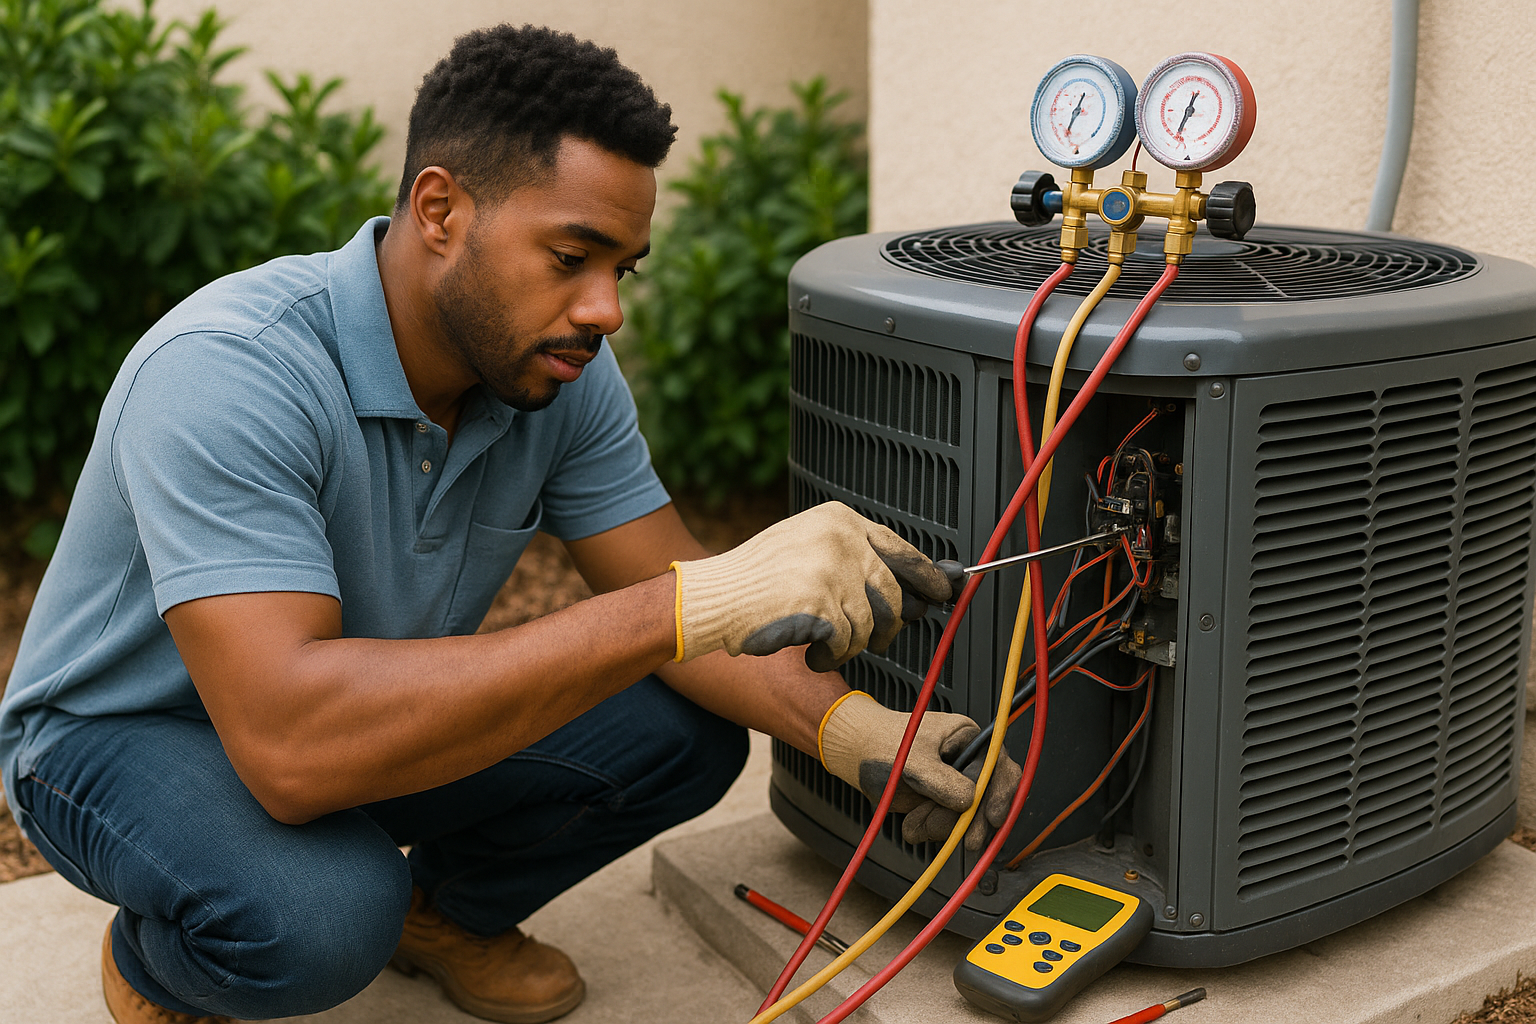
Leaks, refrigerant rules and safe leak detection basics
Under the AIM Act, manufacturers are moving to lower GWP A2L refrigerants like R 454B and R 32. EPA Section 608 requires certification to handle refrigerant, so DIY charging or leak repair is not permitted. Refrigerant is a closed loop, like air in a tire, so if it is low there is a leak to fix. DOE 2023 shifted to SEER2 and set regional SEER2/EER2 minimums for replacements.
Licensed techs use dye, electronic detectors, and visual checks. Homeowners can note only these signs: hissing or bubbling, warm supply air, or ice on lines. In our experience, charging or opening the system is for a Section 608 certified tech.
When repairs or DIY aren't enough: honest limits, replacement scenarios and safer alternatives
From decades in the field, we have learned that some issues are warning lights, not quick fixes. If you face repeated compressor failures, a persistent refrigerant leak, or ice returning soon after a proper thaw, replacement is usually smarter than another repair. Very old, low SEER systems that demand frequent service often cost more to keep running than upgrading. In humid climates, an oversized unit cools quickly but leaves the home clammy, so more repairs will not solve the dehumidification gap.
- Better paths forward: upgrade to correctly sized higher SEER equipment, add a dedicated dehumidifier, and have proper load calculations with duct evaluation or redesign.
- DIY scope: change filters, clear minor condensate clogs, and keep the outdoor unit free of leaves and lint.
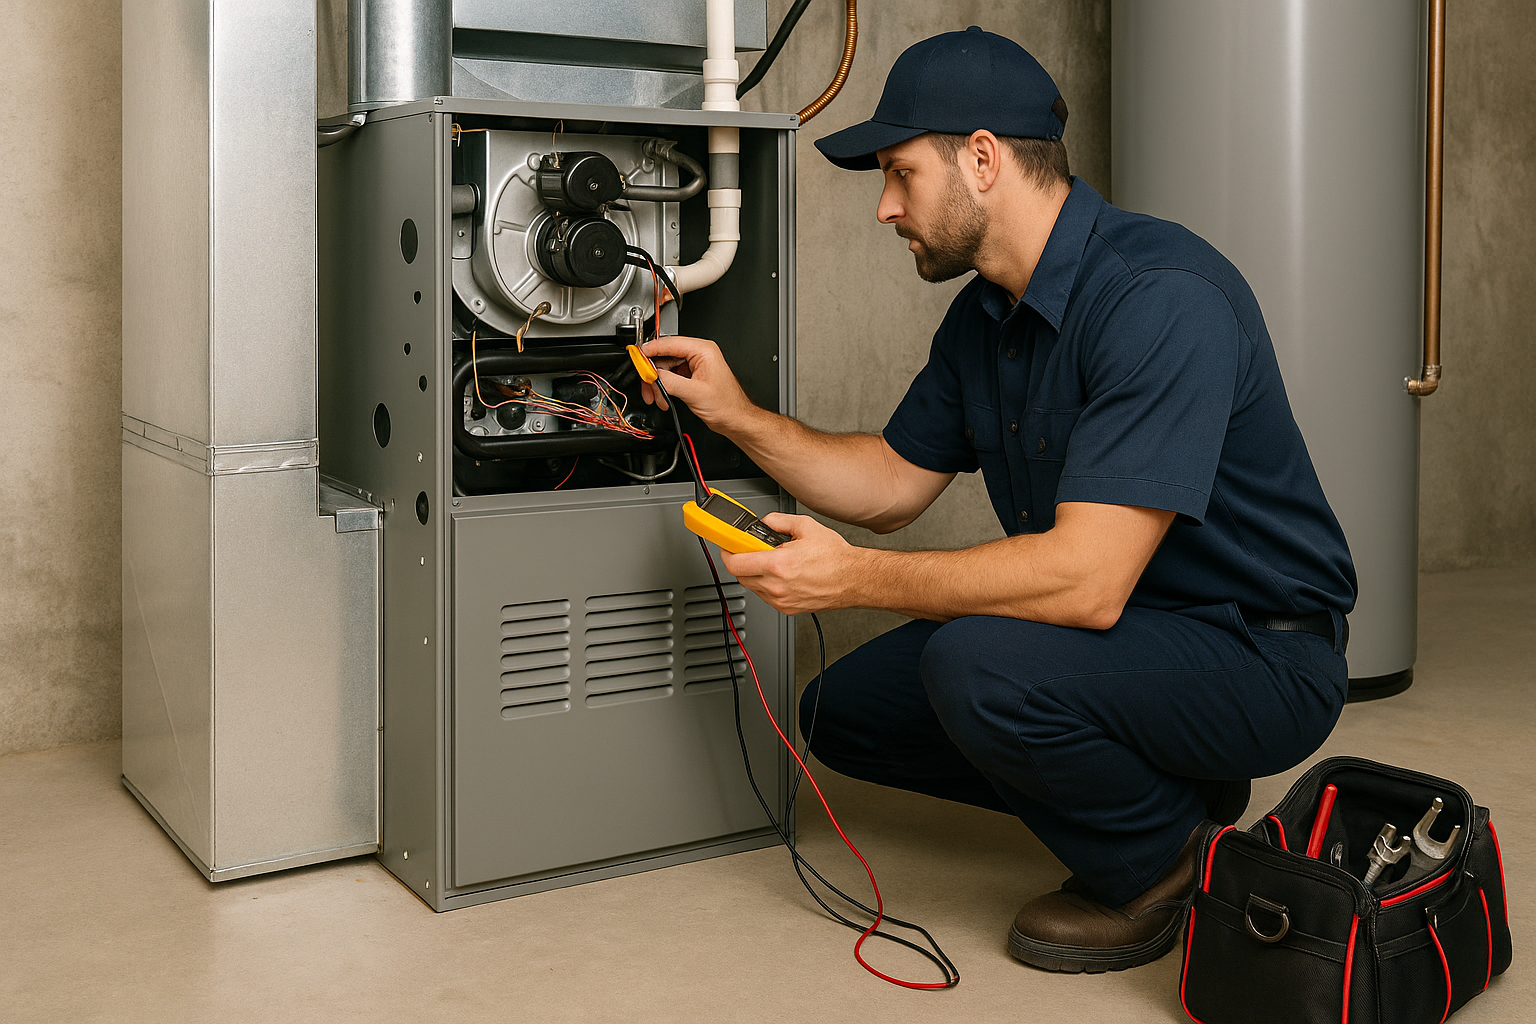
- Professional work only: electrical diagnostics, refrigerant leak detection, repair and recharge, compressor or blower replacement, chemical coil cleaning, and any combustion issues. EPA certification is required for refrigerant handling.
- Common myths to drop: topping off refrigerant yearly is not normal, a closed system should not leak. Bigger is not always better, especially in humid areas. A leak is like a tire with a nail, refilling without fixing the hole does not last.
Estimated repair costs and how long common fixes take
Repair bills and timelines swing with the part involved, system access, and warranty status, so we avoid tossing out generic numbers. The clearest way to judge value is to size the savings available from efficiency and maintenance, then compare that to any quote you receive.
- Upgrade 10 SEER to 13 SEER: about 23% efficiency gain. On a $200 summer bill, that is roughly $46 saved per peak month, or about $230 across a five month season.
- Upgrade 14 SEER to 16 SEER: roughly 12 to 13% savings. On $200, expect about $24 to $26 per month, near $120 to $130 per season.
- Upgrade 14 SEER to 20 SEER: around 30% savings. On $200, about $60 per month, near $300 per season.
- Filter and coil care: up to about 30% lower bills, plus a substantial drop in breakdown risk.
Use these figures to estimate simple payback: annual savings divided into the repair or upgrade cost. Preventive care is like brushing your teeth, small regular effort that avoids big emergency fixes.
Common myths and mistakes that make AC problems worse
In our experience, a few myths and avoidable mistakes turn small AC issues into bigger repairs.
- Bigger ACs are better: Oversized units short cycle, remove less humidity, and feel clammy.
- Cranking the thermostat cools faster: It does not speed cooling, like pushing an elevator button twice.
- Change filters once a year: Replace or clean every 1 to 3 months based on use. Do not wait until it looks dirty.
- Add refrigerant yearly: A low charge means a leak that must be found and fixed. Topping off risks compressor damage.
- Skipping basics: Check power, breakers, disconnects, thermostat batteries, and airflow before assuming a major part failed.
- Upsizing breakers after trips: Dangerous and a fire risk.
- High pressure washing condenser fins: Bends fins and chokes airflow.
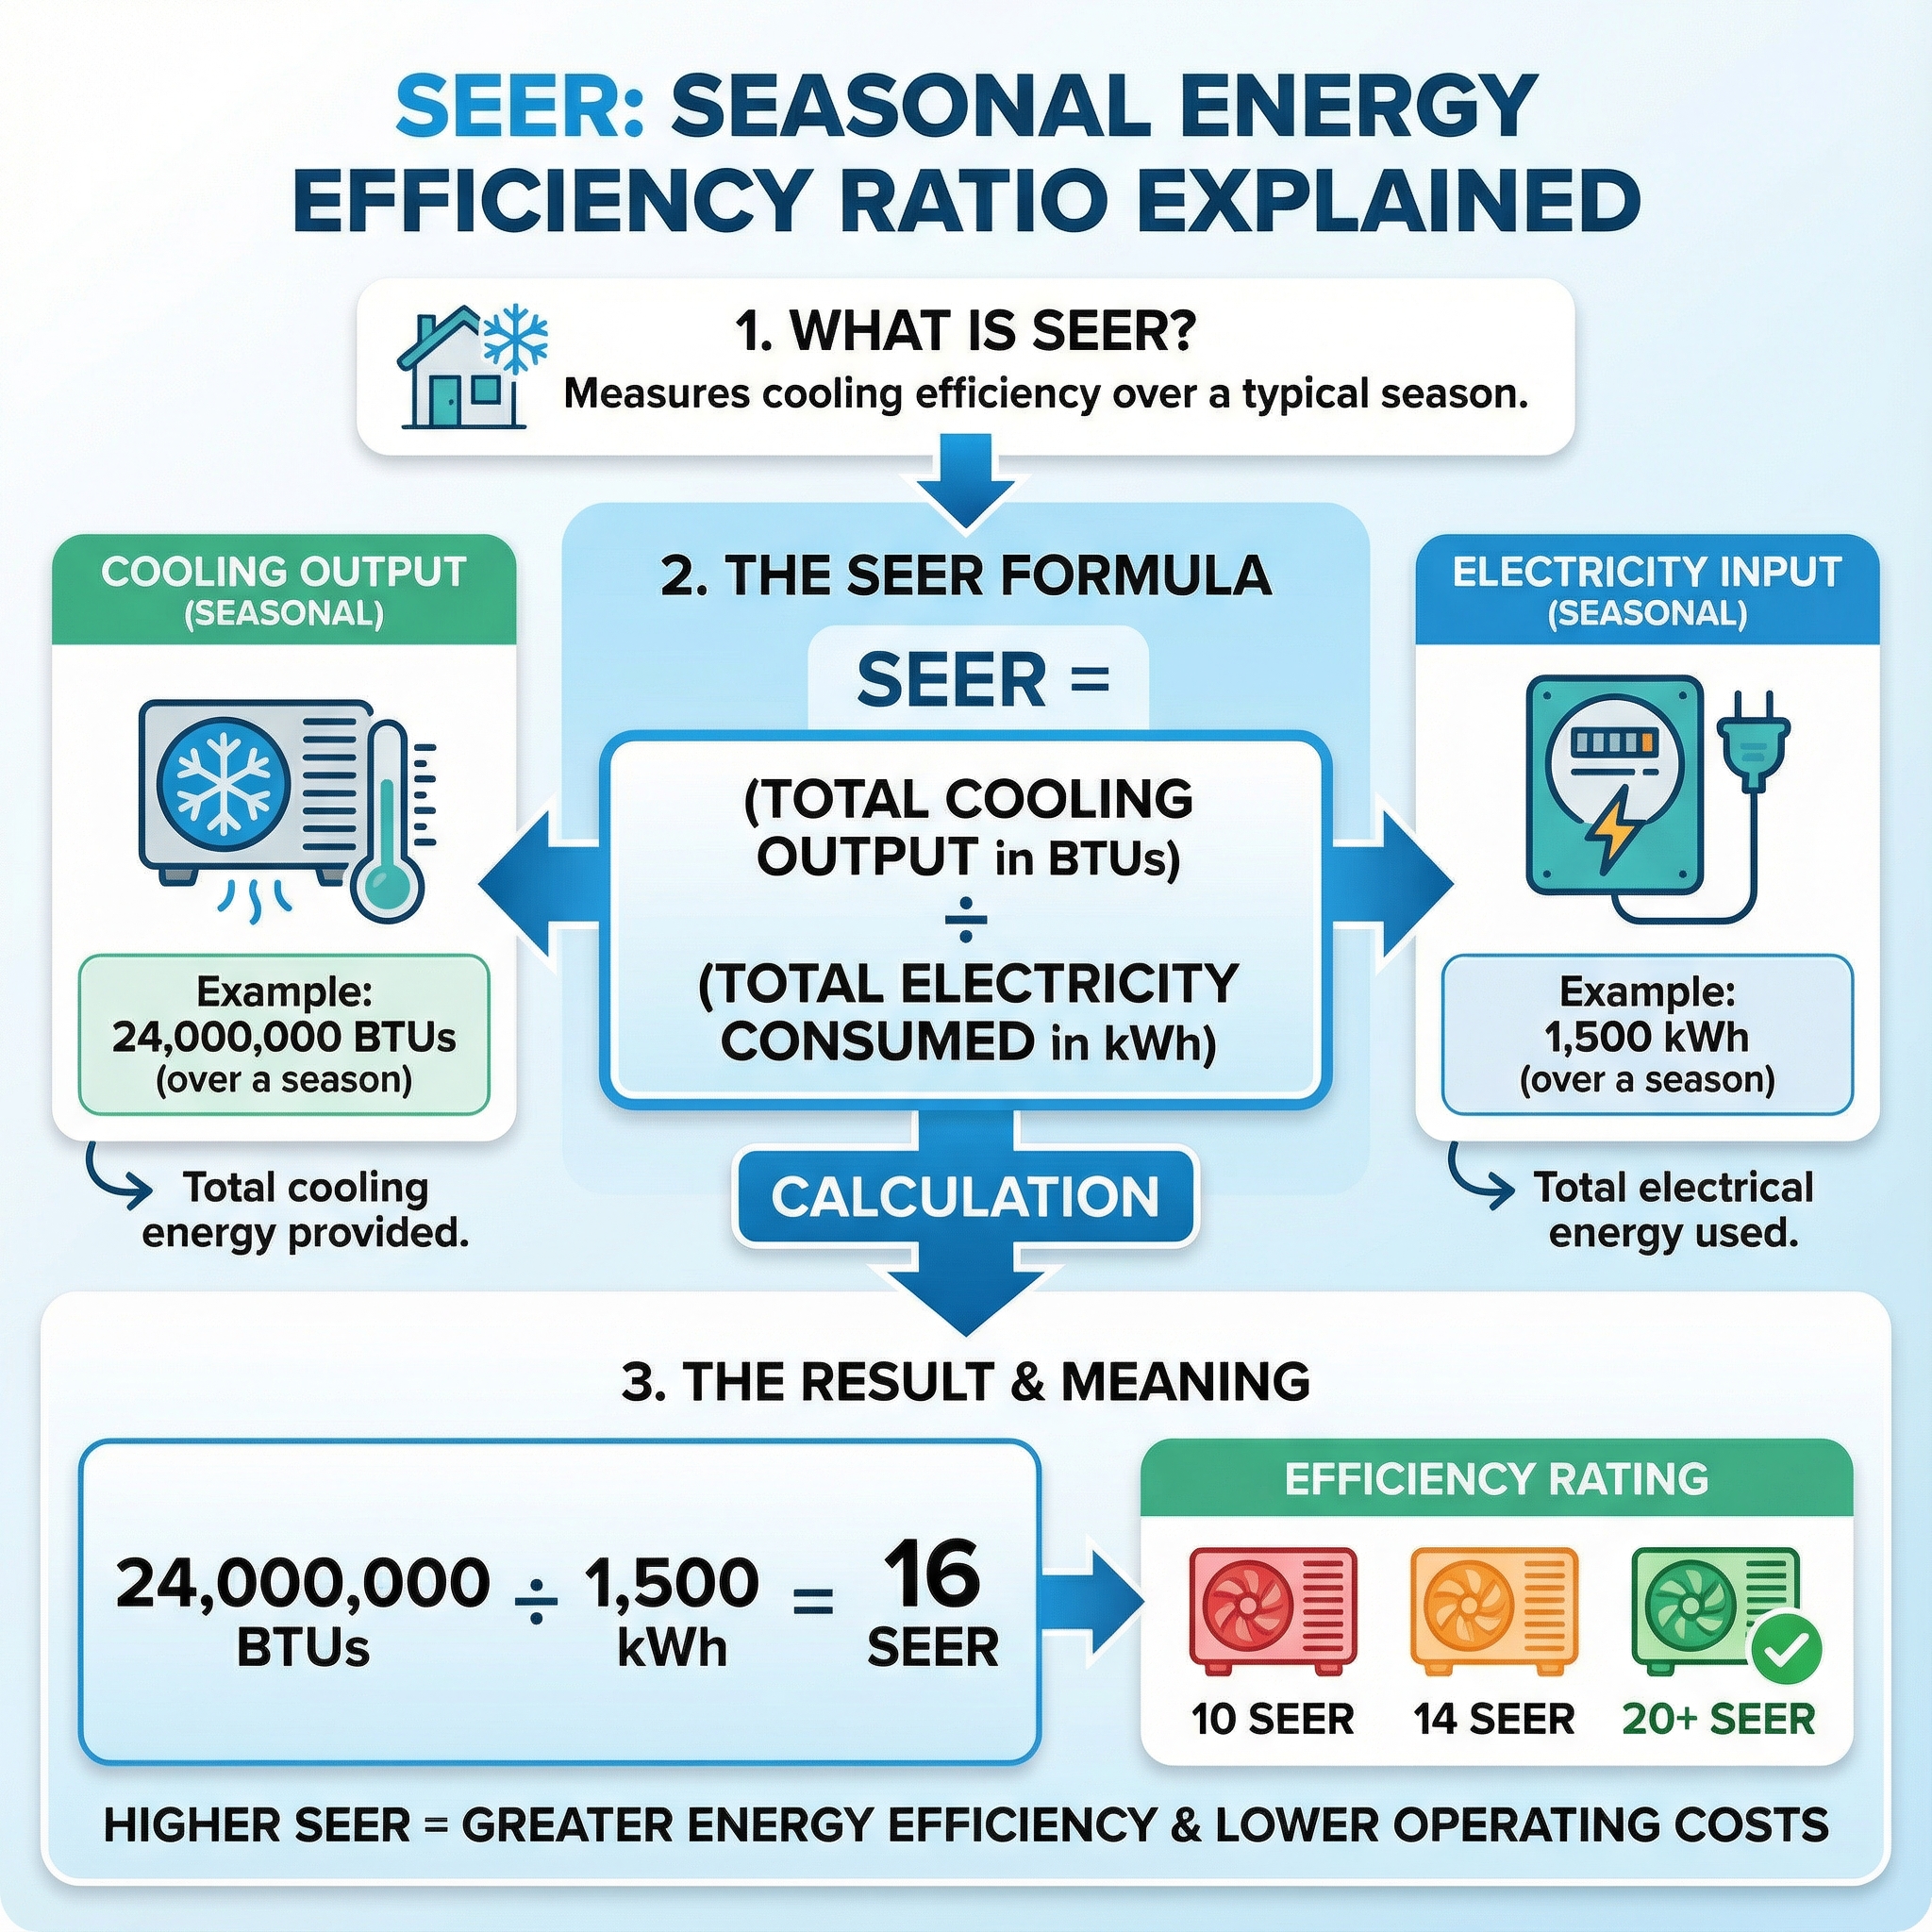
SEER, efficiency and a maintenance checklist to prevent future AC problems
SEER measures how much seasonal cooling a unit delivers per watt-hour. SEER2 is the newer 2023 test procedure, and it yields lower numbers for the same equipment because the test is tougher. Typical ranges: older systems 8-13 SEER, mid 16-18, premium 20-26 plus.
Real-world efficiency depends on installation and upkeep: correct refrigerant charge, proper airflow, solid duct design, and regular maintenance. Dirty filters or coils and low charge can pull performance far below the nameplate rating, like fuel economy dropping when tires are soft. In our experience at Budget Heating (BudgetHeating.com), precise charge and airflow are what keep systems near their rating.
- Replace filters every 1-3 months.
- Keep the outdoor unit clear at least 2 feet and gently rinse the coil.
- Schedule an annual professional tune-up: verify superheat and subcool, test capacitors and contactors, tighten electricals, clean coils and blower, flush the condensate line.
- Have ducts inspected for leaks and proper balance.
- Plan replacement if failures are frequent.
Conclusion: Quick troubleshooting flowchart and next steps
Most AC issues trace to four buckets: airflow restrictions, control faults, refrigerant or coil conditions, and drainage. Start with safe checks, replace a dirty filter, confirm thermostat settings, and clear supply and return vents. Stop DIY at that line. Electrical work or refrigerant handling belongs to a licensed pro. If you have tripped breakers, ice on lines, short cycling, or water around the air handler, call in help. Regular maintenance cuts breakdowns and energy use, and reduces the risk of costly failures. Whether you are deciding to repair or replace, our factory authorized team can size, quote, and ship quickly.
- Get a Custom Quote: right-sized central AC or ductless, accessories included
- Talk to Our Team: U.S. phone support for fast triage and next steps
- Shop AC Systems: Goodman, Rheem, Bosch, Gree, many items ship free, Affirm financing available